We can all benefit from being organized. It's easy to feel overwhelmed by day-to-day tasks in your personal life, forget your grocery list, or miss a friend's birthday when you're disorganized. In your professional life, being organized is crucial if you want to stay on top of your workload and hit those important deadlines.
Using an app like Microsoft To Do can help you to manage the many tasks you're juggling. Read on to find out what Microsoft To Do is and how to use it to organize both your personal and professional life.
What is Microsoft To Do?
Microsoft To Do is a cloud-based app for task management. You can use it as a daily planner or professional task manager, with the ability to set reminders and assign tasks to other users.

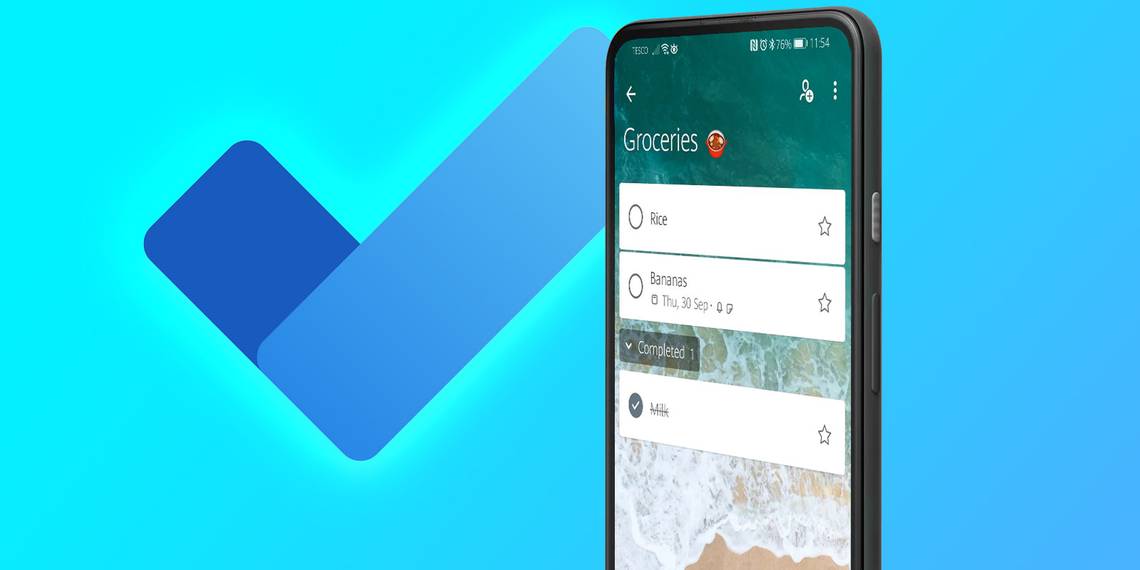
You can use Microsoft To Do for organizing all aspects of your life. For example, you could use it to create grocery lists that you can share and edit with your partner or housemate, meaning you'll always have an up-to-date shopping list on your phone.
The app is also ideal to use in the workplace—especially if you’re working collaboratively on a task. You can use the app to create a list of tasks for your team and assign individual team members to specific tasks. It's a great place to write up handover notes for your colleagues to access too.
How to Set Up the Microsoft To Do App
Fortunately, Microsoft To Do takes no time to set up for the first time.


Download the Microsoft To Do App from your app store.
- Enter your email address or phone number and tap Sign in.
- If you don’t have a Microsoft account, tap on the link at the bottom of the screen to register.
You're now ready to create your first list.
How to Create a New List
You may want to create a list, or several, to help group and manage your tasks.


Tap on New list.
- Enter your list name. Tap the emoji icon to add emojis to the name if desired.
- Change the color theme by tapping on the desired colored dot.
- Choose a picture background by tapping Photo. Tap to select your desired image.
- Tap Create List.
You can modify your list such as renaming it, deleting it, or changing the theme, by tapping on the three-dot menu icon in the top-right of the screen.
How to Add Tasks to a List
Once you have a list set up, it’s easy to add tasks.


Tap on a list from your home screen to get started.
- Tap the plus icon in the bottom-right of the screen.
- Type in your task.
- Tap Set due date. Tap on a preset date, or tap Pick a date to choose your own.
- Use the calendar to set your own due date. Tap Ok to confirm.
- To set a reminder, tap Remind me. Tap on a preset reminder time, or tap Pick a date & time to choose your own.
- Use the calendar to choose which day to be reminded on. Tap on a date to confirm.
- Use the clock to choose a time. You can use the blue dial to select the hour and time, or tap on the keyboard icon to manually type in the time.
- Tap Save to confirm the time and date for your reminder.
- Tap on the blue arrow or tap the enter key to add the task to your list.
Repeat these steps for each new task you create.
How to Modify or Customize a Task
Once you have added a task to a list, you can customize it with additional steps, add it to My Day, or add notes. Simply tap on your chosen task to open the customization menu.


Here you have the option to customize your task, such as create a reminder, add files or notes, or add the task to My Day so that it appears in your to-do list today.
To check off a task, tap on the empty circle to check it. Your task will then get moved to the Completed section.
How to Manage Tasks
You can use the home screen to view and manage your tasks. Here you will find My Day, your important tasks, your planned tasks, and assigned tasks (see below for how to share your Microsoft To Do with colleagues, family, or friends).


How to Group Microsoft To Do Lists
You can group your lists for additional organization. This is useful if you're using Microsoft To Do for both your personal and professional life, for example. By creating a group for each set of lists, it's easier to differentiate between work and personal tasks.


- Tap the box in the bottom-right corner to create a group.
- Type in the name of the group you want to create.
- Tap Create Group.
- Choose any existing lists to add to the group by tapping the plus icon.
- Tap Add to complete. Alternatively, tap skip to finish this later.
How to Create Shared Lists and Assign Tasks
Collaborating on lists can come in handy in both your personal and work life. You can invite others to collaborate on your lists and assign tasks to individuals.
How to Invite Others to Access Your List


Tap on a list to open it.
- Tap on the people icon at the top of the screen to share your list.
- Then, tap Invite Via to bring up a list of contacts to share with, or apps to share via (e.g. Whatsapp).
- Tap on your chosen contact or app for your preferred sharing option.
- Alternatively, tap the copy icon to copy the link address.
- Send the link via your chosen method, or paste the copied link into a message or email for your recipient.
- Tap Manage Access to toggle Limit access to current members, copy the invitation link, or to stop sharing your list.
Once your recipients have accepted your join request, you can assign tasks to those members.
How to Assign Tasks to Others


- Tap on a task.
- Then, tap on Assign to.
- Tap on any list member (including yourself) to assign.
You can find tasks assigned to you from the home screen. Tap Assigned to me to view, edit, and completed your assigned tasks.
You Can Also Manage Microsoft To Do on Your Desktop
You can also manage your tasks on the Microsoft To Do web app. This gives you more flexibility and accessibility to your personal or work tasks. Simply log in with your Microsoft account to also manage your lists from your computer.