Blender is a powerful open-source tool for creating 3D objects and scenes. The program is utilized in a wide variety of fields, be it 3D printing, motion graphics, or video games. One other use of Blender is creating 3D logos. You can use Blender to unleash your creativity and create 3D text.
The process of creating 3D text in Blender is simple. In this article, we will create a 3D MakeUseOf text, and customize it. Read on to learn how you can do this in Blender.
1. Creating the Text
The very first step is to create a text. Creating a text in Blender is pretty straightforward. To get started, create a new Blender scene, and delete the starting cube.

Next, press Shift + A on your keyboard. This will bring up the Add menu in Blender. From the menu, click on Text. The text will now appear, and it will say Text by default.
With the text selected (it will have an orange outline when selected), press Tab on your keyboard. Now you can edit the text. Once you've deleted the default text and typed your own, press Tab again to exit the text editor.

You can press 7 on your Numpad to get into top view in the scene to make editing the text easier.
You can also change the font and style of the text if you so wish. Select the text by left-clicking on it, then go to Text settings on the right. From there, go to the Font tab and change the font to your liking. Click the folder icon to browse the fonts installed on your device, then select the font you want for the text.
2. Extruding the Text
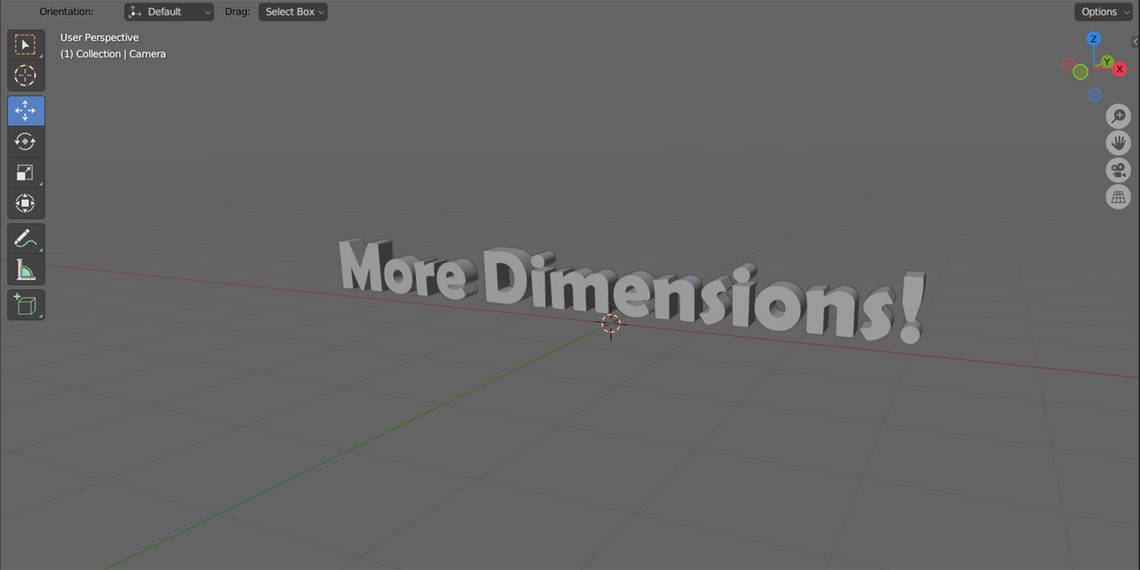
Once you have changed the text to your liking, it's time to make it 3D. You can do this by extruding the text.
Select the text by left-clicking it and then go to Text settings from the right toolbar. From there go to the Geometry tab and find the Extrude setting. Increase this by the amount you want. You can see in the scene that your text will take on a 3D form.
You can also make the edges softer by changing the bevel depth. Under the Extrude setting, go to the Bevel tab and increase the Depth. Adding too much bevel will make your text unintelligible, so use it sparingly.

You can still edit the text by selecting it and then pressing Tab on your keyboard. Once you are happy with the way your text looks, it's time to convert it to a mesh.
3. Converting Text to Mesh
As a mesh, you can edit the vertices of the object in Edit Mode. However, once you convert the text to a mesh, you won't be able to change the text or the font anymore. So make sure everything is the way you want before proceeding.

With the text selected, go to the Object menu. Click Convert and then select Mesh. This will turn your text into a mesh.
Now that your text is a mesh, you can edit the vertices freely. Press Tab on your keyboard to enter Edit Mode. Once inside Edit Mode, you can see the vertices. Note that are lots of double vertices. This mesh needs a cleanup.

Press A on your keyboard to select the mesh, then go to the Mesh menu. From there go to Clean Up and then select Limited Dissolve. Your mesh is all cleaned up now.
With your text as a mesh, you can do all sorts of operations on it. One useful operation in creating 3D logos is Split, which you can read more about in our article on how to split a mesh in Blender.
4. Adding Color to the Text

As a mesh, you can add color and texture to your text. Select the mesh and then go to Material properties at the bottom of the right toolbar. Click + New to create a new material. Then, change the surface settings from the Surface tab to your liking. For instance, you can change the Base Color to red, and increase Metallic to the maximum to get a nice metallic red on your text.
If you're looking to add texture to the text, read our in-depth article on how to add texture in Blender.
5. Setting Up the Scene
Now with the text ready, let's set up the stage. Select the mesh and then use Move and Rotate from the toolbar to position it. You can use the shortcuts Shift + Spacebar + G and Shift + Spacebar + R for Move and Rotate respectively.
Select the camera and position it as well. You can use Move and Rotate to position it.

Press 0 on your Numpad to go into the camera viewpoint. This way you can see which angle your camera is covering. If you don't have access to the Numpad, you can instead go to the View menu and select Camera from the Viewpoint list.

Once you have positioned your camera properly, let's add some color to the scene. Go to the World settings and then change the Color from the Surface tab. This will be the color of the background in your scene.
The last element in the scene is the lighting. There's a light source by default in the scene, which you can move in front of your text to get better lighting. If you're looking to add your own lighting, read our article on how to add lighting in Blender.
6. Rendering the Scene

Finally, it's time to render the scene and get results. All you have to do now is to press F12 on your keyboard to get a render. There you have it! Your 3D text in Blender.
If all is well, and you're happy with how things look, you can go to the Image menu and save the render as an image.
Easily Create 3D Text in Blender
Text is a 2D graphic in essence, but that doesn't mean you can't have 3D text. Now you know how to create 3D text, convert it to a mesh, and treat it as a mesh in Blender. Once your text is a mesh, you can edit the vertices to forge new meshes, or change the material to give it a new look. It is all up to you and your creativity!