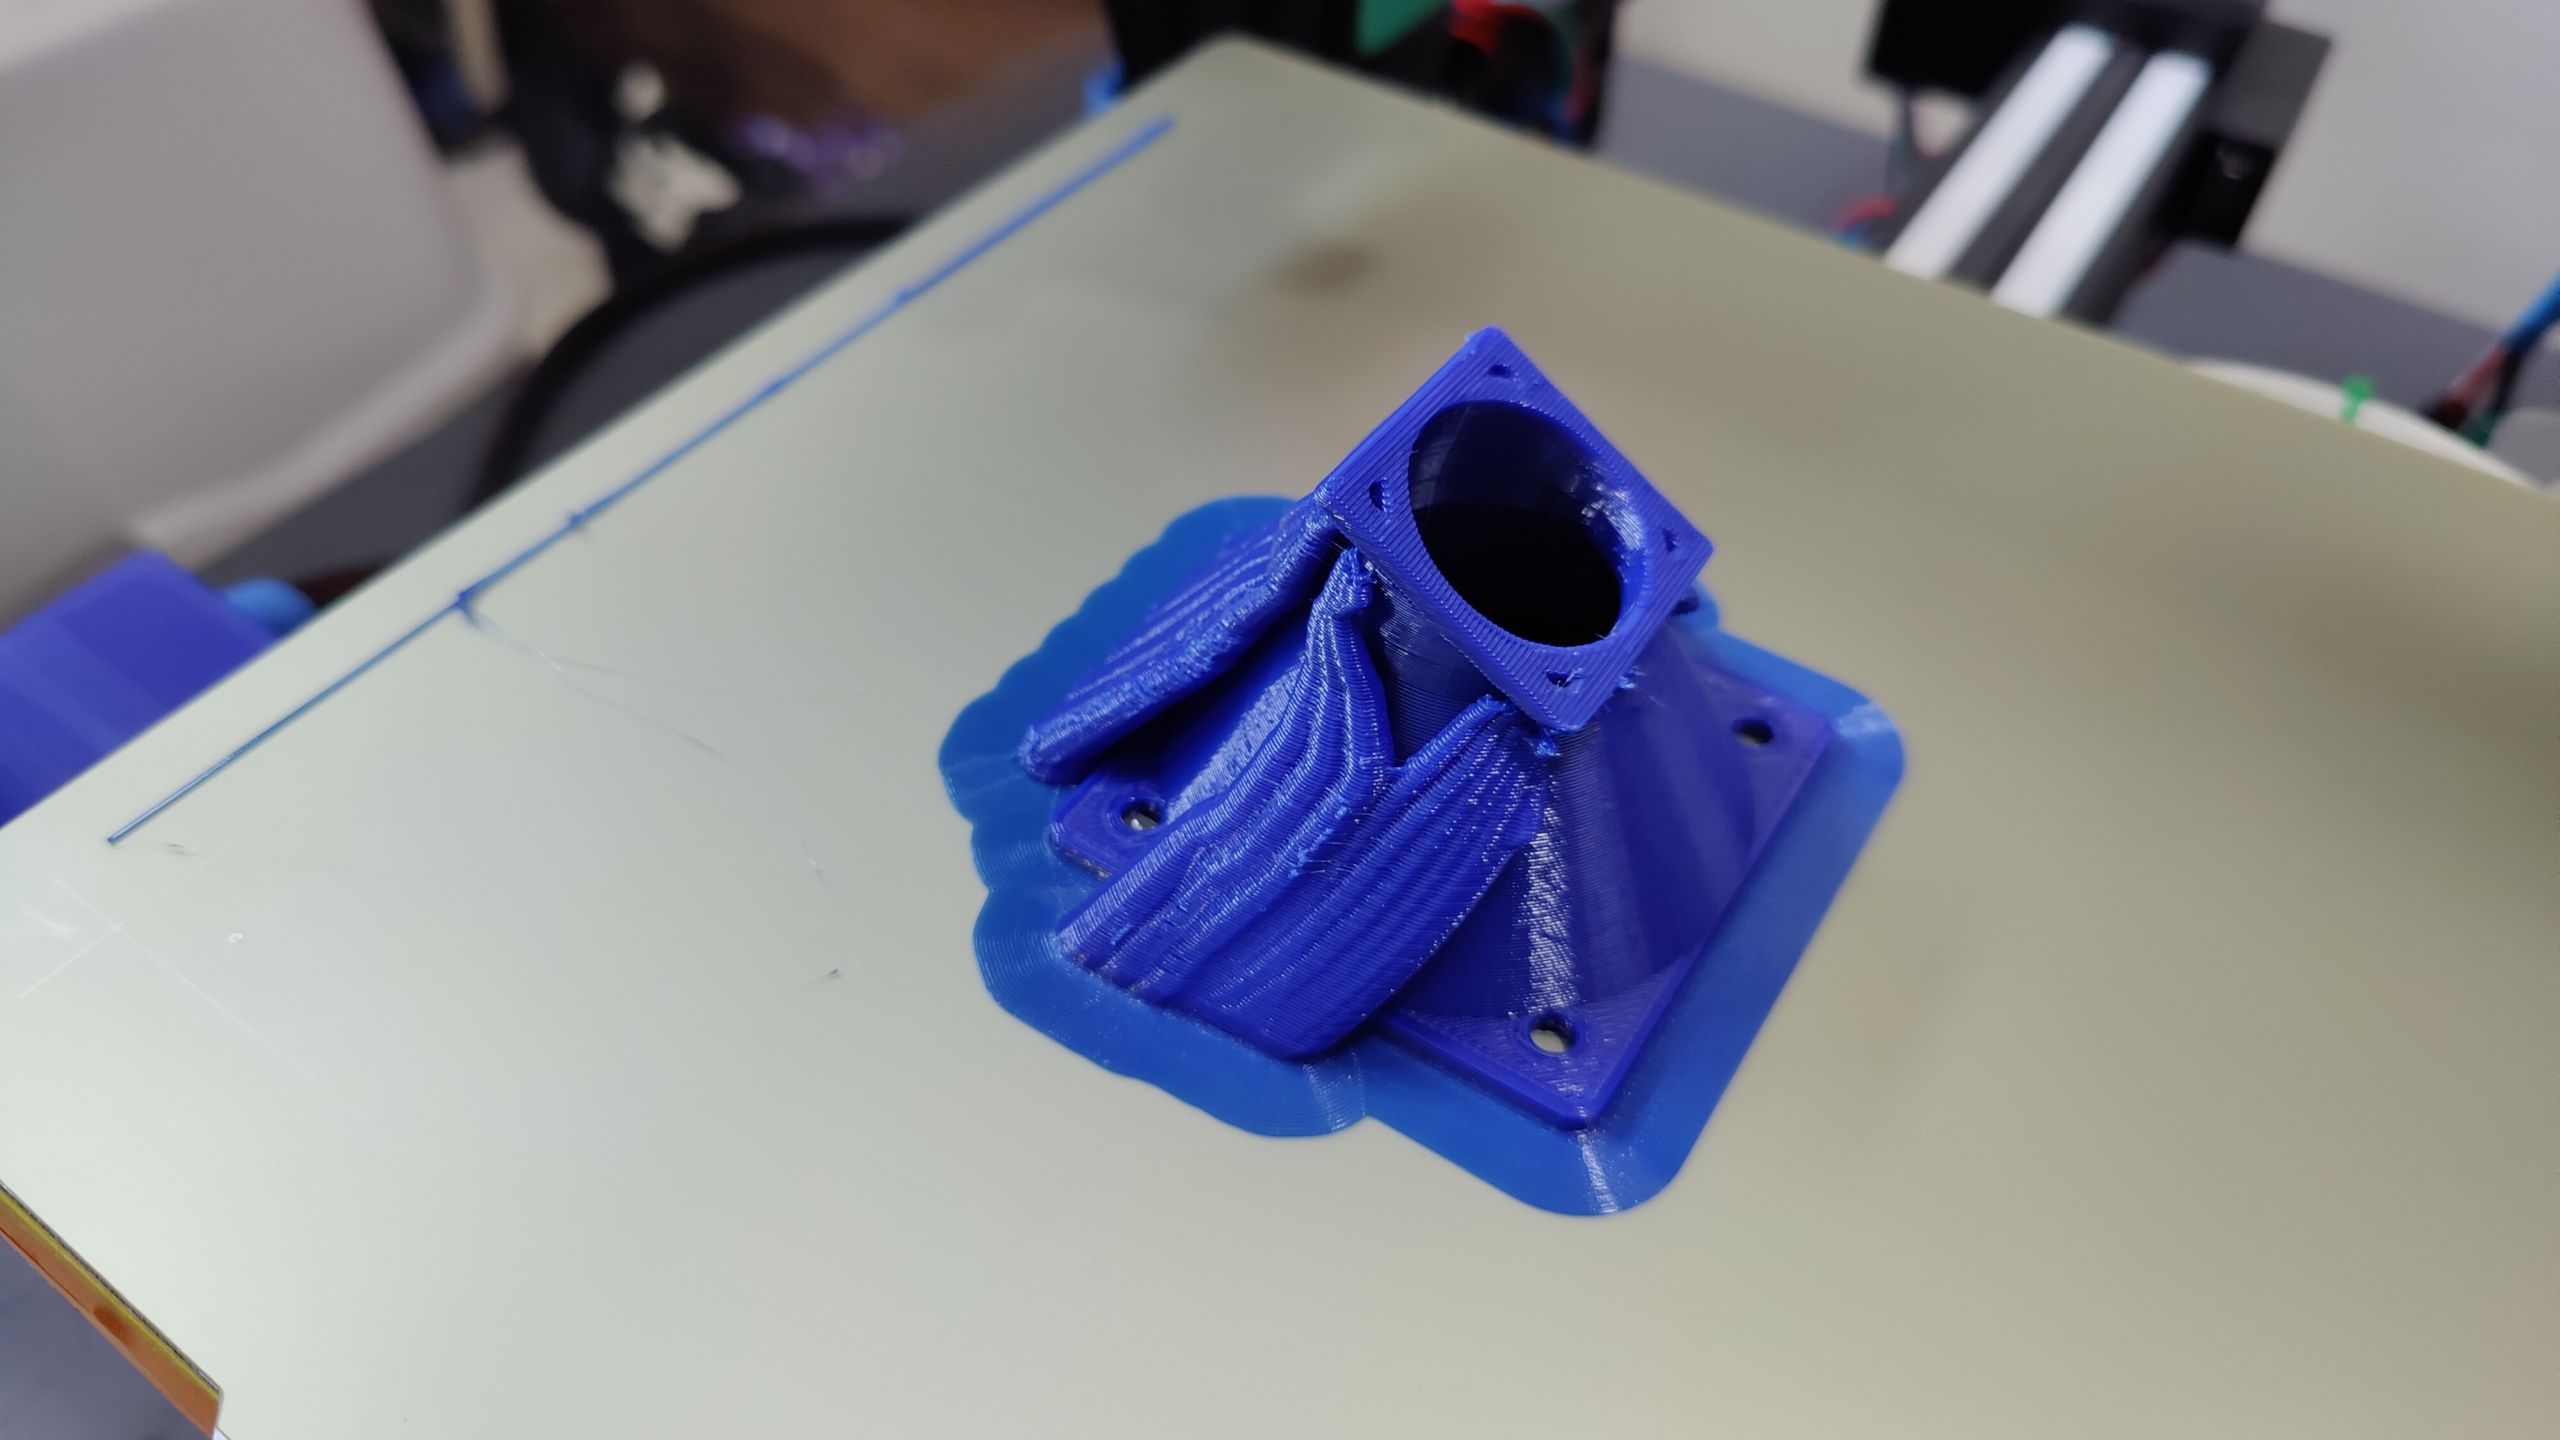
They say 3D printing is simple. Just watch the first layer go down successfully, and the printer will handle the rest. That’s easier said than done, considering how most beginners quit the hobby after failing at this seemingly simple task.
Solutions to first layer adhesion issues range from glue stick and hairspray applications to AI trickery and auto bed leveling probes. But none of these will work without the correct 3D printing surface. It is entirely possible to use the wrong build surface for your filament of choice, so here’s how to choose the right one.
How to Choose 3D Printing Surfaces
Before we learn how to select the right 3D printing surface for your needs, let's address some prerequisites at the outset. No build surface can help print adhesion if your 3D printer’s bed isn’t level. Bed leveling and first layer calibration are key to successful 3D prints. Figuring that out should be your first course of action. Our comprehensive primer on 3D printing has that covered.
FDM 3D printing compatible build surfaces come in dizzying varieties. Some build surfaces work fine with many common filaments, whereas others have been developed specifically for certain hard-to-print FDM materials. The correct choice depends on a number of factors, such as adhesion strength, ease of removal, maximum permissible bed temperature, and bottom layer finish.
This guide will break down the inherent strengths and weaknesses of the popular as well as obscure (but useful) 3D printing surfaces, and explain what goes into choosing the right one for your specific 3D printing needs.
1. Float Glass
Glass sheets make for a near perfect 3D printing build surface. They are inherently flat and inexpensive, which makes them ideal for cheap 3D printers with warped beds. A thick glass sheet cancels out any underlying surface undulations of even the most hopelessly warped beds. What's more, the low thermal expansion coefficient of glass makes it further resistant to warping. It’s significantly cheaper and easier to achieve perfect first layer results with this build surface.
Although glass takes longer to heat up to printing temperature, that also makes it more resistant to temperature fluctuations—a virtue that improves print consistency along the Z-axis. The material can also easily withstand the 120 °C (roughly 250 °F) bed temperature warranted by ABS filament. Its inherent smoothness also endows an attractive glossy bottom surface finish to 3D prints.
What’s the catch, then? Adhesion strength is one area where glass doesn’t match up to its peers. It’s perfectly fine for the beginner-friendly PLA filament, but it struggles to adhere to ABS, ASA, nylon, and other specialized engineering materials. However, that can be remedied with adhesion aids such as PVA glue stick, hairspray, ABS slurry, and Kapton/polyimide tape. On the bright side, the smooth and non-reactive nature of glass makes it easier to clean up these adhesion aids.
However, the biggest shortcoming of glass stems from its inability to flex. This makes it difficult to release prints once they are done. In fact, materials such as PETG and TPU adhere so well to glass that they often take chunks off the build surface during removal. For all its perks, glass is the absolute worst when it comes to the ease of print removal.
2. Carborundum Glass
Carborundum glass ships with some variants of the upgrade-friendly Creality Ender-3 3D printer. This build surface, in turn, is considered an upgrade over regular float glass sheets. The carborundum prefix refers to a thin coating of silicon carbide—a chemical compound mimicking the crystaline structure of diamond, while also incorporating its hardness.
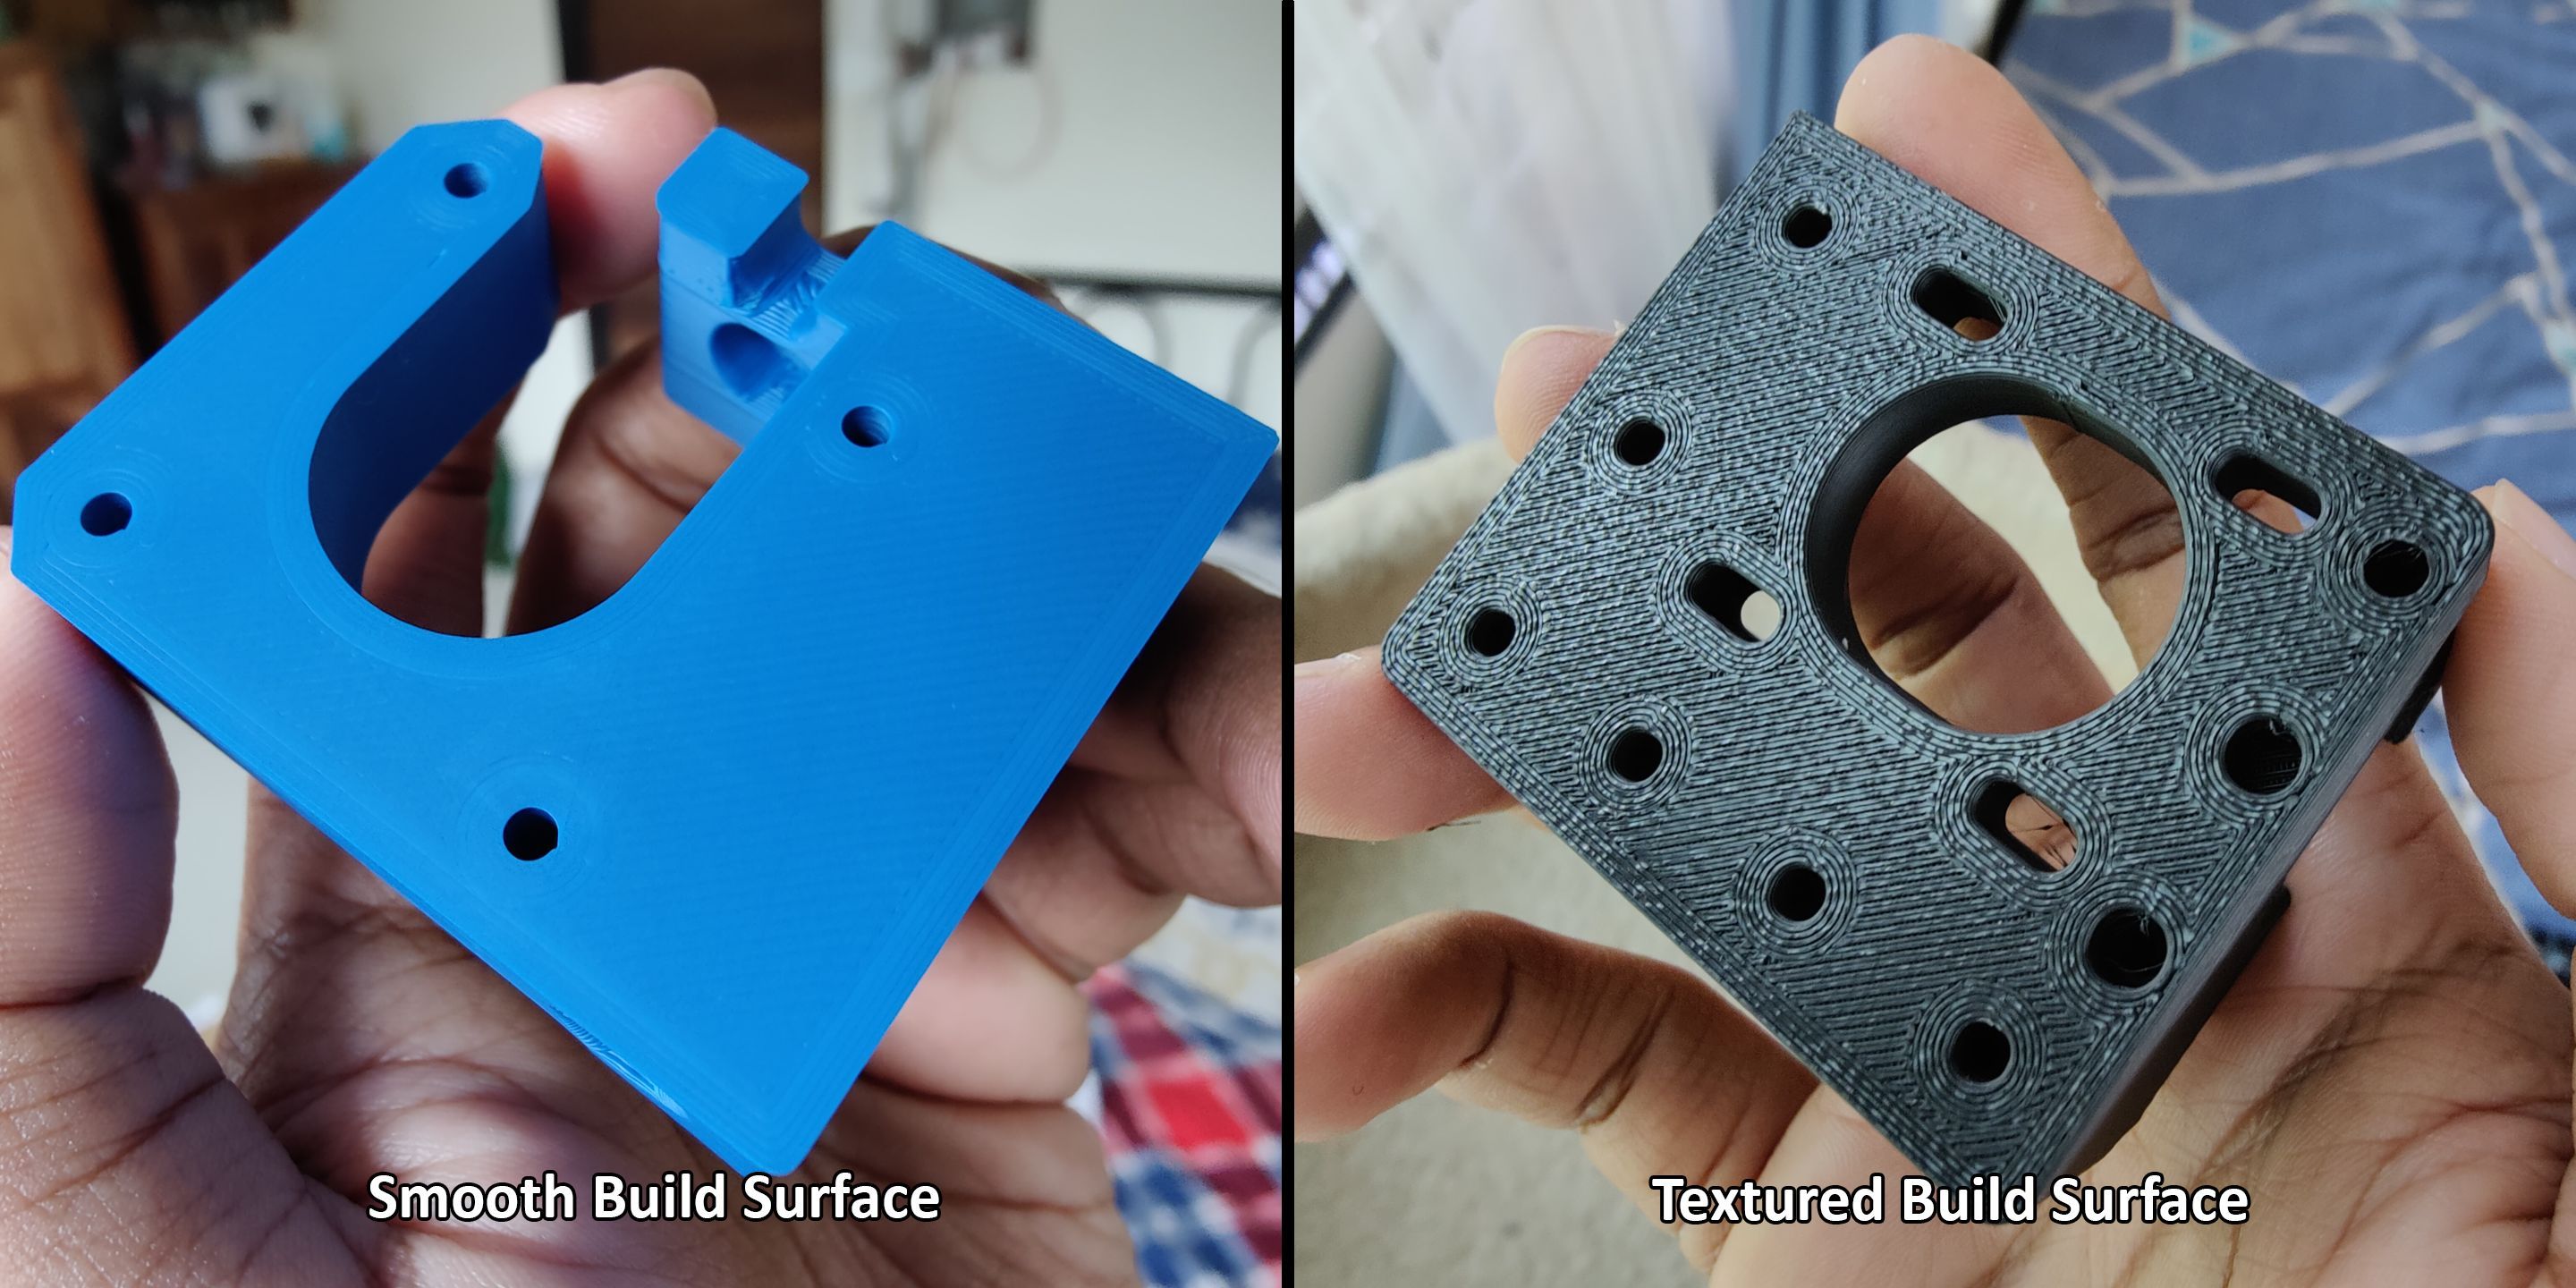
The hardness of the material itself doesn’t matter much, since regular glass is plenty hard for 3D printing needs. However, imbuing the smooth glass surface with a rough texture is the very point of the carborundum coating. This solves the biggest shortcoming of glass as a build surface material—ease of print removal.
The textured finish also increases the overall surface area of contact. This improves adhesion while also allowing the print to release on its own once the material cools down. Carborundum glass has all the benefits of regular glass build surface, but with improved adhesion and easier print removal.
3. Spring Steel Sheet and Tape
You aren’t a true 3D printing enthusiast until you have earned a few scars while removing prints off a glass bed. Scraping stubbornly attached prints off a rigid build surface is a potentially dangerous affair. Switching to a flexible build surface is the best way to stop yourself from inadvertently anointing your 3D printer in blood. And spring steel sheets are excellent for this purpose.
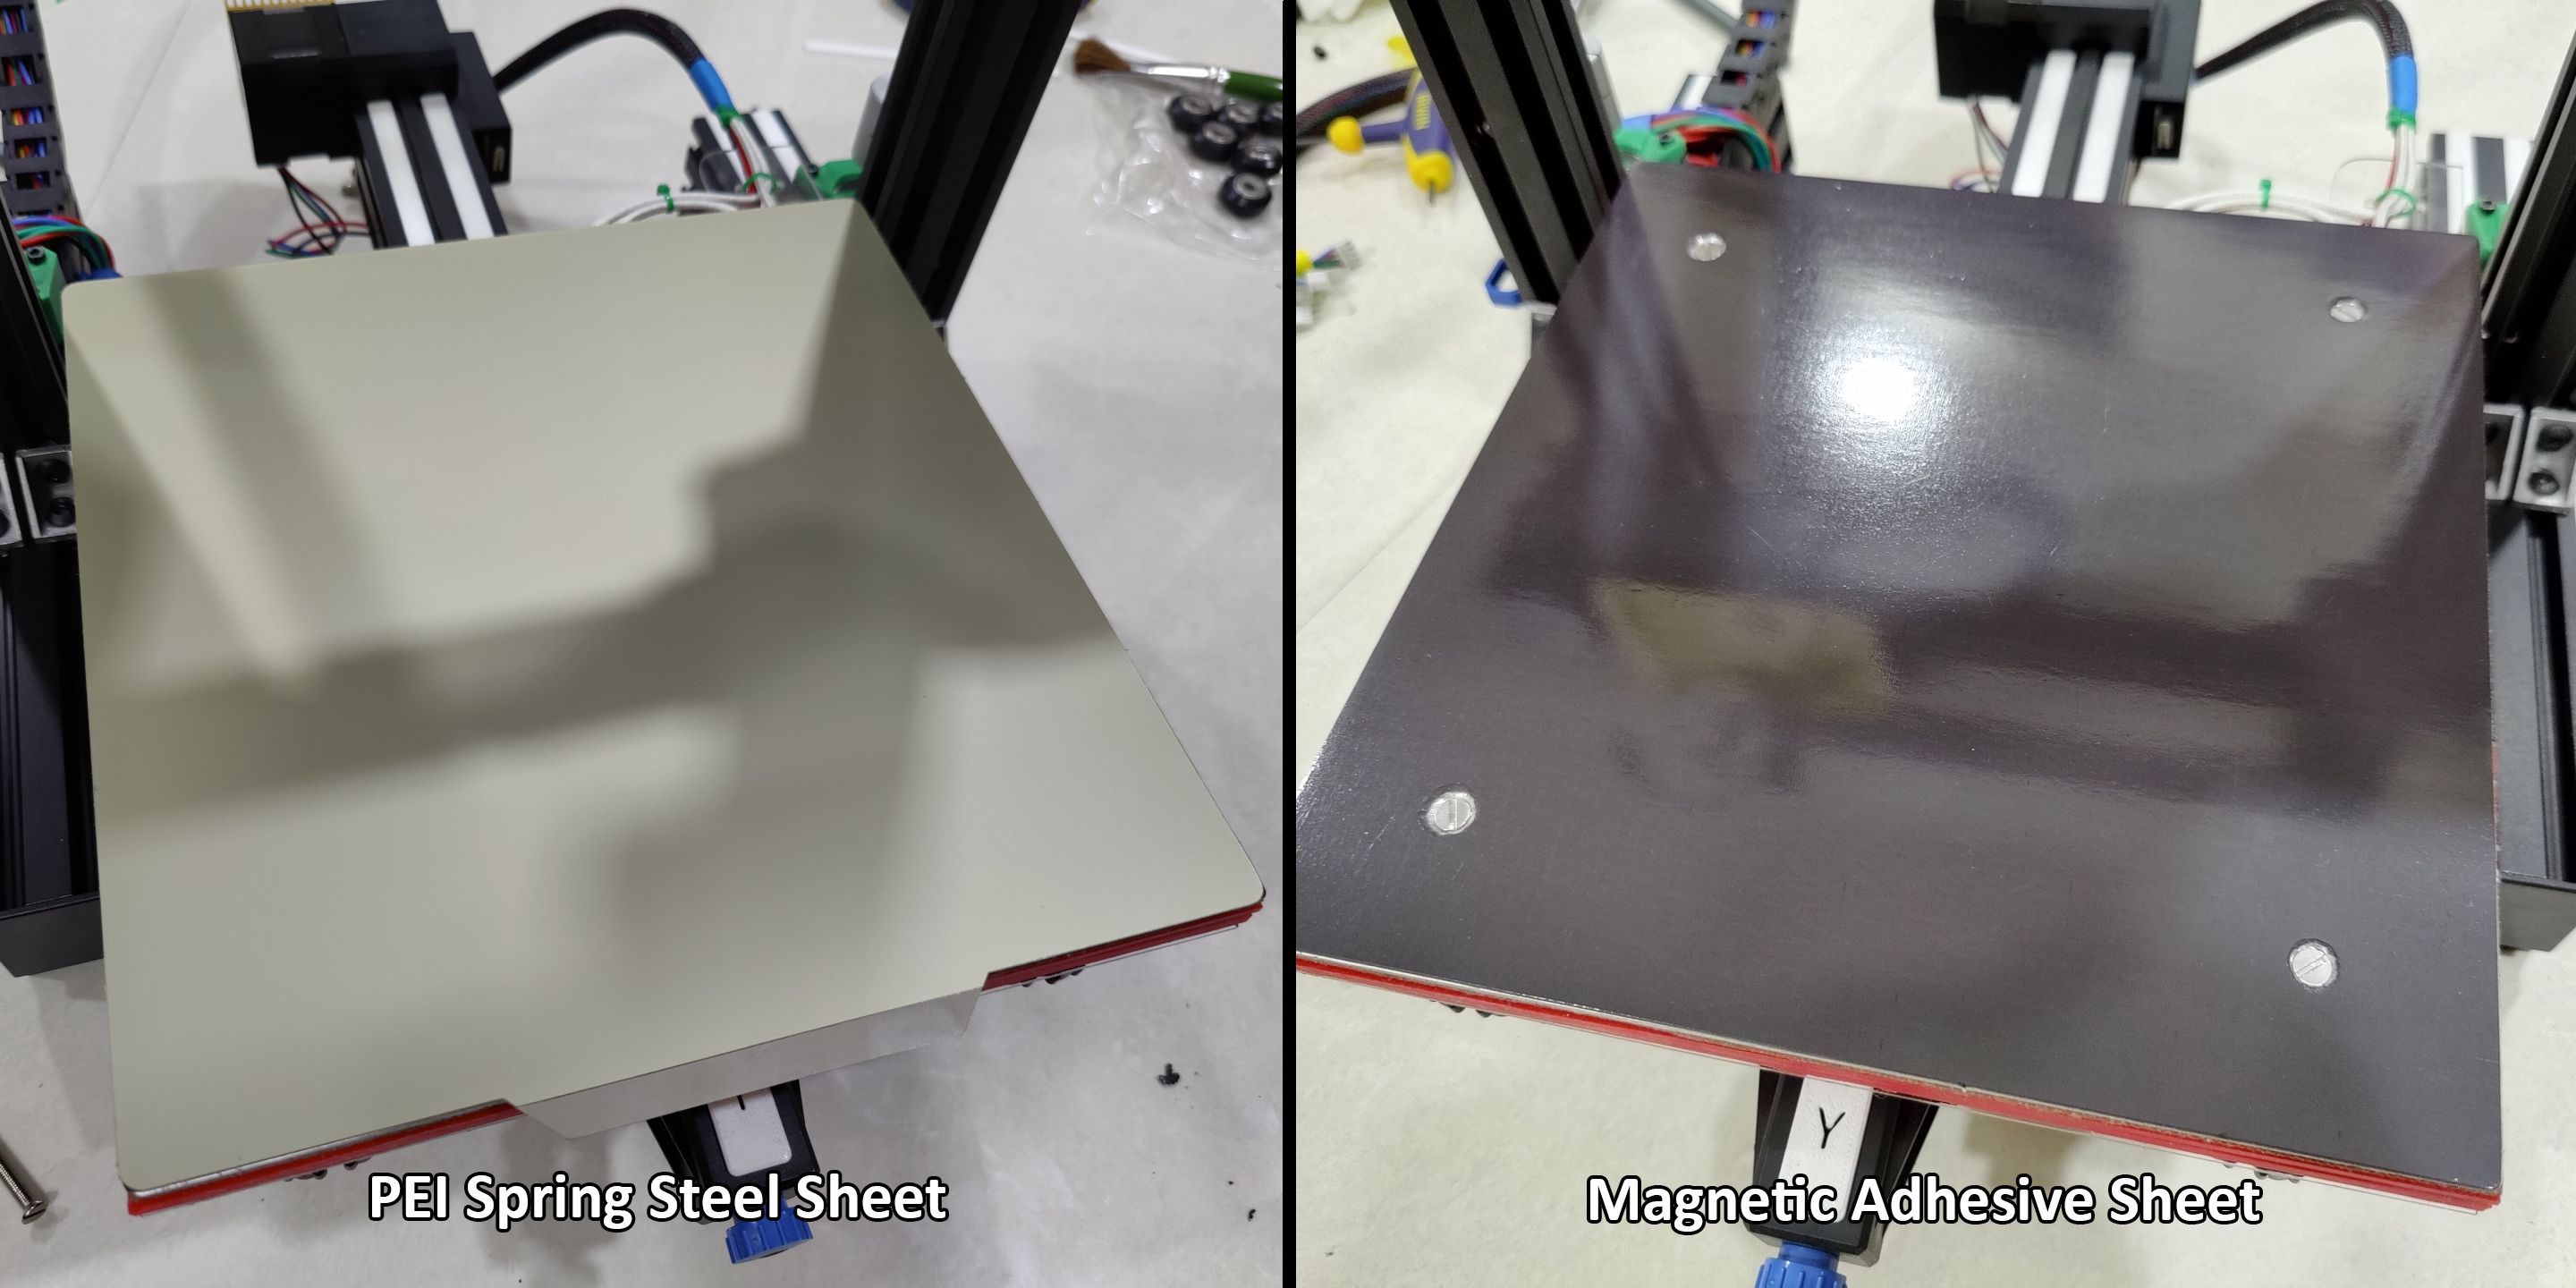
This flexible build surface comprises two parts: the spring steel sheet and magnetic sticker. The latter goes on top of the actual 3D printer bed, and secures the spring steel sheet to it. This arrangement allows the sheet to be lifted off the bed. Releasing prints is then a simple matter of slightly bending the sheet. This also allows you to use multiple spring sheets with a single bed, which is a godsend for productivity.
On the upside, the thin spring steel sheet is a good conductor of heat. The low thermal mass of the ferrous sheet improves heat transfer from the heated bed to the print. However, this also makes it sensitive to thermal fluctuations. Therefore, it is important to run a PID calibration routine to ensure precise control over bed temperature. Failure to do so will lead to increased Z-banding in prints.
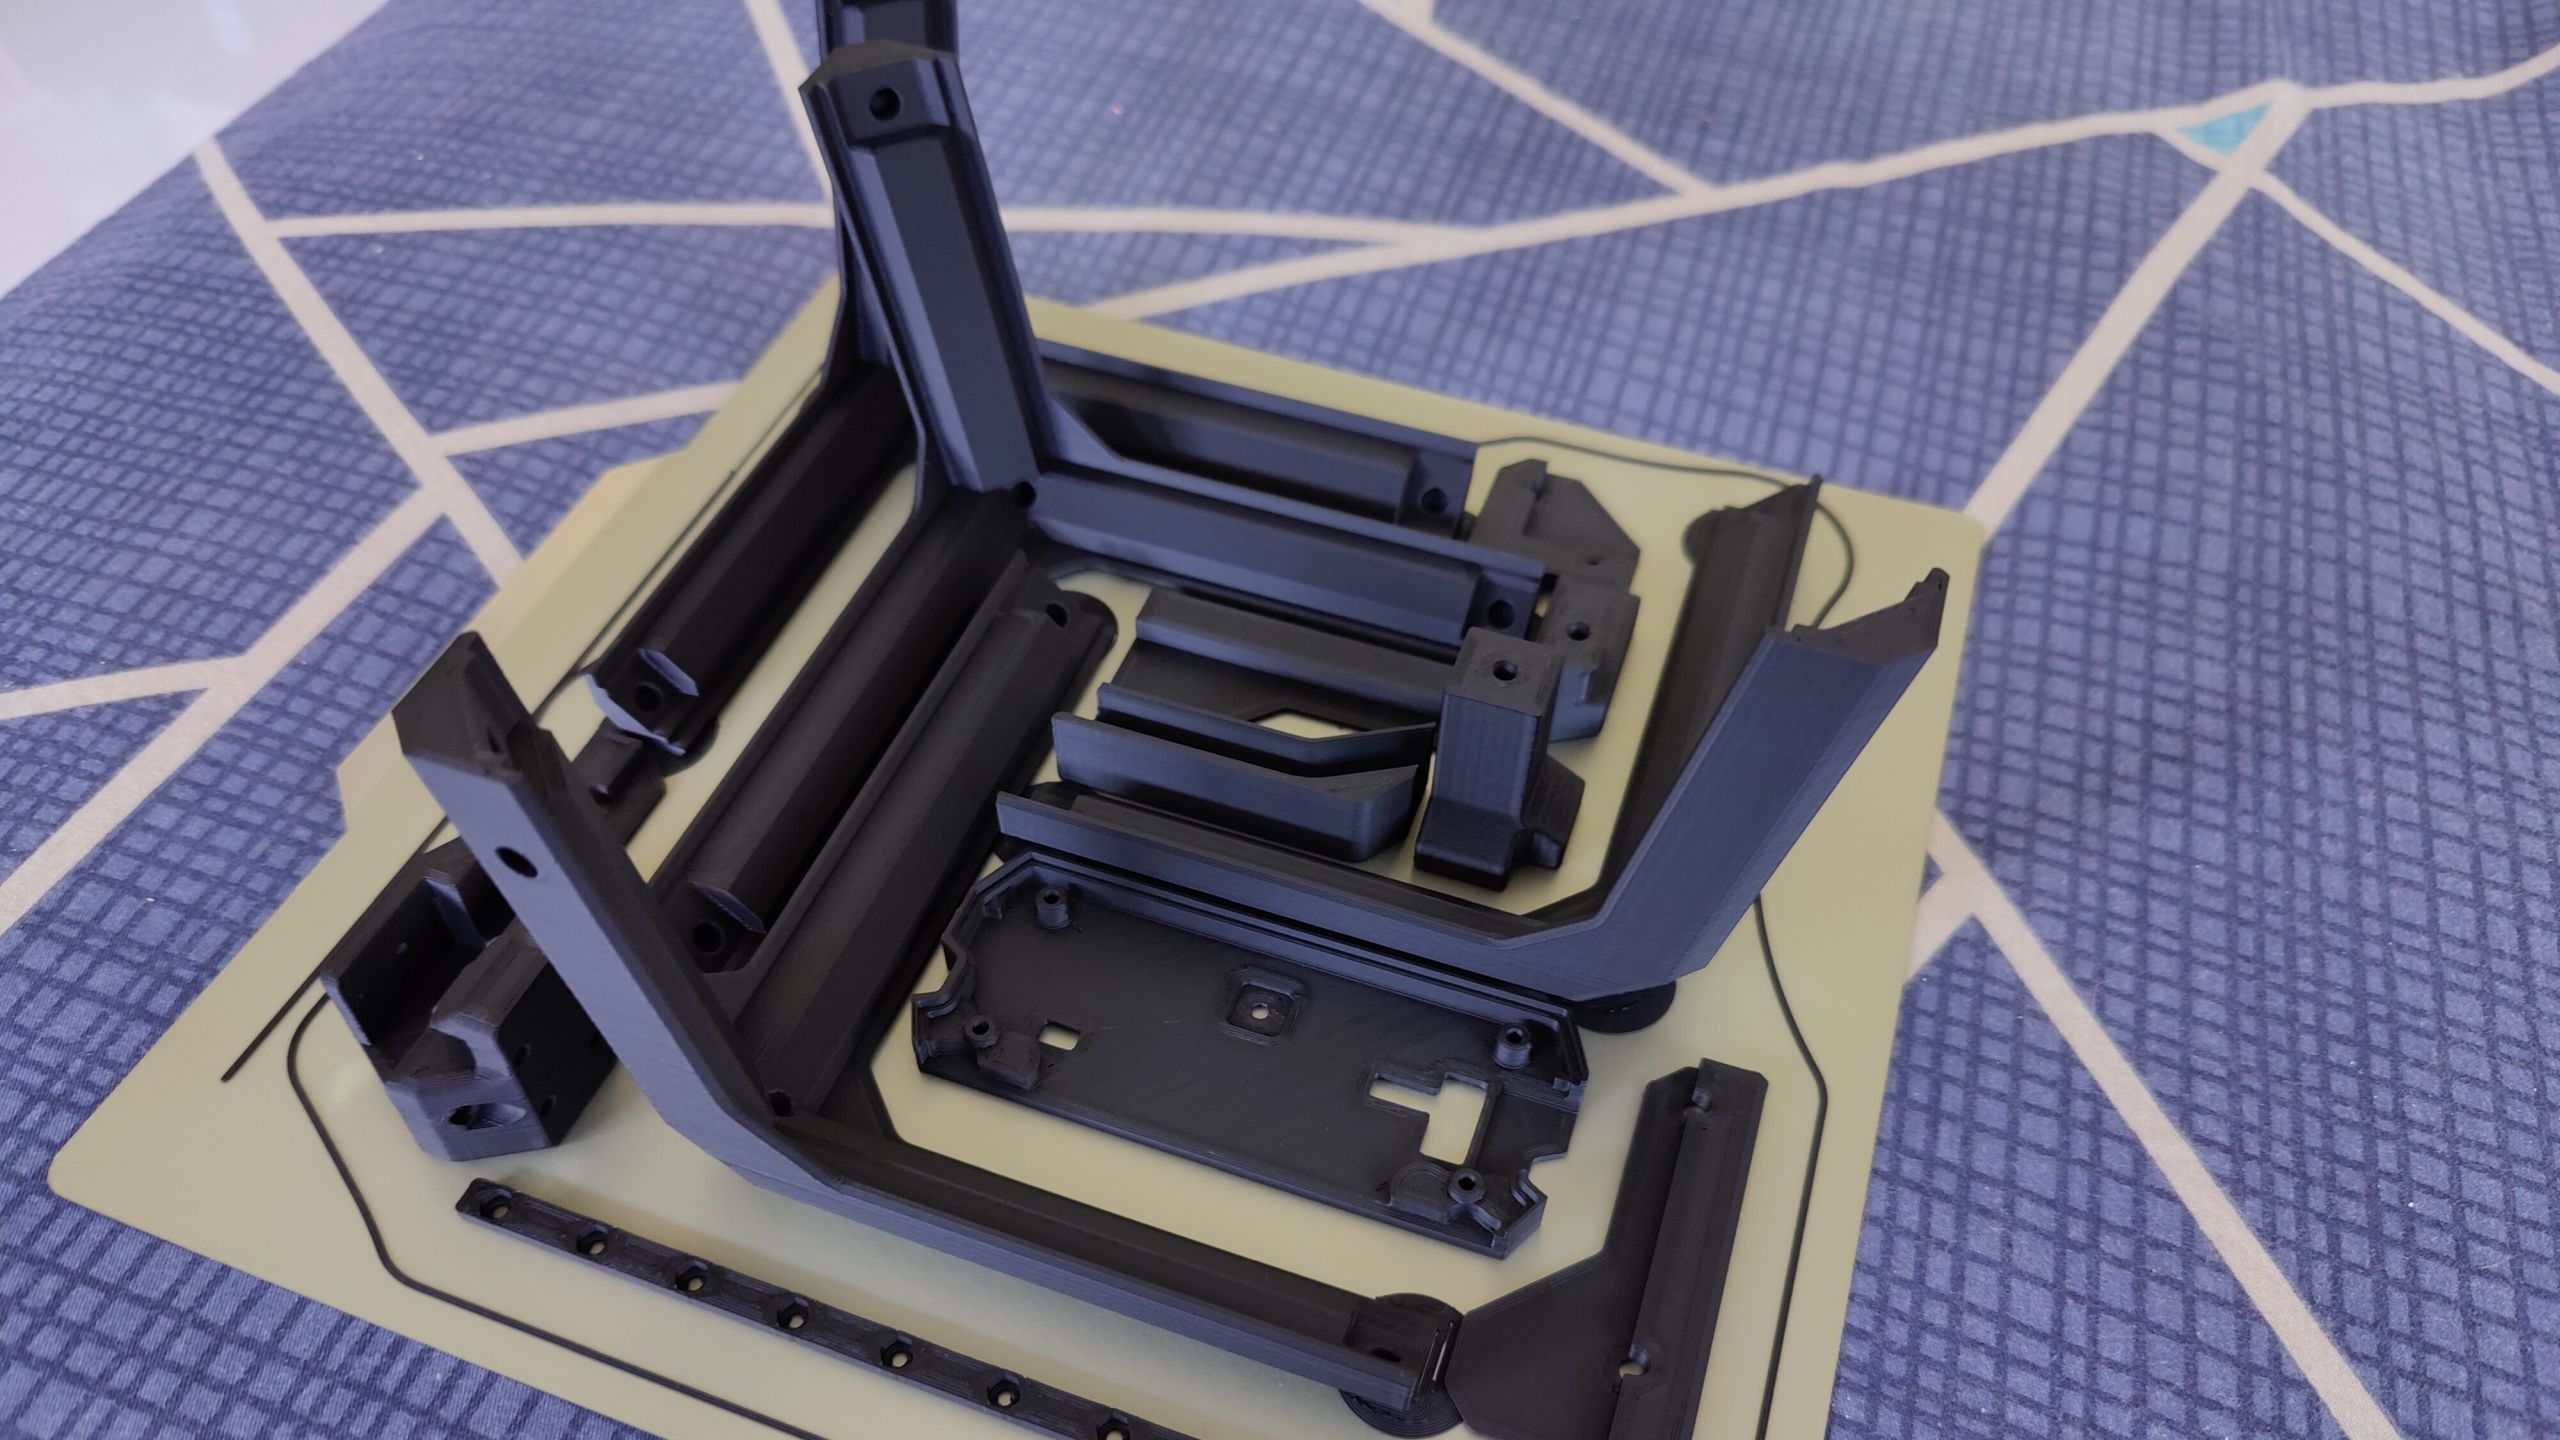
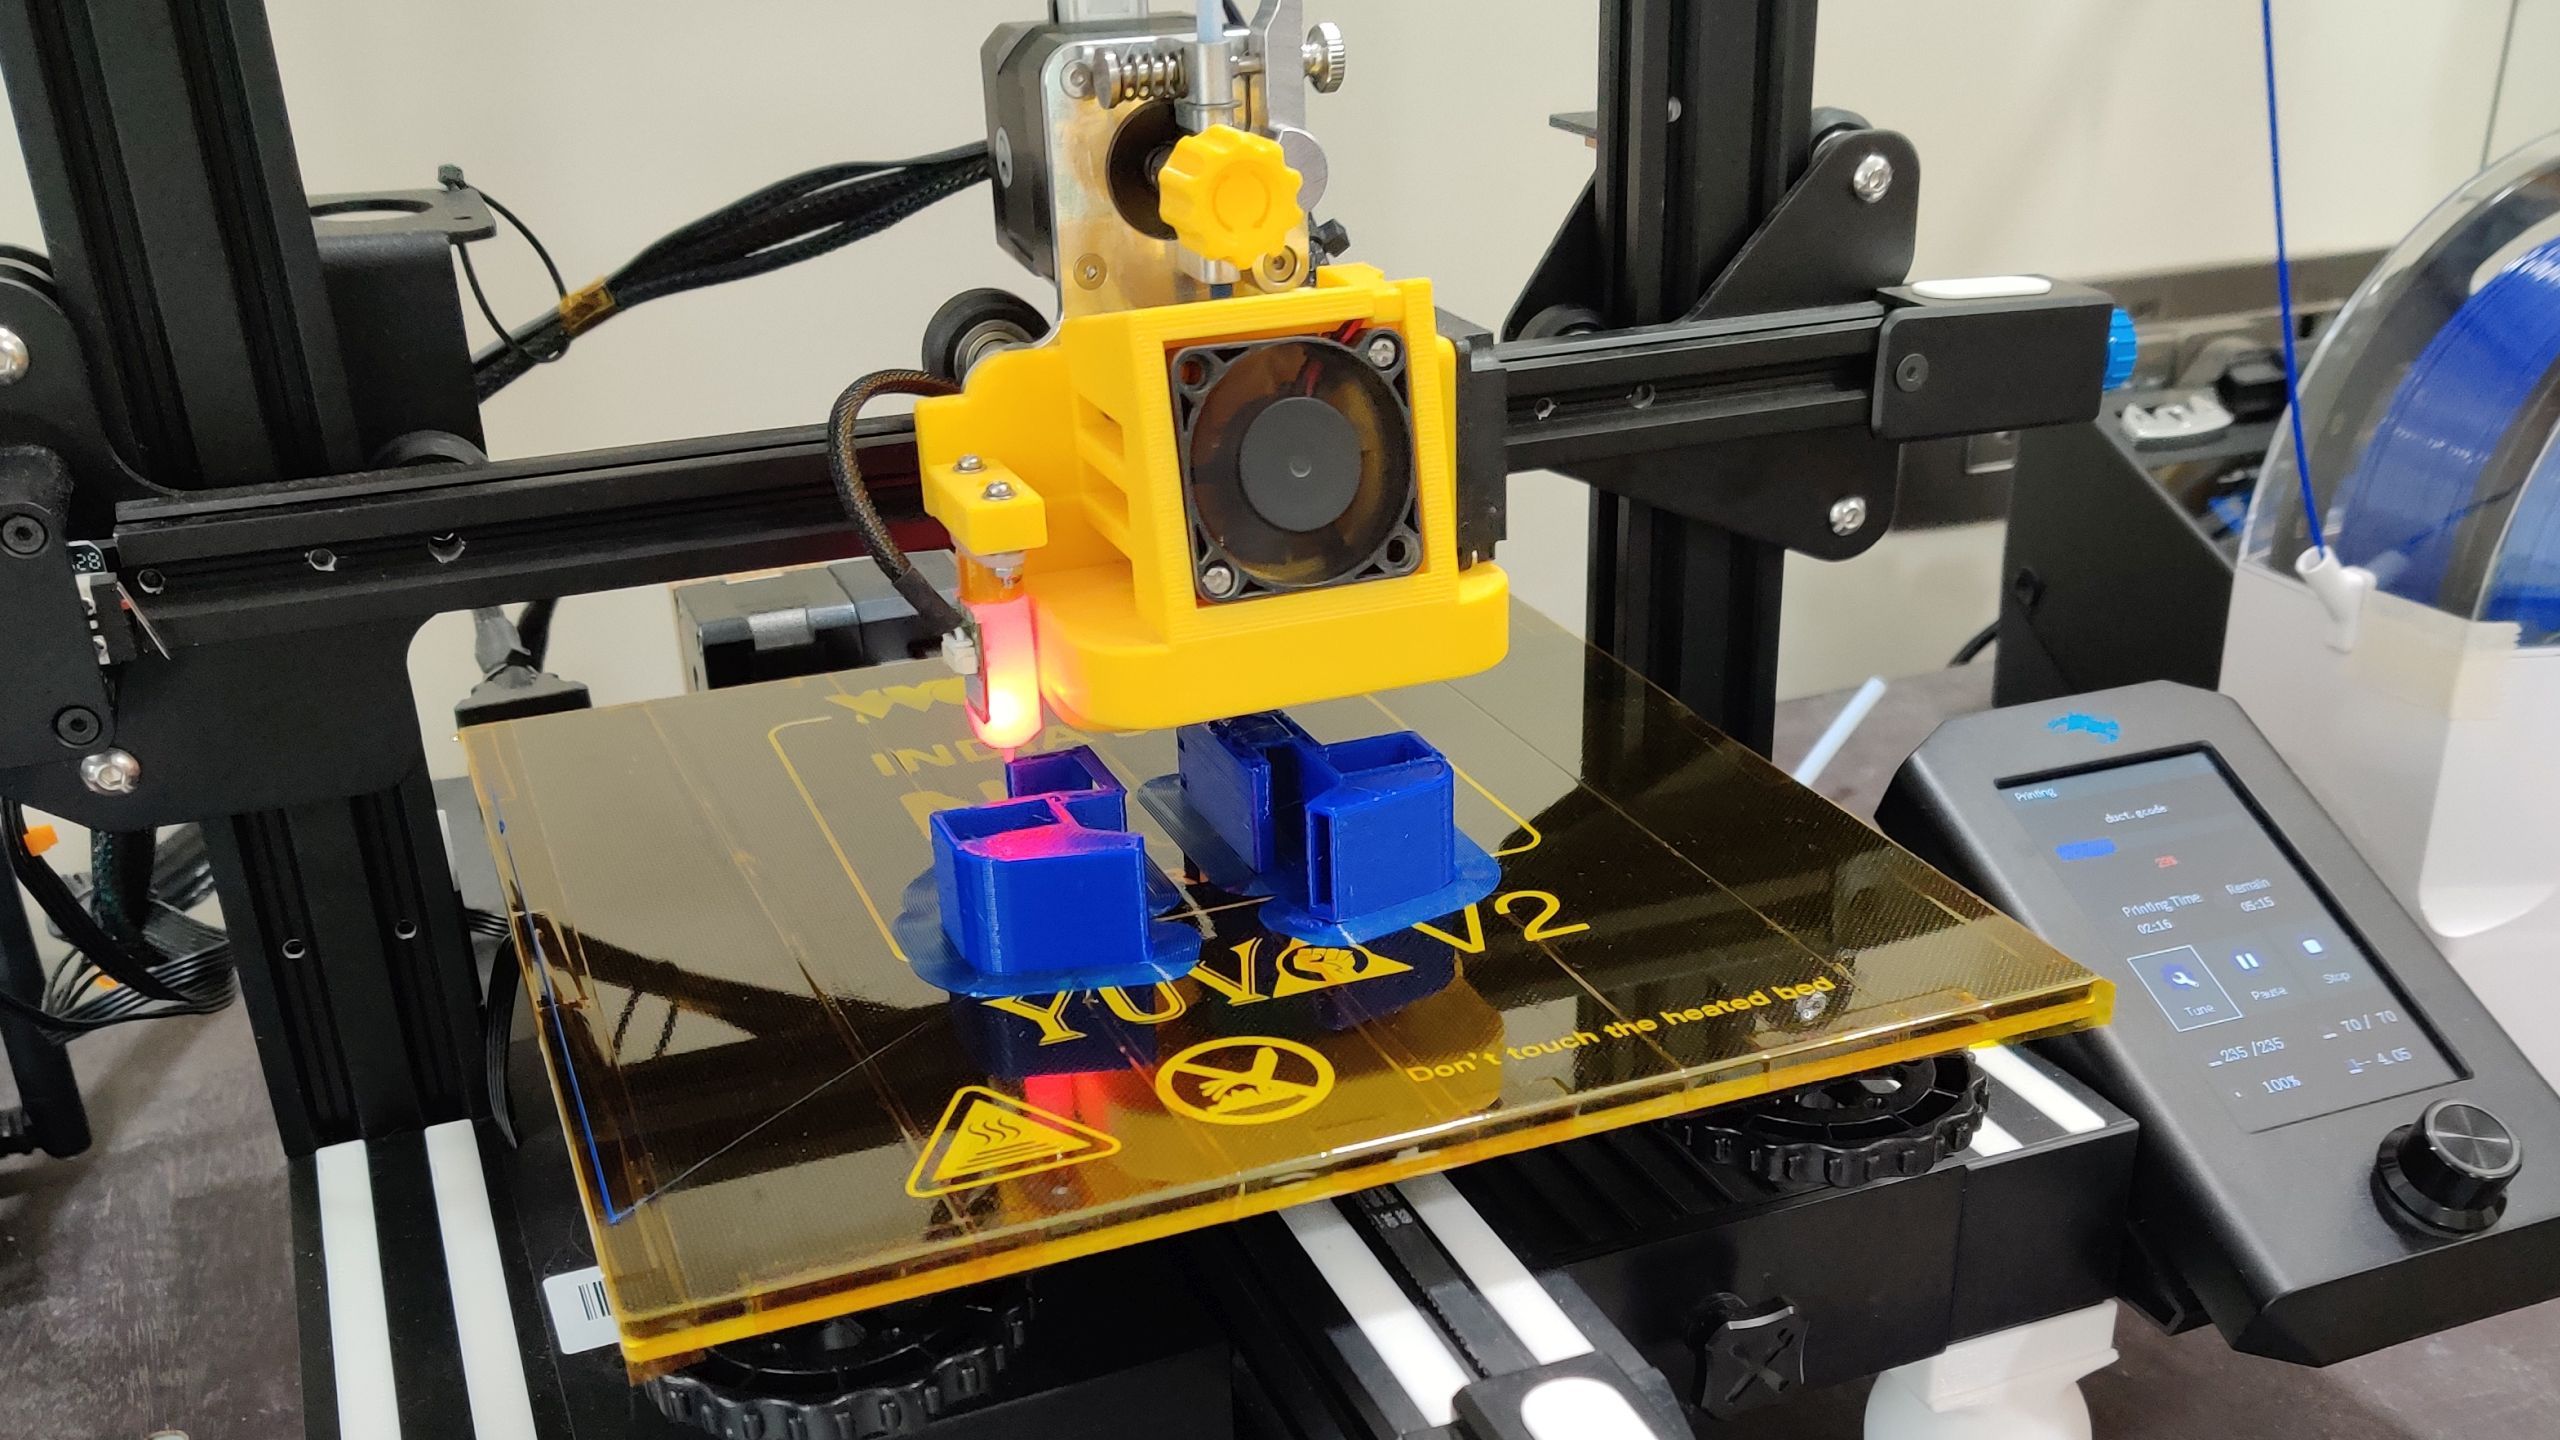
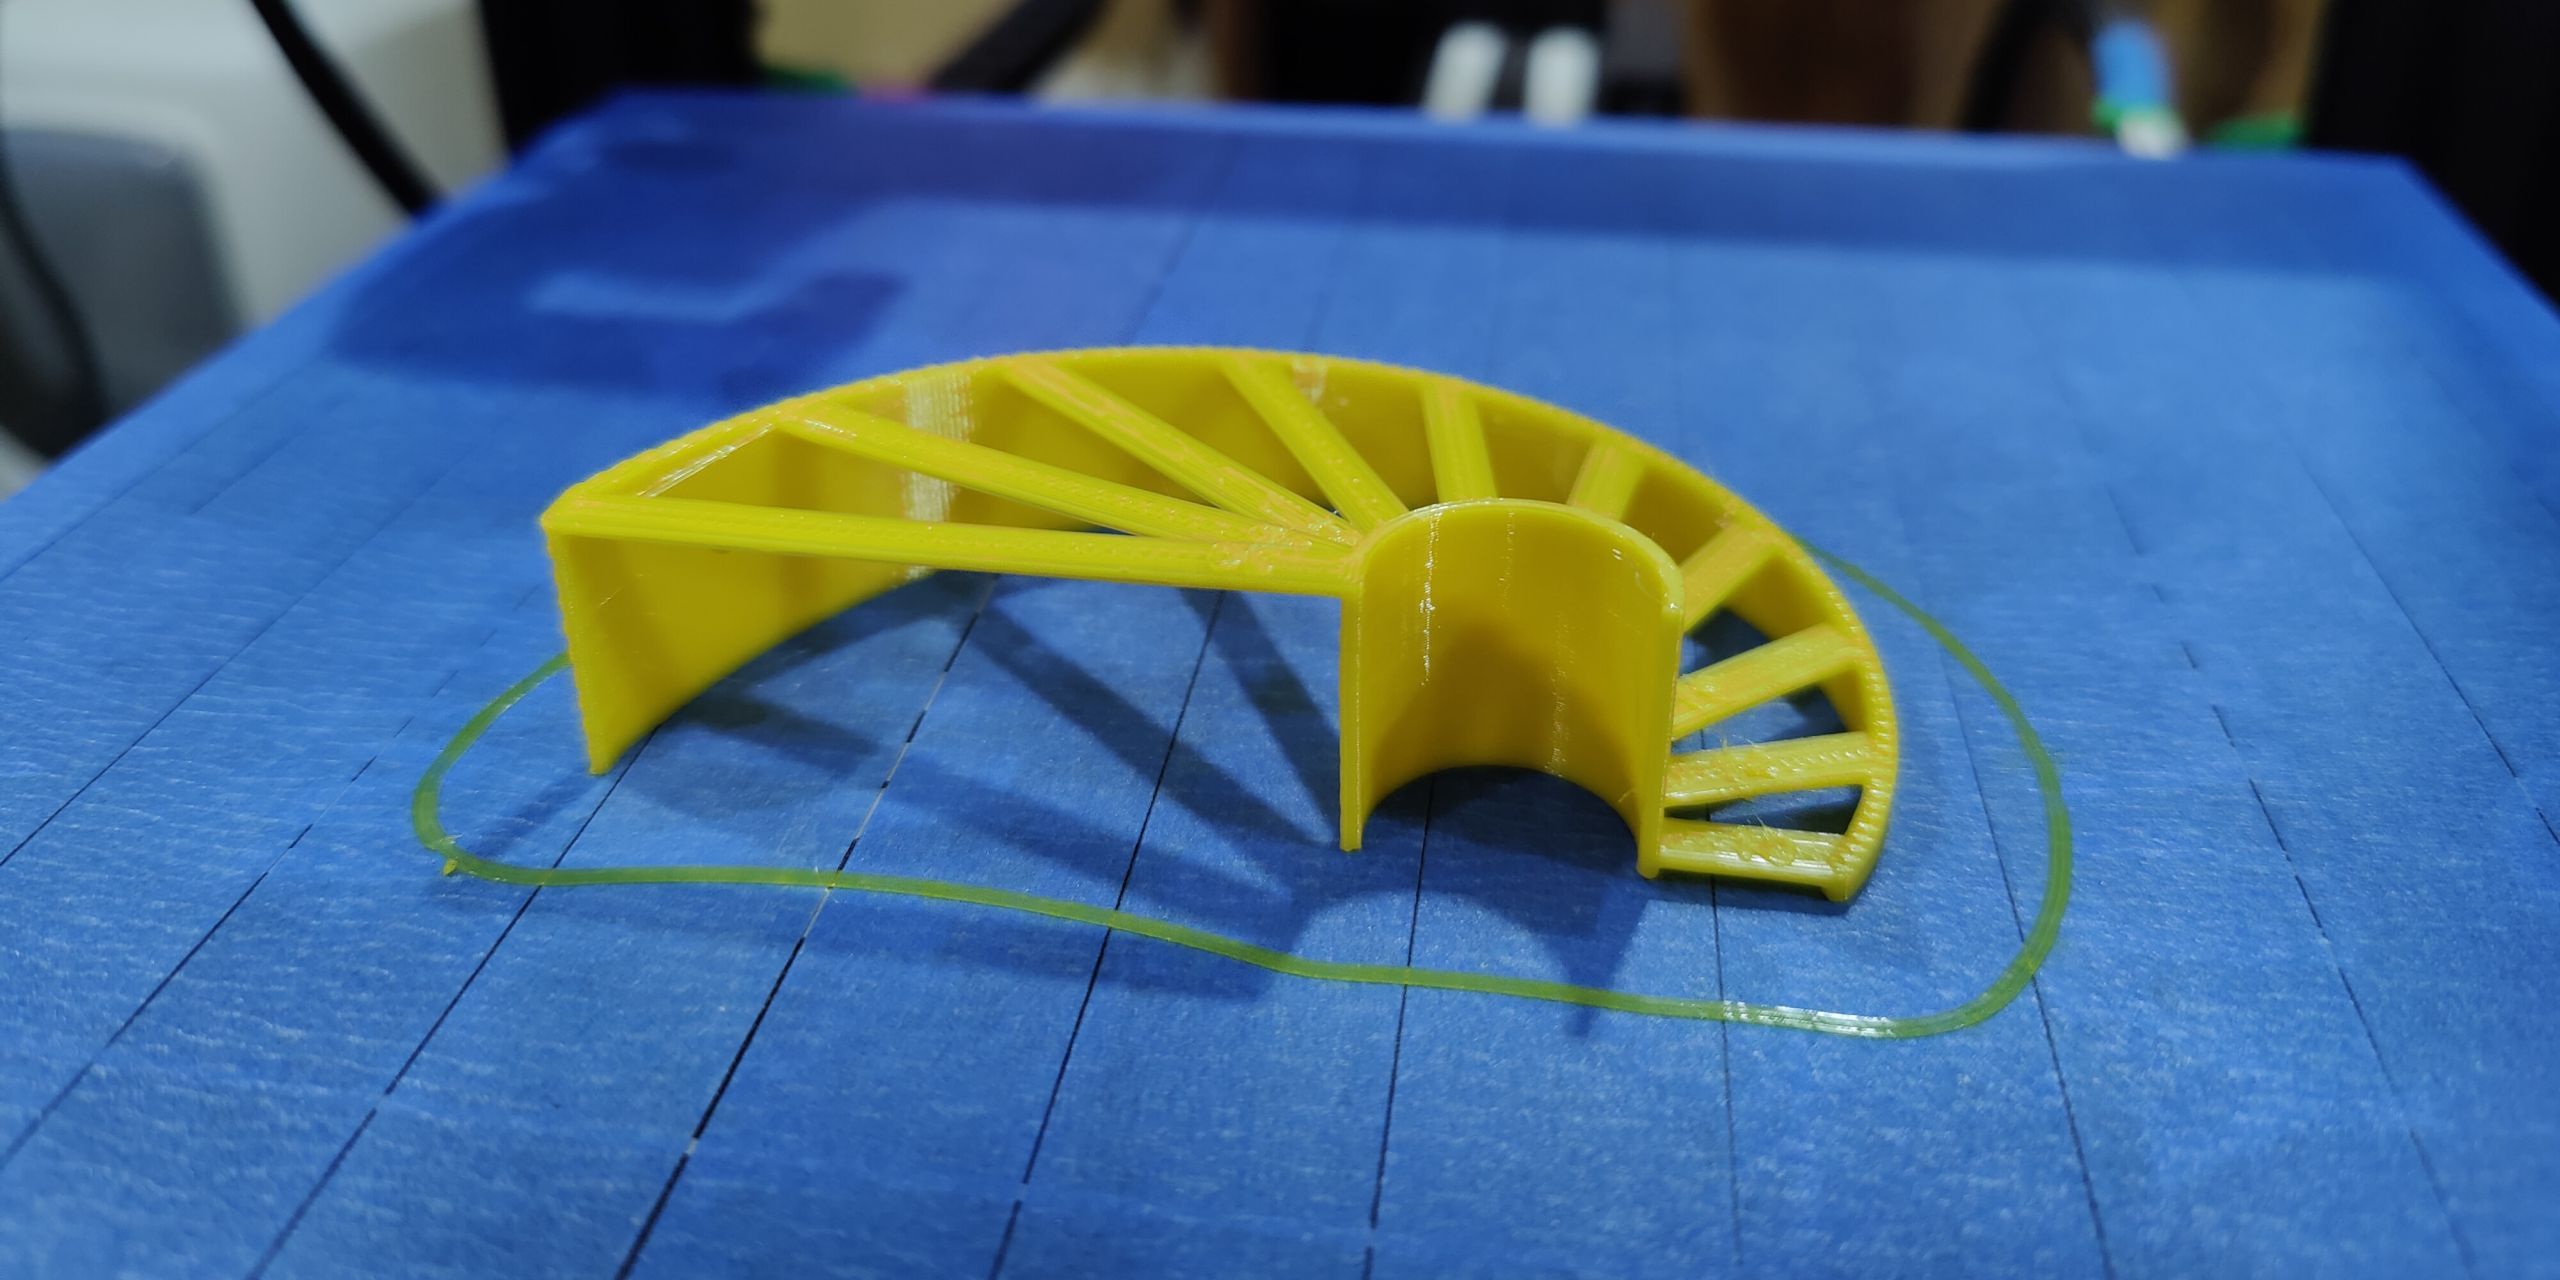
As for filament compatibility, this depends on the actual material paired with the spring steel sheet. While you can print directly onto the sheet with adhesion aids, such as glue stick and hairspray, it is usually paired with either Kapton/polyimide tape (photo above) or blue painter’s tape. The former adheres well to materials such as ABS, ASA, and nylon, whereas the latter is more suitable for PLA, PETG, and TPU.
While Kapton tape is more durable, blue painter’s tape (photo below) requires periodic replacement as its adhesive properties wane over time. Painter's tape is also more susceptible to scratching and gouging from the nozzle. On the other hand, Kapton tape is one of the few build surfaces that’s compatible with polycarbonate filament.
4. PEI (Polyetherimide)
PEI, or polyetherimide, is an amber-colored thermoplastic that’s closely related to the highly sought-after PEEK engineering plastic. Like its more expensive cousin, PEI has an extremely high glass transition temperature. This makes it a great for heated beds and high-temperature filaments such as ABS.
PEI is known for adhering extremely well to most common 3D printing filaments, such as PLA, PETG, ABS, ASA, and TPU. In fact, PETG and TPU in particular run the risk of bonding permanently to PEI build surfaces, if the first layer is laid down too close. Using hairspray or glue stick as a release agent is advised in this case. ABS and ASA prints, in particular, bond extremely well to PEI without the need for any adhesion aids.
PEI is almost always used in conjunction with spring steel sheets—either as a thin adhesive film, or as an even thinner powder coating. Adhesive films are cheaper to manufacture, but they run the risk of delamination, especially when subject to strong warping forces associated with large ABS and ASA prints. This PEI format is nevertheless popular because it is a cheap and easy means to achieve a smooth surface finish.
You'll find more information on how ABS and ASA are superior to PLA, and when to use them, in our PLA vs ABS explainer. If you are using PLA, read our tips for how to fix PLA not sticking to the bed.
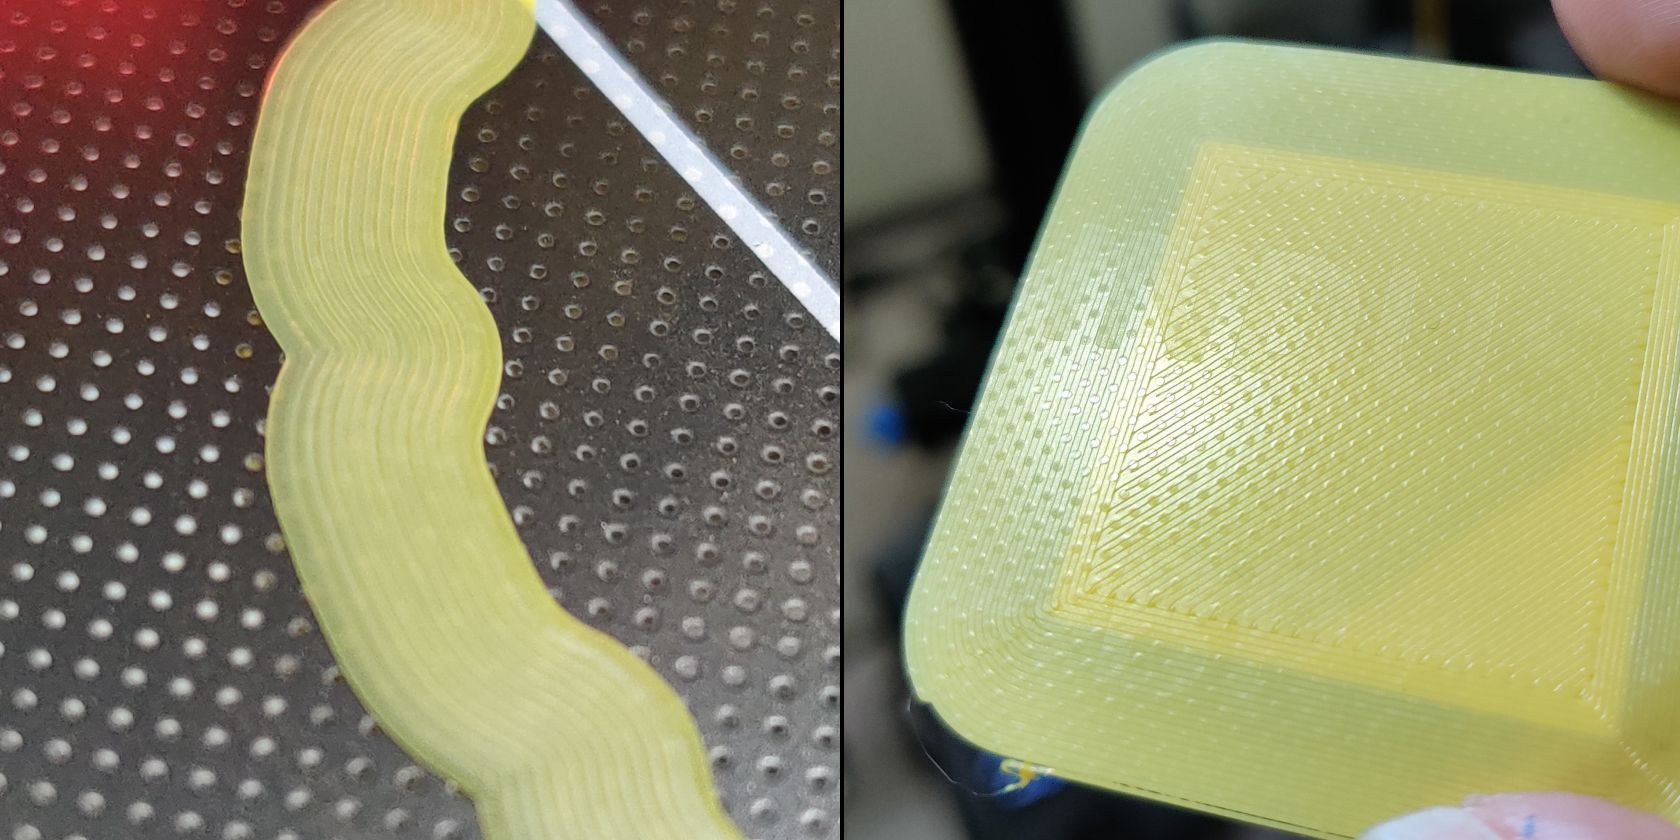
Spring steel sheets bearing a thin powder-coated PEI layer are the most durable way to implement PEI as a build surface. The extremely thin coating cannot be delaminated, which makes it ideal for use with filaments that love to warp. While it’s virtually impossible to achieve a smooth finish with powder-coated PEI, the textured surface further improves adhesion while also allowing finished prints to self-release upon cooling.
5. Garolite
Garolite, also known as G10, is the trade name for phenolic resins reinforced with glass fibers. The material is quite similar to PCB substrate, and is often used interchangeably by enterprising 3D printing enthusiasts. G10 also conveniently happens to be extremely versatile and cheap.
Garolite build surfaces can be made either flexible or rigid by varying the thickness of the sheet. The glass fiber reinforcement gives it enough stiffness and structural integrity to be used without the need for a spring steel sheet backing. Like PEI, Garolite has a high glass transition temperature, which makes it compatible with heated beds.
But, unlike PEI, Garolite sheets are excellent for 3D printing with nylon filaments. It is also one of the rare few build surfaces that work well with PETG without running the risk of permanent bonding. TPU, however, must be printed unheated on G10 sheets to make removal easier. The material also works beautifully with PLA, ABS, and ASA filaments. Garolite is cheaper than PEI, while also being more versatile.
3D Printing Surfaces Made Easy
Between these five build surfaces and the knowledge of how they pair with different 3D printing filaments, you are now in a position to make an informed choice. We recommend using a PEI coated spring steel sheet for general purpose printing, and buying specialized build surfaces to print engineering plastics such as nylon and polycarbonate.

