Occasionally, we all do something that's a little fun with Photoshop that may or may not have a purpose on the future. So right now, I'm providing something that everyone can sit back, chill, and say "hey, I'll try that!"
So today, I'm going to teach you a little trick that I learned in high school while I was on newspaper staff. If, for whatever reason, you need an image of wrinkled paper, I'm here to tell you that you can make quite a convincing one using only Photoshop. It's real easy, so go ahead and boot up your Adobe-fueled magic-maker (but GIMP and Pixelmator might be able to pull it off too).
Set Up Your Canvas
Normally, when I write up any tutorial related to image editing, I will tell you all the crazy pixel resolutions needed for your project. However, in the case of this one, you won't need any set sizing. All you need to do at this point is open upon a Photoshop file with a white background. Granted, I recommend that you make a new layer from the background as soon as you start this project (Layer > New > Layer From Background).
Make Use Of The Gradient Tool
Right now, you should go ahead and select the Gradient Tool. If you can't find it on your toolbar, chances are that you have the Paint Bucket still in queue. In order to remedy this, open the contextual menu of the Paint Bucket (right-click or click + CTRL) and you'll see the Gradient Tool as an option. Click it, and you should be good to go.
After doing this, you need to go into the options of the Gradient Tool and change the mode to "Difference". Furthermore, you must use the radial gradient option. In case you aren't sure, the radial gradient option will be the second choice out of the various options offered for gradient settings as noted by the figure below.
Make A Bunch Of Bubbles
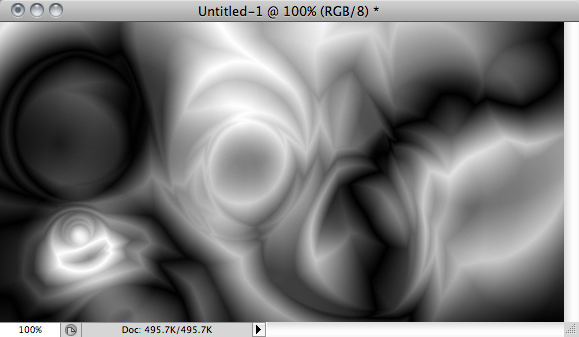
As of now, you get to go just a little crazy. With the same spirit as splatter artwork, just make a lot of overlapping circles all over your canvas. This may very well be the most fun part of the project, and it's easy to get a little carried away simply because it looks cool. However, I encourage you to not make it too complicated. Else, the paper might not turn out exactly how you want.
Below is a good example for how much you might want to do.
As you can tell, I made quite a few swirls that create things that almost look like creases and shading. It's a pretty nifty technique all by itself, and you likely could go an entirely different direction with it. However, what we're going to do is just make some paper.
Make It Papery
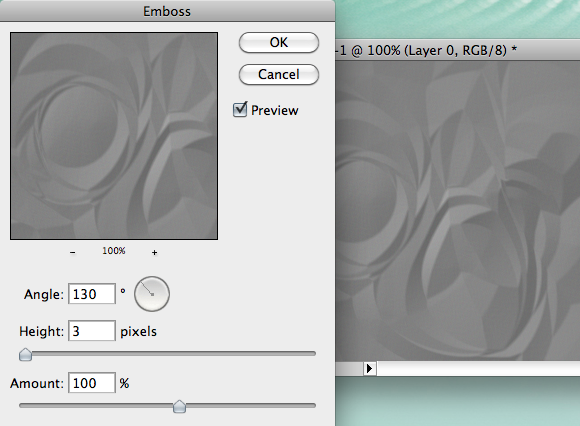
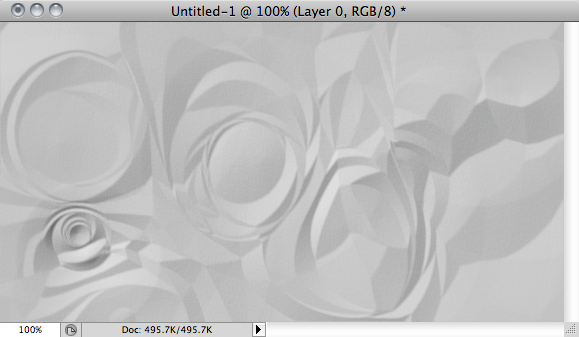
Alright, so now that you've got the basic set-up down, you will need to apply the Emboss filter to this piece of work. Honestly, I would go for low height and mid-high amount levels. Furthermore, you should adjust the angle to however you see fit. For all intents and purposes, I went with the standard settings of this filter but adjusted the light angle ever so slightly.
For extra "umph", it might be a good idea to adjust the brightness and the contrast of the image to suit what you need. I can't help you out here very much, for you have to do it however you see fit. In this instance, it's really all about your taste. Personally, I like a higher brightness and contrast, but you may find other styles that you like.
Tweak It For What You Need
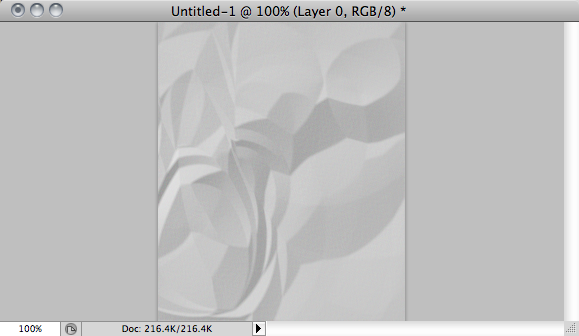
I really don't know why you want to make digital paper, but surely, there's a good reason for it. However, with the raw image that we have here, you may see some sections that are rather unpaper-like. That's why it's a good idea to actually make one huge image and then crop the parts that you like. For instance, I like mainly the right side of the image shown, so I'm only going to use it.
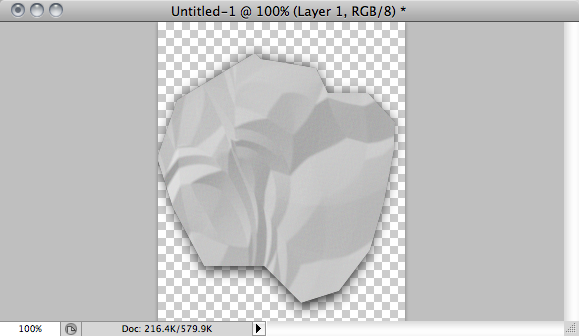
In my opinion, it looks a little more like wrinkled paper since it lacks the circular creases as with the original image. Another thing you can do is use the Polygonal Lasso Tool and cut out a section, making it look like you ripped the paper off a larger sheet. Add a shadow underneath for effect, and you have something that looks pretty snazzy.
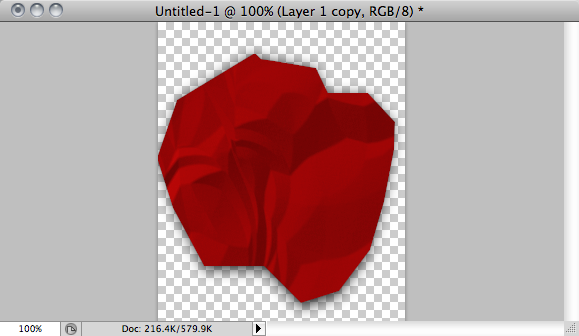
That's why I said you should make the background itself a layer, actually. One final thing that I will show you is that, using the Hue/Saturation adjustment tool, you can actually change the color of the paper. For reference, I readjusted the brightness and contrast for the piece that you see below.
Conclusion
Why are you making wrinkled paper in Photoshop? Well, because you can, that's why! For whatever purpose you have for this tutorial, you will now certainly know how to do it well. I actually believe you could it for a Twitter or a YouTube background.
What other cool things do you know how to make in Photoshop? How did you make use of this one?


