Android is easy to use out of the box, but it packs lots of hidden features for power users. In particular, you might know about the hidden Developer Options menu. As the name implies, these features are handy for developers building Android apps, but they aren't as important for the average user.
One of the most well-known Android developer features is USB Debugging. You may have seen this term floating around and wondered whether you should enable it. Let's take a look at what Android USB Debugging mode is for, and if you need it.
What Is USB Debugging Mode on Android?
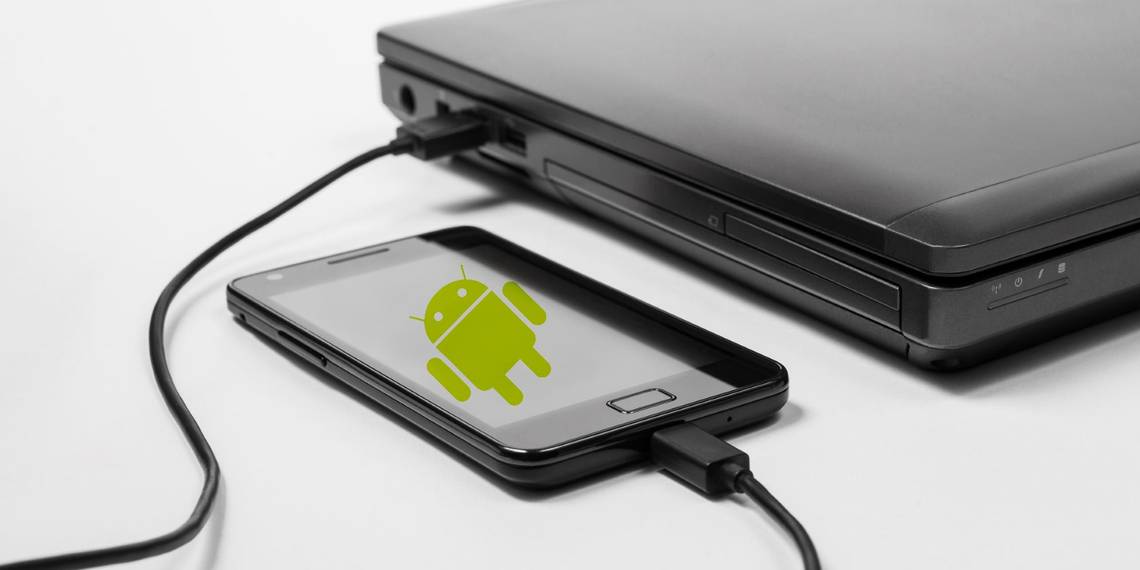
USB Debugging allows an Android device to communicate with a computer that's running the Android SDK, in order to use advanced operations.
When you develop Android apps, you have to install the Android Software Developer Kit (SDK) on your computer. An SDK gives developers the tools they need to create apps for a certain platform.
Usually, you install this alongside Android Studio, which is a development environment for Android apps. It includes a suite of tools that's vital for any developer, such as a debugger for fixing problems and a visual editor.
Libraries are another key component of the SDK. These allow developers to perform common functions without having to re-code them. For example, Android has a built-in printing function, so when writing an app, you don't have to come up with a new way to print. You simply call the built-in method included in the library when it's time to do so.
You can do a lot with Android from the device itself. But developers need more options. It would be a huge pain to manually move files between devices, run commands, and perform similar tasks all on the phone while developing. Instead, they use tools built into Android Studio and the Android SDK to streamline these processes. And you must enable USB debugging to do so.
If you don't need the entirety of Android Studio, you can install just the Android SDK on its own. You'll need to do this for many common rooting methods, as well as performing other advanced tasks.
Enabling USB Debugging allows your phone to fully communicate with a PC so you can take advantage of these tools. It's not necessary to enable USB debugging if you just want to connect your phone and PC using Bluetooth or a USB cable for simple tasks like syncing photos, though.
How Do I Enable USB Debugging on Android?
On modern Android devices, you'll find USB Debugging in the Developer Options menu, which is hidden by default.
To unlock it, head to Settings and scroll down to About phone. Scroll down again on the next menu, and you'll see a Build number entry at the bottom. Tap this several times, and you'll eventually see a notification letting you know that you're now a developer.
Next, jump back to Settings and scroll down to the bottom again. Open the System entry and (if needed) expand the Advanced section. Here you'll see a new entry titled Developer options.


Depending on your version of Android, these steps can differ slightly. You might see the Developer options entry listed in the main Settings page instead, for example.
Regardless, once you're inside the Developer options menu, look for USB debugging under the Debugging header. Hit the slider to enable it, and confirm Android's warning that you understand what this feature is for.


Now you've turned on USB Debugging. To use it, you just need to plug your phone into a PC using a USB cable. When you do this, you'll see a prompt on your phone asking if you want to authorize USB Debugging for that specific computer.
This is a security feature designed to keep your device safe from attack, so make sure you trust the connected computer before accepting this. If you ever accept a prompt for a device by mistake, select Revoke USB debugging authorizations from the same Developer options page to reset all trusted computers.
What Does Android USB Debugging Do?
Without USB Debugging, you can't send any advanced commands to your phone via a USB cable. Thus, developers need to enable USB debugging so they can push apps to their devices to test and interact with.
When you create a new build of your app in Android Studio and want to test it, you can push it to your connected device with just a few clicks. After building, it will run and pop up on your device right away. This is way faster than manually sideloading APK files every time.
A common reason for non-developers to enable USB debugging is to root their phones. Rooting methods vary by device and change over time, but most methods involve some program that you run from your desktop. Once you enable USB debugging and connect your phone, you can use a tool to send the root instructions to your device without even touching it. Installing a custom ROM involves a similar process.
You also need USB Debugging turned on to use Android Debug Bridge (ADB) commands. Using these, you can install APK files stored on your PC onto your phone, move files back and forth, and view device logs for debugging errors. ADB commands and Fastboot can also save your bricked device even when you can't turn it on normally.
In the ancient days of Android, you needed USB Debugging for some other functions too. Most notable was taking a screenshot over USB, which was just as annoying as it sounds. This was before taking a screenshot on Android had a standard command and was easy.
Now, you just need to hold your device's button combination (usually Power and Volume Down) to grab a screenshot, rendering this method obsolete.
Is USB Debugging Safe?
In theory, with USB Debugging enabled, plugging your phone into a public charging port could open it up to risk. If someone had access to the port, they could potentially steal information from your device or push malicious apps to it.
This is why Android displays a confirmation prompt, so you don't connect to a PC you don't trust. However, an unsuspecting user could accept the prompt without realizing what it's for.
Additionally, leaving USB Debugging enabled makes your device open to attack if you were to lose it. Someone who knew what they were doing could connect your device to their computer and issue commands to it via ADB, without knowing your PIN or other lock screen security.
That's scary, and a good reason you should have Android Device Manager set up so you can factory reset your Android device remotely.
Unless you regularly use ADB and connect your Android device to your PC, you shouldn't leave USB Debugging enabled all the time. It's fine to leave it on for a few days while you're working on something, but there's no need to have it enabled when you're not regularly using it. The risks outweigh the benefits in that case.
If USB Debugging Is Not Working
In case you've enabled USB debugging and it's not working, chances are that your USB cable or some configuration option is to blame. See what to do when your Android phone won't connect to your computer to fix your issue.
In addition to confirming that your USB cable is good, make sure that you've properly installed and updated the Android SDK on your computer.
Is Node Tree Debugging the Same as USB Debugging?
In addition to USB Debugging, Android offers a similarly named option called Node Tree Debugging. This is buried deep in a separate menu so you're unlikely to come across it naturally, but it's still useful to know the differences.
Node Tree Debugging is a developer option inside TalkBack, which is Android's screen reader. This tool allows your phone to read the contents of the screen out loud, helping users with visual disabilities to navigate around their devices.
Under Settings > Accessibility > TalkBack > Settings > Advanced settings > Developer settings, you'll see an option called Enable node tree debugging. It sends information about the contents of your screen to your device's logs.
The purpose of this feature is to help developers design their apps for accessibility, and knowing what exactly TalkBack is reporting to users is important for this.


If you are not a developer, Node Tree Debugging serves no purpose. You don't need to worry about turning it on.
How Do You Use Android USB Debugging?
We've taken a tour of what USB Debugging does and what you can use it for. In summary, this feature allows you to push advanced commands to your device when you connect your phone to a PC.
USB Debugging is vital for developers, but also unlocks some useful tricks for power users. While you should feel free to enable it when needed, we recommend keeping it turned off when you're not using it. This will increase the security of your device.
Meanwhile, USB Debugging is just one of the handy features available in the Developer options menu.