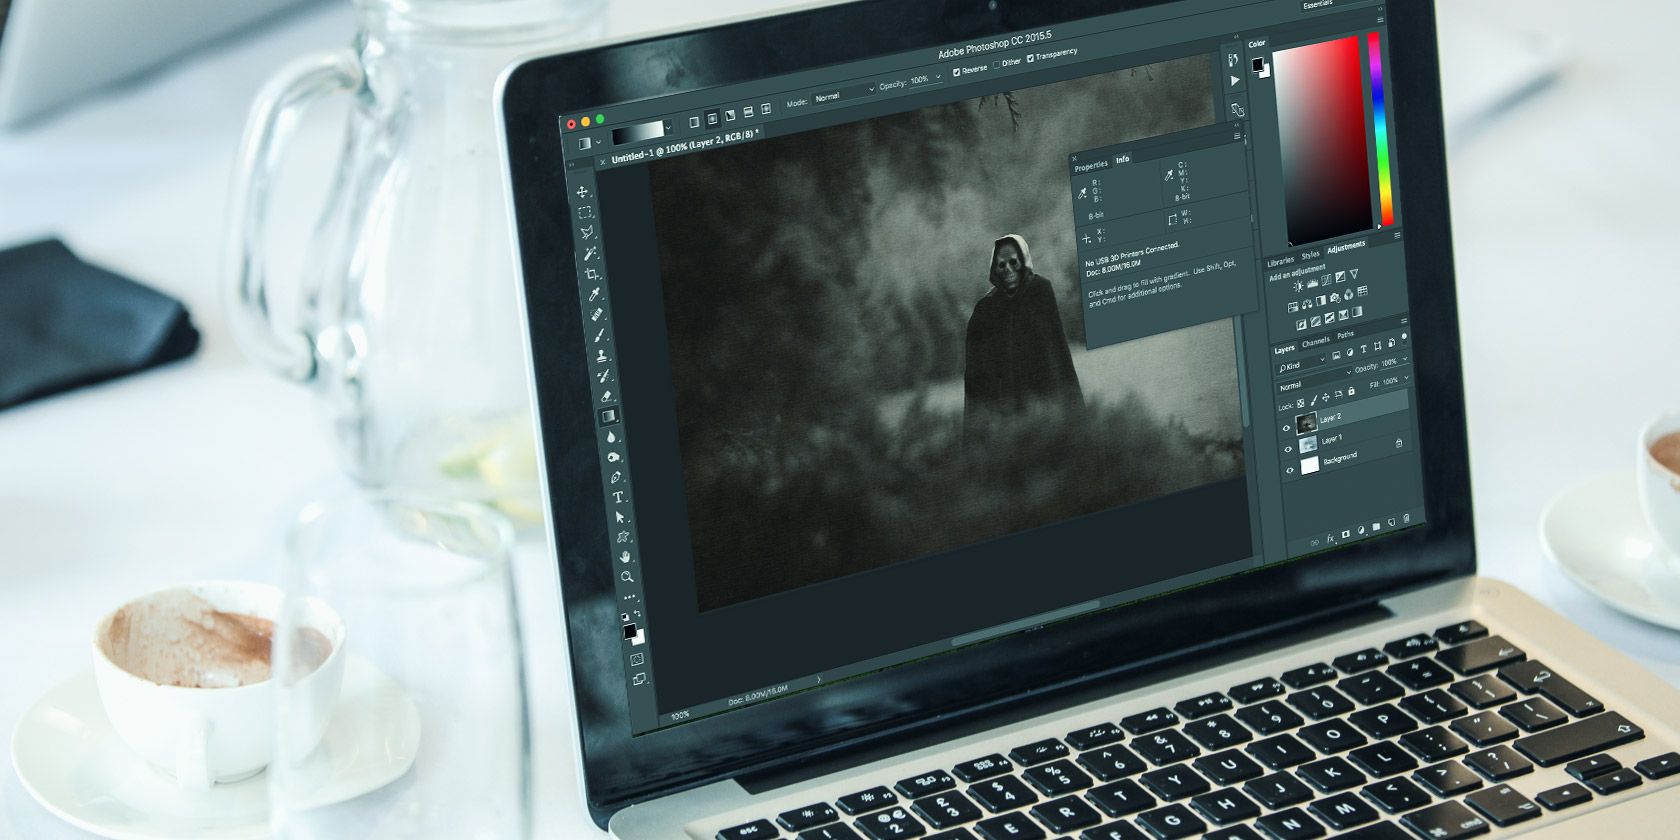
Old things are just spookier. It's a fact.
If you take a photo of a ghost with your iPhone, people are really just going to assume it's something you whipped up in Photoshop. If, however, you produce an old, dusty photo that you "found" in your Gran's basement, then maybe, just maybe, they might give it a moment's thought.
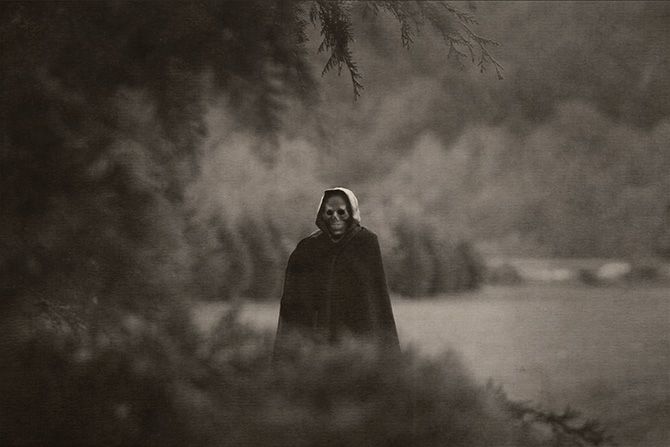
Today, we're basically going to reverse the process I showed in my article on restoring old family photos. We're going to start with a modern photo and make it look like a vintage relic.
Prerequisites
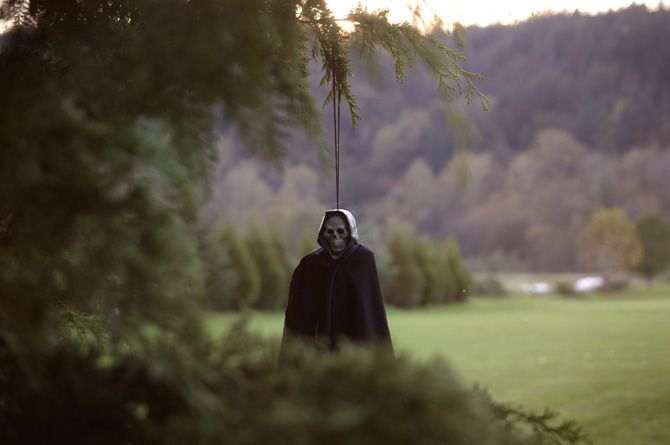
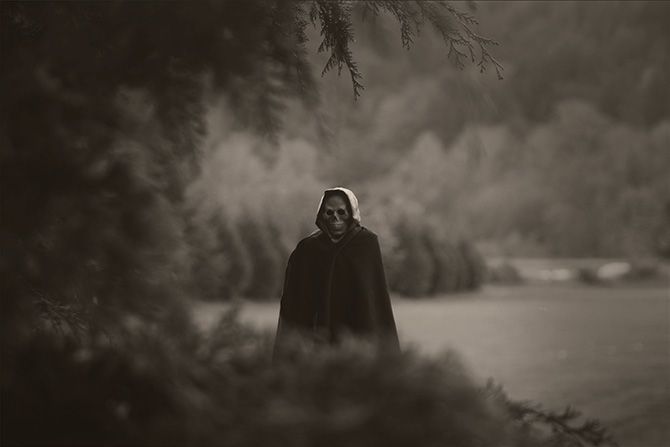
To follow along, you're going to need your own spooky image. I'm using this cool shot from Steven Leonti. Ideally, you want to pick an image that looks like it could have been taken in the 1920s or earlier.
If you want to get serious, find a spooky location and some old clothes, and shoot your own photo. I really want to see someone get a broomstick and a witch costume, and combine this lesson with my article on how to make someone levitate in Photoshop. You can also follow along with the image I'm using.
I'm going to move quite fast in this article. Anyone should be able to follow along, but a bit of familiarity with Photoshop will go along way. If you are new to Photoshop, check out our Idiot's Guide:
- An Idiot's Guide to Photoshop, Part 1: Easy Photoshop
- An Idiot's Guide to Photoshop, Part 2: Useful Tools & Tips
- An Idiot's Guide to Photoshop, Part 3: Pro Tips
- An Idiot's Guide to Photoshop, Part 4: Advanced Features and Fun Photo Effects
To see me work through all the steps, watch the screencast below.
1. Clean The Image
Open your image in Photoshop and duplicate the background to a new layer. The first step in any project like this is to clean up the image.
Grab the Healing Brush or Spot Healing Brush with the keyboard shortcut J (for more on using them, check my article on restoring an old photo) and clean up any distracting elements.
If you want to go all in, you should also remove any incongruous modern details too. If anyone's wearing a digital watch or there's a car in the background, get rid of it!
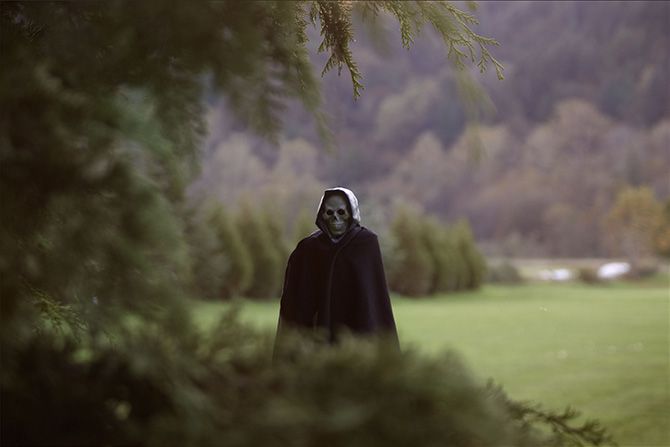
For me, I needed to clean up the rope that's holding the spooky skeleton up.
Also, at this point you should crop the image into its final composition. I pulled things a bit tighter and removed the bright sky from the top of the image.
2. Convert it to Black and White
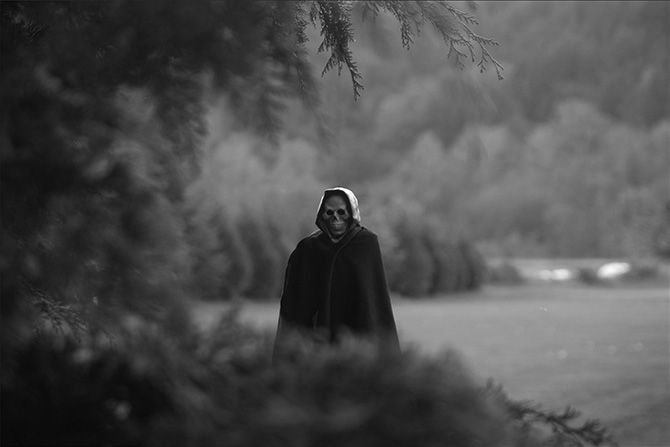
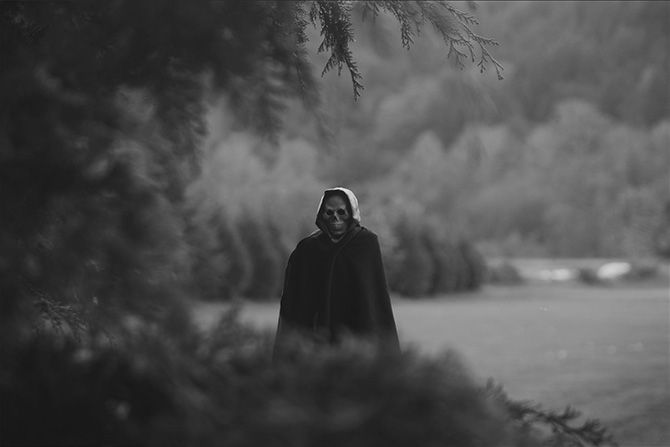
Add a Black & White Adjustment Layer to the image and tweak the sliders until you've got a conversion you like. We're going to be handling contrast in the next step so don't spend too much time on this.
3. Crush the Blacks
Vintage images tend to lack contrast and have flat, faded blacks. We're going to recreate that using Levels and Curves adjustment layers. For more on using them, check out my article on how to brighten and add contrast to a photo.
Add a Curves adjustment layer to the image and fine tune the exposure of all the midtones. Use this layer to get the image somewhere you would like if you weren't going to make it look old.
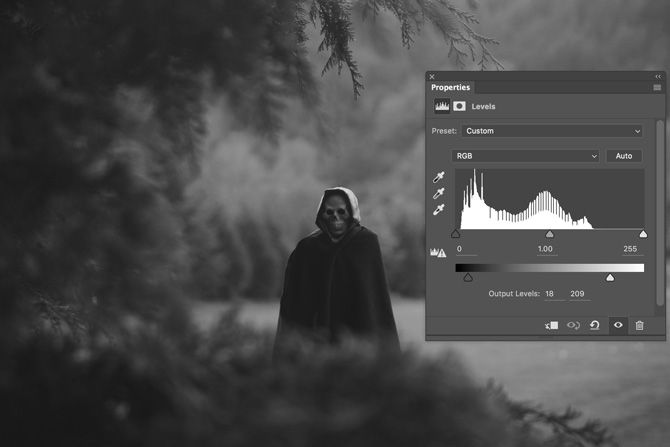
Add a Levels adjustment layer. This is going to do most of the work in creating the vintage effect. Grab the blacks Output handle and drag it to the right until the Output Levels are about 20, 255. Grab the whites Output handle and drag it to the left until they are about 20, 210.
The blacks and whites should now look flat and without detail or contrast, this is the effect we're going for. Those values aren't absolute; play around and find what works best for your image.
4. Discolor the Image
If an image is has been sitting in a basement for a few decades, it's going to have discolored. Black and white photos don't stay that way.
We're going to use the color grading technique from my article on creating the cinematic look to give the image a faded brown look.
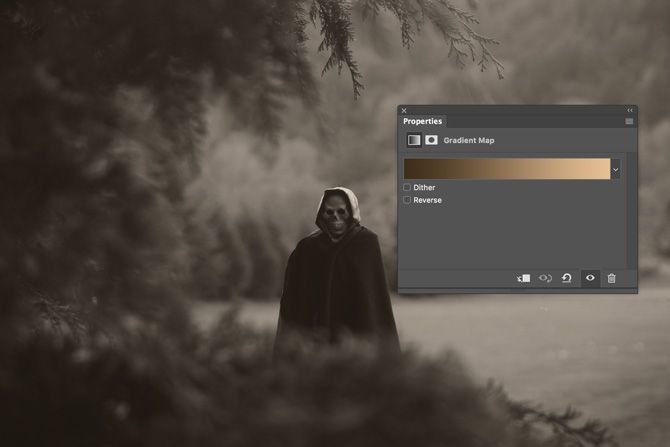
Add a new Gradient Map adjustment layer to the image. Rather than doing a cinematic toning like teal-orange, we're going to do a brown-cream gradient. My exact values were:
- #3e2d1a for the brown, and
- #e7bf95 for the cream.
You can use them or figure out your own that work for the image.
Change the Blend Mode of the layer to Color and reduce the Opacity to somewhere around 30%. Don't use an extra soft light layer, we don't want to add too much contrast.
5. Add a Vignette
Older lenses weren't able to focus light evenly on the image plane so they normally left a vignette. Let's recreate this in Photoshop.
Create a new layer beneath the Layers adjustment that reduces contrast.
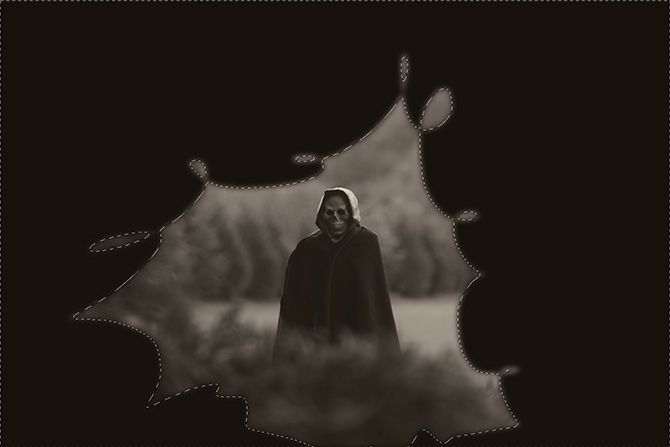
Grab the lasso tool (L) and draw an erratic shape around the subject; the more organic it looks, the better. Invert your selection with the keyboard shortcut Command-I or Control-I and fill it with black.
Deselect the vignette and go to Filter > Blur > Gaussian Blur. Add a 250px blur and press OK. This will fade the vignette's transition.
Change the layer's blend mode to Multiply and lower its Opacity to about 30%.
6. Add Any Extra Effects
The image is now pretty much done but you're free to add any extra effects you want.
In the screencast, I used the Dodging and Burning technique I demonstrated in my previous spooky skull article to make the skull look even spookier.
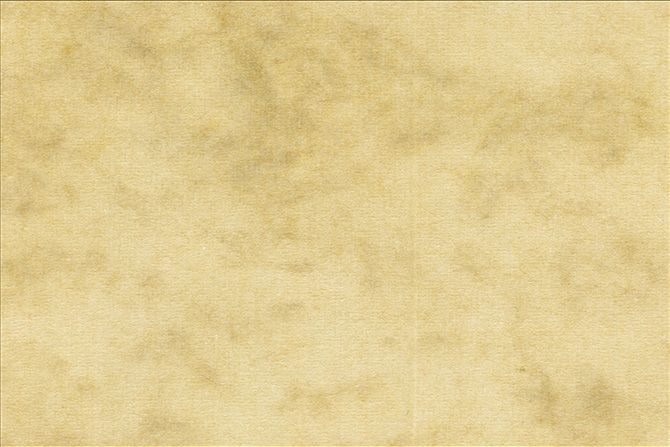
I also added this texture from Nacnud on Flickr on top of everything, desaturated it, changed its Blend Mode to Soft Light and lowered its Opacity to about 75%. It adds a little extra realism.
Go Forth and Scare
Once you're done, save your image out. If you really want to go all in, send a copy to the printers and put it in an old, broken photo frame. Leave it under your couch for a few days to get some dust on it and tell all your friends you found it in the attic.
I'd love to see what you put together. If you follow this lesson — especially if you make a flying witch photo — please share the results in the comments.

