Even though there's a lot to love about the Mac, there is one thing that tends to trip up newbies: the hardware. Not the hardware inside the machine itself, but the peripherals on your desk. And for many of us, one of the worst offenders is Apple's Magic Mouse.
Part of the problem may be coming to Macs after years of using Windows machines. But even some veteran Mac users have problems with the Magic Mouse. Plus, the Magic Mouse is basically useless if you use Boot Camp to run Windows. It's no wonder many people prefer the Magic Trackpad instead of the Magic Mouse.
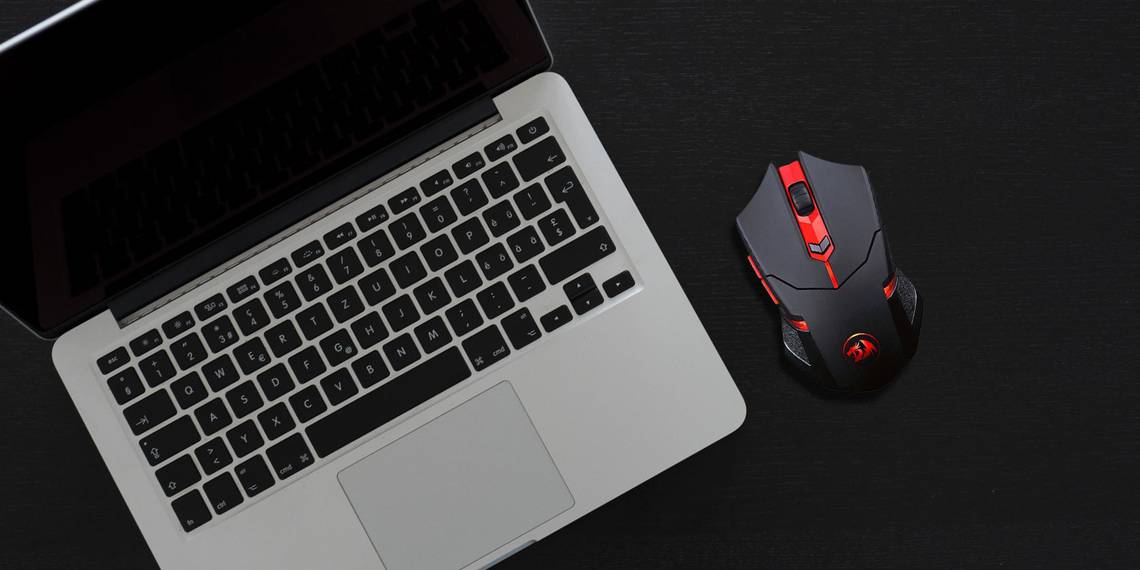
These problems are also why a lot of users prefer to use a third-party mouse on their Mac. Fed up and thinking of doing the same? Here are several tips and tricks to help you get set up and comfortable.
Using a Third-Party Mouse on Mac
Modern Macs support nearly all USB and Bluetooth devices, so finding a compatible mouse shouldn't be a problem. Even if the device is sold and marketed for Windows, the chance that it won't work on your Mac is virtually zero, at least as far as basic features go: cursor tracking, button clicking, wheel scrolling.
If the mouse has special functionalities, like buttons for window switching or changing system DPI settings, they probably won't work properly on your Mac. That's because those unconventional features require special manufacturer drivers that are usually only available for Windows.
How to Set Up a Mouse on Mac
Setting up a USB mouse on a Mac is as simple as plugging it in, even if it's a third-party device. For Bluetooth mice, first navigate to System Preferences > Bluetooth, then switch the mouse on (and enable discovery mode if necessary). Wait until it's discovered, then click Pair. That's it!

Once the mouse is connected, navigate to System Preferences > Mouse to configure it. There aren't many settings to change here, but it's enough for the most basic of tweaks. You'll also notice a Set Up Bluetooth Mouse button, which provides another way to set up a mouse on your Mac.

Here are the settings you can customize:
- Tracking Speed: Determines the distance traveled by the cursor when you move the mouse or, in the case of a trackpad, when you move your fingers. The faster the speed, the faster the cursor will seem on screen.
- Scrolling Speed: Determines the amount of scrolling produced when you spin the scroll wheel or, in the case of a trackpad or Magic Mouse, when you swipe your fingers. The faster the speed, the more distance scrolled.
- Primary Mouse Button: Determines which of the two primary mouse buttons to count as the main button. It's only usually relevant for left-handed users.
- Double-Click Speed: Determines how quickly two clicks must be in succession to be counted as a double-click. The faster the setting, the shorter the interval cutoff.
- Scroll Direction: Determines how to interpret scrolling motion. If unchecked, scrolling down will be interpreted as down. Otherwise, scrolling down will move upward, as per Windows.

There's one more way to tweak your mouse settings without involving third-party software: go to System Preferences > Accessibility > Pointer Control. Here you can play around with the Mouse Keys feature of a Mac, which allows you to move the cursor using a keyboard numpad.
Wondering what spring-loading is? If you drag and hold an item over a folder in Finder, eventually the folder will open, allowing you to keep dragging the item without letting go. The spring-loading delay determines how long you have to wait for the open to trigger.
Lastly, click Mouse Options to open a panel where you can adjust the scrolling speed.
Setting Up Your Mac's Mouse With USB Overdrive
Feeling limited by the basic settings offered by the default Mac mouse driver? Then consider installing USB Overdrive, a third-party app that offers precision tweaking. It costs $20, but you can use it for free indefinitely by putting up with a 10-second window that appears whenever you want to tweak your mouse settings.
If this app looks confusing to you, don't worry. We'll make some sense of it below.

The top-left section shows a list of actions that USB Overdrive will perform. The 11 items you see in the screenshot are the default ones set up by the app when you first install it. You can add new actions and remove existing actions as you wish.
Click the plus (+) button to add a new action. USB Overdrive will wait for you to do something with your mouse (for example, press an unusual button), then create a new action for it if it doesn't already exist.

The right section is a list of modifiers that determine when the action is registered. For example, changing Click Type to Double Click and enabling the Command modifier will make it so the Left Button action only gets triggered during a double-click while the Cmd key is held. Feel free to customize these to your heart's desire.
Note that for some actions, the yellow section acts as a configuration area. For example, Wheel Up allows you to choose a direction (up, down, left, right) as well as speed (how many lines are scrolled with a single bump of the wheel).

The bottom-left section is separate from the others. Wheel Button determines which mouse button acts as you click the scroll wheel. Speed is a more fine-tuned way to tweak cursor speed. Acceleration changes the acceleration ratio (the faster you move the mouse, the more distance traveled by the cursor).
Lastly, you can click Advanced Options to tweak a few miscellaneous options, like inverting axes and choosing whether mouse movements should wake up your sleeping Mac.
Tweaking Your Mac's Mouse With BetterTouchTool
If USB Overdrive doesn't offer you all the configurations you need, consider adding BetterTouchTool to your arsenal. The standard license costs $9, but you can also get a lifetime license for $21, and it comes with a 45-day free trial. When the trial ends, the functionality will cease until you purchase a personal license.
BetterTouchTool is excellent software for third-party mouse users because it can do something that can't be done with free software: it can bind mouse buttons to system-level actions.

BetterTouchTool comes with hundreds of predefined system-level actions, such as Open Finder, Volume Up, Hide All Windows, Capture Screenshot, and Log Out. Most of these aren't well suited for mouse binding, of course, but there are two system-level actions that you do need for mice:
- 3F Swipe Left (Page Back)
- 3F Swipe Right (Page Forward)
For some reason, the Back and Forward buttons on a mouse often don't trigger Page Back and Page Forward actions in web browsers on a Mac. It doesn't matter which browser you use—Chrome, Firefox, Opera, or Safari—they all suffer from this strange issue. But if you bind those buttons to their respective three-finger swipe actions, all is well.

Not only does BetterTouchTool have a more precise slider for setting system-level cursor speed, but it also has the ability to change the cursor speed whenever you hold down a modifier key. Possible modifiers include Shift, Function, Control, Option, Cmd, or any combination of them.
Unfortunately, most of the other mouse-related tweaks only apply to Magic Mouse users.
Which Mouse Are You Using on Your Mac?
You shouldn't need much else other than the tools outlined above. Between System Preferences, USB Overdrive, and BetterTouchTool, you should be well-equipped to customize your mouse settings however you want, down to the nittiest and grittiest details.
If you have any other problems with your Mac's mouse, there are usually features of macOS or third-party apps that can help you too.