Still using a 32-bit Windows machine? Here's how to remove the 4GB limit that might be hampering your RAM usage.
While 32-bit was once the standard, in recent years more and more Windows users have migrated to the 64-bit version of the OS. However, there are still some holdouts using 32-bit systems — and they might well be missing out on some of the potential of their hardware if they haven't addressed a known issue with RAM on that sort of machine.
Fortunately, there's a relatively simple solution to the problem, so long as you're comfortable using the command line interface to make the necessary tweaks. Here's all you need to know about patching your 32-bit system so you can take advantage of up to 64GB of RAM installed on your computer.
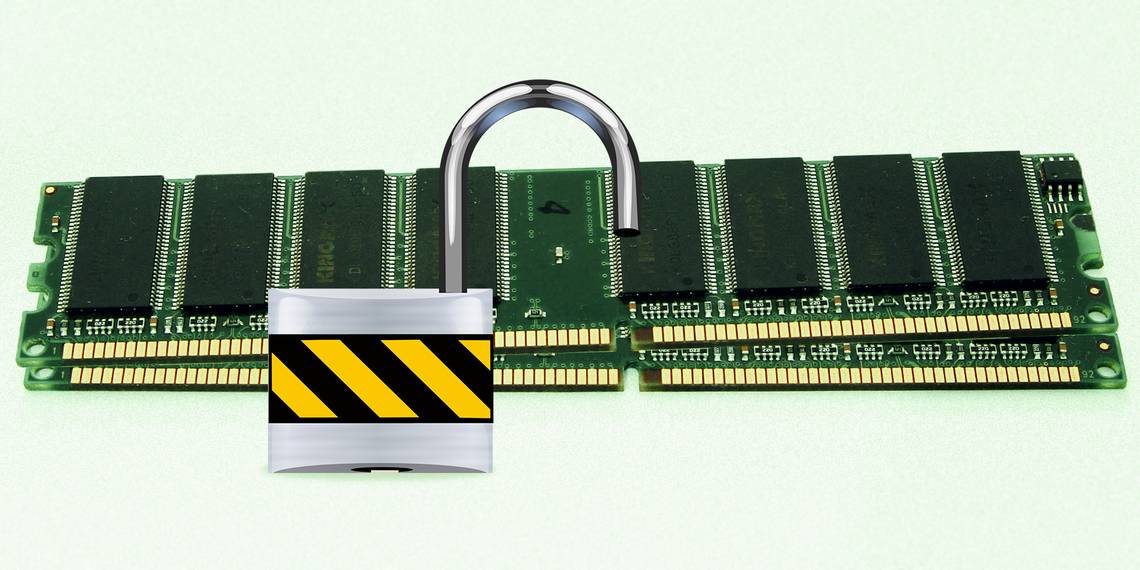
Why Am I Limited to 4GB of RAM?
The reason behind the so-called '3GB barrier' lies in the architecture of 32-bit operating systems. Each individual byte of RAM has its own physical address that the system uses to access particular units of memory. 32-bit systems have a limit on the amount of addresses available for RAM and various other components. Depending on your setup, this can limit the amount of RAM your system can support to somewhere around 3GB — although it could be slightly higher or slightly lower.
A technique called physical address extension, or PAE, can allow a 32-bit OS to support up to 64GB of RAM. By increasing the physical address size from 32 bits to 36, there are plenty more addresses available for the system to use — but the system's virtual addresses stay the same, ensuring that everything works just as it should.
How Can I Tell If I Need PAE?
Whether or not you need to utilize PAE will come down to two important factors; are you running a 32-bit or 64-bit version of Windows, and how much of your installed RAM is usable? To establish both, open up Control Panel, and navigate to System and Security > System.

If you see something similar to the above, then you're already sorted. However, if the System type reads 32-bit Operating System and there's a bracketed entry stipulating how much of your RAM is usable, following the result given for Installed memory, you'll need to make use of PAE in order to get the full effect of your RAM.
One more thing to consider before you go ahead with this process is that PAE has been reported as having some difficulties working with NVIDIA graphics cards in the past. If that's the case with your rig, it's perhaps worth considering upgrading to a 64-bit system outright.
How to Enable PAE on Windows 7 and Windows 8
First things first, download PatchPae2 from wj32. This will give you a .zip file containing a patch that will work for machines running either Windows 7 or Windows 8/8.1, but there's a few slight differences between the processes for versions of the OS pre- and post- Windows 8. Start by unzipping the file you downloaded and placing it in a folder inside Windows > System32, which will likely be found on your computer's C: drive. Once PatchPae2.exe is in place, make a note of its file path, as you'll need this later on.
Now, open a Command Prompt with Administrator privileges enabled. You can do this easily by searching your system for Command Prompt, and then right-clicking the correct entry in the search results and choosing to Run as Administrator. You should be presented with the standard command line interface — ensure that the directory reads system32.

If you're using Windows 8 or later, now it's time to run the command PatchPae2.exe -type kernel -o ntoskrnx.exe ntoskrnl.exe, which should look like this.

If you're using a version of Windows older than Windows 8, you'll need to do the same, but with a slightly different list of instructions following the file's location. In place of -type kernel -o ntoskrnx.exe ntoskrnl.exe, instead input -type kernel -o ntkrnlpx.exe ntkrnlpa.exe.
Next, patch the loader to disable digital signature verification by entering the command PatchPae2.exe -type loader -o winloadp.exe winload.exe. Then, create a new boot option with the following input: bcdedit /copy {current} /d "Windows (PAE Patched)". The phrase between the quotation marks is simply a comment for you to label what you've done.
You should see a message that tells you that the copy was successful, and gives you a unique boot ID in the format {xxxxxxxx-xxxx-xxxx-xxxx-xxxxxxxxxxxx}. Copy that ID, because we're going to use it for the next few commands. Enter bcdedit /set {boot ID} kernel ntoskrnx.exe if you're using Windows 8 or 8.1, and bcdedit /set {boot ID} kernel ntkrnlpx.exe for anything earlier.

There are just a few more commands that we need to run. First, make sure our patched loader is selected by inputting bcdedit /set {boot ID} path \Windows\system32\winloadp.exe. Then, use bcdedit /set {boot ID} nointegritychecks 1 to confirm that the loader shouldn't be verified. Then, set this boot entry as the default with bcdedit /set {bootmgr} default {boot ID}. You can also use bcdedit /set {bootmgr} timeout X to set a custom boot menu display time by replacing X with your desired length of time in seconds, but this is optional. All that's left from this point is to restart your computer.
Have you used PAE to free your computer from its limited RAM usage? Let us know about your experiences — and any tips that you might have — in the comments section below.