Linux operating systems are awesome for several reasons. Usually Linux distributions are free, which is always a bonus. Often Linux distros are less system-intensive than Windows counterparts. However, arguably the best aspect of Linux is its extreme customization.
While there's a veritable treasure trove of distros to pick from, the Ubuntu Customization Kit offers a do-it-yourself experience. UCK is a nifty roll your own app that builds official Ubuntu live CDs. If you're wondering why to make one, well, there are loads of reasons. Just add any packages to the live system, and create a tailored distro. Check out how to make a custom Ubuntu distro, from installing Ubuntu Customization Kit to picking packages and running the live CD.
Initial Install
Ubuntu Customization Kit is a great means of having a distribution that's ready to go out of the box. Rather than installing packages after loading a distro, everything's ready to go. Furthermore, UCK is perfect for booting from a live disk. First, head over to the official UCK Ubuntu page. Since it's an app, UCK installs via the software center.
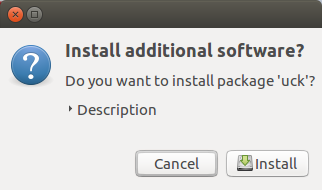
Click the download button, which will ask if you want to install additional software. Select Install.
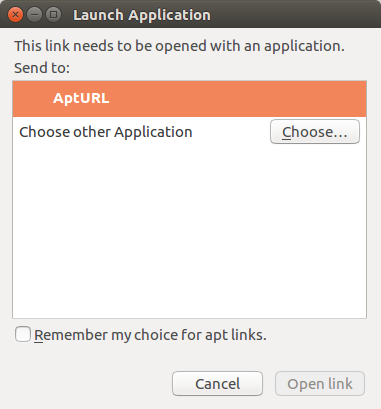
Next, you'll be prompted to launch the application. Select Open Link and continue.
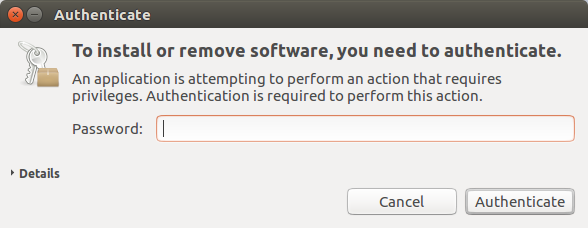
You may be asked to authenticate by entering your usual password.
Now that we have installed Ubuntu Customization Kit, it's time to begin rolling our distro. Search for UCK like a normal app and open it up.
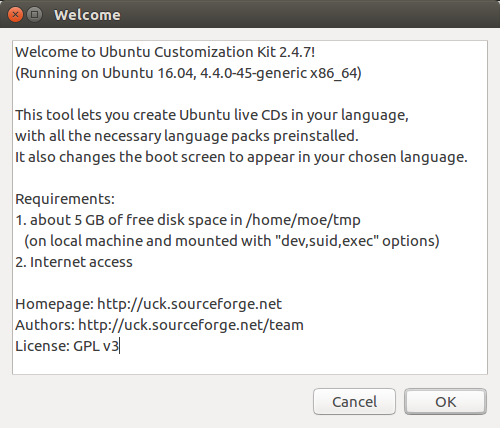
UCK presents a friendly welcome screen with info such as your current distro (mine is 16.04). You'll need about 5 GB of free space in your /home/usr/tmp folder as well as internet access. Hit OK to proceed.
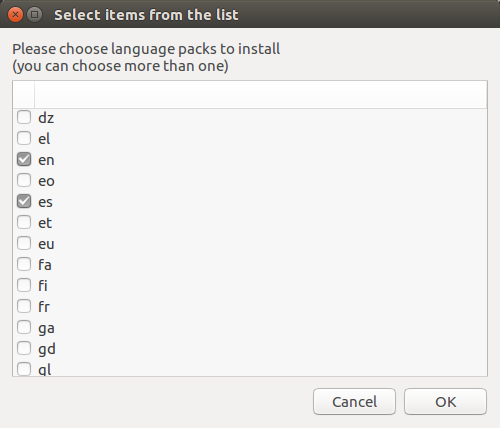
Now it's time to choose your options! The first choice is picking language packs. As I've only ever used English, I selected that, but also opted for Spanish. Once you've checked your preferred language packs, click OK. You can install as many as you'd like.
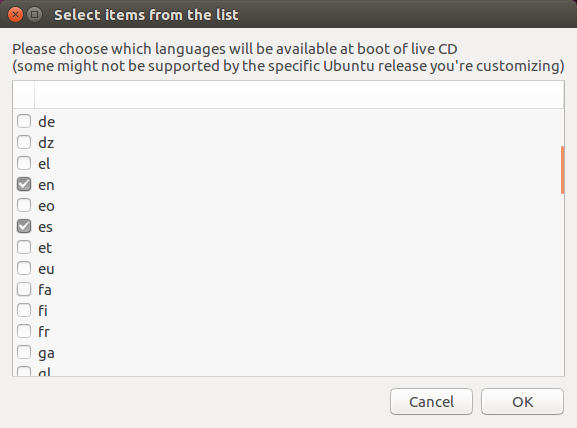
Get ready to select languages again. This time, we're deciding what languages we want available at the live CD boot. Again, I just went with English and Spanish. Hit OK.
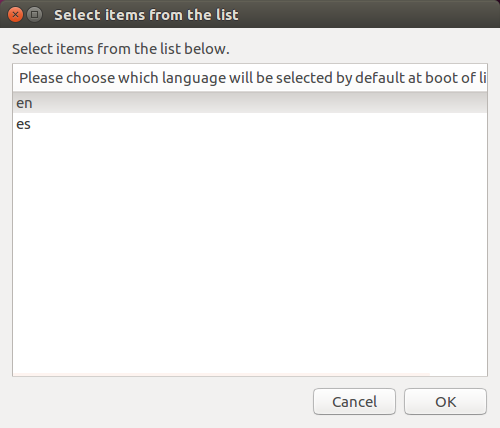
If you've installed multiple languages as I did, UCK prompts you to choose which language will be the default at boot. I selected English.
Select Your Desktop Environment
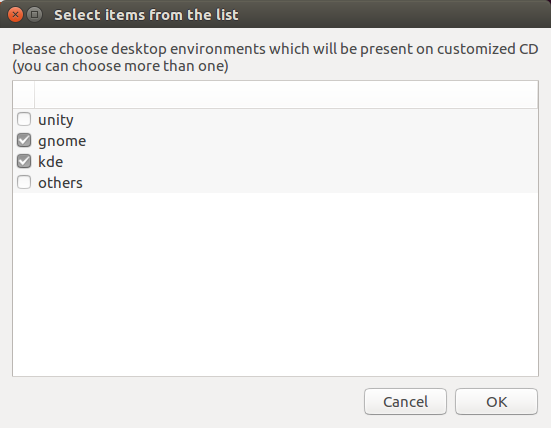
Following this, you'll need to choose a desktop environment. The default options are Unity, KDE, Gnome, and Others. Again, multiple choice is available.
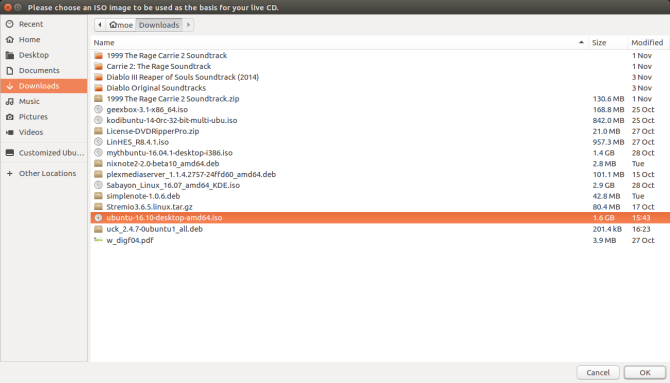
Once you've picked language packs, a boot language, and desktop environment, you need to specify an ISO image. This will serve as your live CD. I used an Ubuntu 16.10 ISO. Any ISO should work provided that it's a Ubuntu-based ISO. You need to pick a name. If you're creating multiple ISOs, use a distinctive name so you won't get them mixed up.
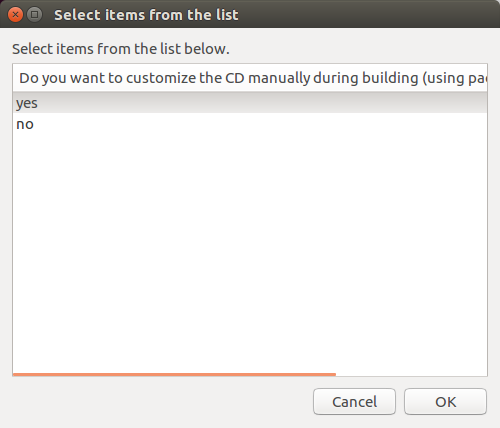
UCK will ask if you want to customize the CD during build by using package utilities and the console. Select Yes.
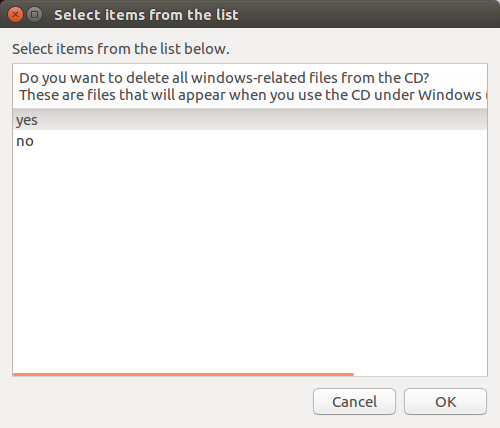
Next, you can choose whether you want to delete Windows-related files from the disk. These are files that run when using the live CD on Windows. I selected Yes since I won't be using my live CD on Windows. This is a great way to save space, so unless you absolutely need these, delete them.
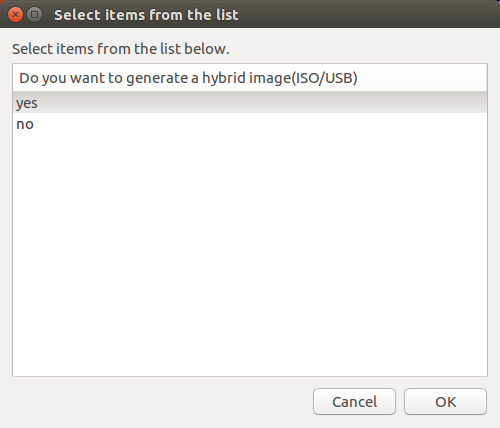
Now you select whether you'd like to generate a hybrid image. Yes, you most certainly do. This way, you can burn the custom distro to a USB stick.
Let's Get Ready to Rumble! Er... Build
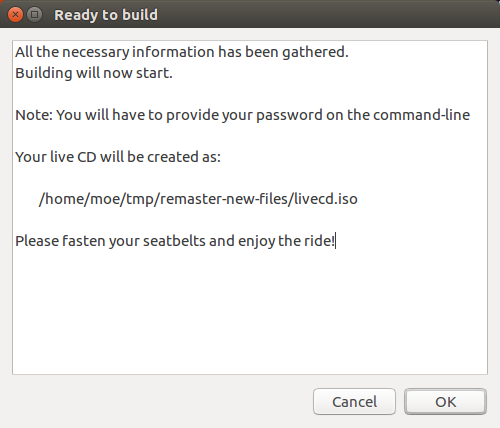
Not that you've completed the initial install, it's time to start building. A message lets you know where your ISO sill be saved and it should read something like:
/home/moe/tmp/remaster-new-files/livecd.iso
Heed the warning of "Please fasten your seatbelts and enjoy the ride!" Unfortunately, my computer chair is not fancy enough to include a seatbelt, so I skipped that bit of advice and proceeded at my own risk.
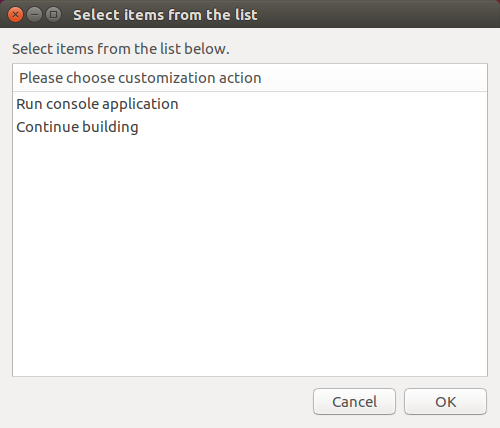
Now you'll see an option to select an action. Here, you choose either Continue Building, or Run Console Application. To customize, pick Run Console Application and install programs using
apt-get
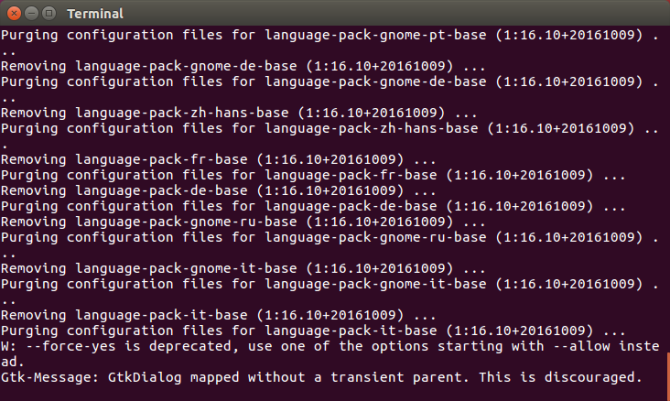
When you finish, select Continue Building. UCK now switches over to the terminal that opened at the beginning of the process. Enter your password.
Let the terminal build the ISO. You're done, and now have a custom live CD!
Buggin' Out
Support for UCK has ended. However, you can download the latest iteration, 2.4.7, is available from the Sourceforge page. If you're getting:
Unable to extract gfxboot-theme-ubuntu source package
Then you need to install the missing dependency gfxboot-theme-ubuntu. Run:
sudo apt-get install gfxboot-theme-ubuntu
Afterwards, you'll also have to patch:
/usr/lib/uck/customization-profiles/localized_cd/customize_iso
Luckily, there's a diff patch and a bit more info in this Ask Ubuntu thread.
In my case, the terminal warned that the isohybrid command was not found. Nevertheless, I found my working, custom ISO in its proper folder. Apparently it's an issue of a lack of isohybrid packages.
UCK Still Works, So Use It!
While UCK isn't technically supported, it's still a functioning tool. You may need to patch a few items and install some dependencies. Overall, it's a solid means of creating a custom distro despite some potential troubleshooting.
What custom distros are you cooking up? Comment below and let us know!

