Thinking of building a Hackintosh? You can make a Mac Pro for half the price of the real thing. But throwing together a custom-built Hackintosh requires a very narrow range of hardware — most computer parts won't work with Apple's extremely picky OS X operating system. Minimizing troubleshooting requires carefully choosing your parts. But how do you know what to use? Fortunately, there are lots of internet resources that can help. And for those of you who don't know what a Hackintosh is.
I put together a custom Hackintosh using information gleaned from several Hackintosh enthusiast sites. Even with such help, picking each part required a great deal of work. Here's how you can learn from my mistakes: Before running out and buying parts, make sure you know the optimum components for compatibility. It will save you time and money.
There are two build paths: First, you can individually select compatible components from lists of parts (not a complete list) or you can use part lists provided by Hackintosh enthusiasts, such as Tonymacx86. These lists make the build process infinitely easier; although you will pay slightly more than if you selected individual parts.
Option #1: Prepared Builds
Out of the prepared Hackintosh builds, my two favorites were from Tonymacx86 and Kakewalk.
Tonymacx86: Tonymacx86 did a write-up of a large number of potential Hackintosh builds, as well as creating software to aid in the installation and configuration process. He currently offers part manifests for five different kinds of "CustoMacs":
- CustoMac Mini: A low-end, mini-ITX build.
- CustoMac Mini Deluxe: A midrange mini-ITX build.
- CustoMac Budget: A lower end ATX build.
- CustoMac Pro: A higher end machine, similar in specifications to a Mac Pro.
- CustoMac Socket 2011: This approximates the dual Xeon Mac Pro using an E-ATX board.
Tony also suggests installing an SSD, which Mac Pros didn't include until the 2013 "trash can" Mac released. An SSD would make the custom build feel much faster, for everyday use, than even the 2012 Mac Pro.
Kakewalk: The Kakewalk software requires that you build a computer from their list of specially chosen hardware (you can just pick the motherboard, though). There are three basic full ATX builds:
- A low-end, Core i3 build for $600.
- A medium range Core i5 build for $700.
- A high-end Core i7 build for over $900.
Alternatively, you can save a hundred dollars or so by choosing each component yourself. However, be aware that all Hackintoshes require a great deal of prep software to get working it right.
Option #2: Build Your Own Hackintosh
Building your own Hackintosh requires getting a CPU, motherboard, RAM (memory), hard drive, power supply and a case. Optionally, you can also include a graphics processor, an important part for gaming or rendering.
Step 1: Pick a CPU
Because no official build of Macintosh includes an AMD CPU, the vast majority of AMD CPUs lack any kind of support. Therefore, for ease of configuration, you should purchase an Intel CPU. This is unfortunate because the AMD FX series offers excellent performance-per-dollar in multithreaded applications, such as Adobe Premiere CS 6.
Out of all modern CPUs, there are three ideal lines of processor for a Hackintosh: The Intel Core i3, Core i5 and Core i7.

Step 2: Pick a Motherboard
Hackintosh builds in general suffer from compatibility issues with motherboards. Tonymacx86 suggests Gigabyte boards in particular, as they tend to have the greatest degree of compatibility with OS X.
The compatibility issues most frequently arise from driver issues related to onboard components, such as sound, integrated graphics and other highly complex subsystems. The motherboard is easily the most driver-intensive component of a computer. To solve this issue, a software called Multibeast can install the corrected drivers from configuration information contained within DSDT files. James explained how to use DSDTs.

Therefore, if you do not use a motherboard with a history of Hackintosh usage, you do so at your own risk. It's almost guaranteed that if you take a random motherboard, there will be at least some issues – diagnosing and troubleshooting such problems just isn't worth your time.

Step 3: Picking RAM
RAM is the easiest part to pick. For the most part you will choose from among DDR3 components and the speed and timings are largely irrelevant unless you want to overclock. However, you do not really gain that much performance by overclocking RAM.

Step 4: Picking a Hard Drive
Tonymacx86 suggests using a solid state drive, in addition to a conventional drive for storage. I noticed that Tonymacx86 uses only the SanDisk Extreme SSD. On the other hand, most SSDs appear to work on in OS X, regardless of the manufacturer. Intel SSDs, unfortunately, are reported to have compatibility issues.
Because TRIM function, which keeps SSDs in peak condition, isn't turned on by default in OS X, you must manually install TRIM enabling software.

Step 5: Pick a Graphics Processing Unit (Optional)
For rendering and gaming, the GPU is the central component of your build. For the most part, NVidia remains the most popular GPU manufacturer for Hackintosh builds. NVidia's CUDA core technology will help quite a bit with rendering.
Wattage and size compatibility can present an issue for builders. GPUs generally consume a great deal of power and take up a lot of space. Make sure you calculate wattage and take accurate measurements of the space available in the case.

Step 6: Pick a Power Supply
The second easiest part to pick for a Hackintosh is the power supply. Because they don't require any specific drivers, you only need to look at four basic features:
- Dimensions: The most important consideration is the depth, or length, of your power supply. If it's too long, it won't fit in your case. Generally speaking, 140 mm is the right size for most small form factor cases.
- Wattage: Some sites can help determine your required power supply wattage. Be sure to read the instructions (dual core systems are NOT the same as dual CPU systems).
- Connectors: Most importantly, make sure it has the right number of pins for the CPU connector. There are both four and eight-pin connectors (eight-pin connectors work with four-pin ports). Another important issue is making sure you have the required number of SATA power connectors.
- Quality: Buying a terrible power supply can actually damage your computer. A commonly heard horror story among PC building enthusiasts is the guy who literally fried his computer using a defective power supply. Read the reviews before you buy.

Step 7: Pick a Case
Your computer case needs to look good. But more importantly, it should fit all the components that you are purchasing, primarily the motherboard. If you're using full-sized ATX case (among the largest computer sizes), any motherboard will fit. The other two common small form factors cases are mini-ITX (abbreviated as mITX) and MicroATX (abbreviated as mATX). Some small form factor cases may require small form factor power supplies, either TFX, SFX or FlexATX. I recommend staying away from small form factor power supplies.
When choosing a case, make sure that you also choose the right sized power supply and motherboard. Each case will specifically state in its product description what form factor components it requires.
Step 8: Get Installation and Configuration Software
There's a variety of installation options available to anyone seeking to roll their own Hackintosh. While a complete tutorial on installing the software exceeds the scope of this guide, three key software exist that you should be aware of:
- Unibeast: The Unibeast installer allows you to convert a legitimately purchased copy of OS X. Unibeast works like this: It copies a modified, bootable, version of OS X onto a flash drive or bootable disk. Unibeast will then copy the bootable files to whatever hard drive you select.
- Multibeast: Once you've installed OS X, you can then move onto installing the requisite drivers.
- Chameleon Preference Pane: This software allows you to edit the bootloader. Editing the bootloader will make it possible to start unbootable systems.
When you finally assemble your machine, be sure to check out a tutorial on the subject.

While building my Hackintosh, I faced some issues. For example, the graphics card's audio didn't work out of the box, which required that I install additional drivers to get working properly. Also, become familiar with boot flags. Boot flags alter the way your machine starts up. Once booted, you can then begin troubleshooting components that don't work.
Conclusion
Finding optimal parts to use in a Hackintosh requires that you build using OS X proven components. Not doing so will cause you a great deal of stress and suffering. I highly recommend using a build guide, Tonymacx86 or Kakewalk.
Has anyone else built a Hackintosh? Any regrets or did you love it?
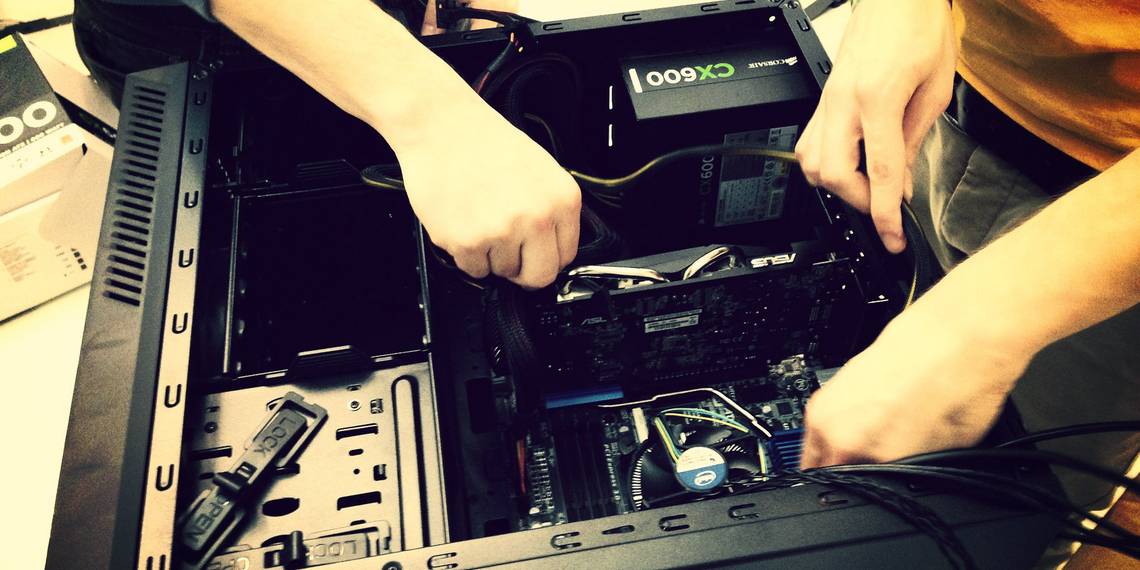
Image Credits: Hackintosh Via Flickr