Audio glitches, bugs after updating your operating system, problems with connecting an external audio device, or sound not working at all are some of the common issues reported on Mac. Even misconfigured apps or incorrect settings can result in audio glitches.
As a result, you may not hear audio from speakers or headphones. There could be static in your audio output or, worse, no output at all. Here’s a list of fixes to reset and resolve sound problems on your Mac.
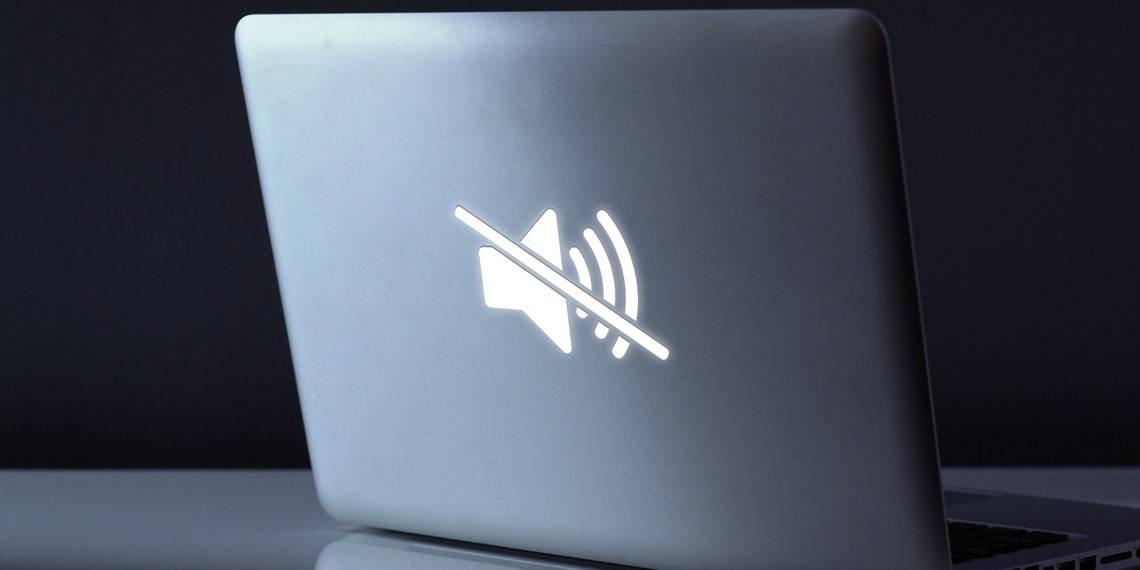
1. No Sound on Mac? Check the Volume First
Before you spend all day resolving a non-existent issue, check the volume and make sure it’s not muted. Press and hold the F12 button to increase the volume, or use the slider in the menu bar to adjust it.

In the next step, we’ll make sure that there isn’t an issue with the individual apps. For example, many browsers have a volume indicator next to the tab. Double-check to ensure that those are not muted. If you’re playing a YouTube clip, check the volume indicator for assurance.

2. Choose the Right Audio Device
If you can’t hear anything even after adjusting the volume or plugging in your headphones, chances are you have landed on one of the Mac’s most common audio bugs. The first thing you should check is the audio device input and output settings.
Sometimes your Mac might select the wrong device due to incorrect configuration, driver incompatibility, or a conflict with other apps. Go to the Apple menu and choose System Preferences. Click Sound then select the Output tab. Click the correct output device for your audio.

A common mistake is unknowingly having a Bluetooth device connected, so audio plays to that instead of through your Mac’s speakers. Repeat the procedure for the input audio device settings.

At times, switching from one output to another can fix the problem. Also, try unplugging and reconnecting your audio devices. Remember to uncheck the Mute option and adjust the output again.
You’ll get a better view of all output devices with the Audio MIDI Setup app located in the Utilities folder. Launch the app and select Built-in Output. From here, you can configure the audio channel, bit-depth, format, and sample rate.
If your sound is acting funny, tweak the audio settings. After you’ve made changes, quit the app and try playing your audio again.

3. Reset the Core Audio
If you’re still facing problems with audio playback or recording, then resetting the low-level audio API for Mac, commonly called Core Audio, should work.
According to Apple’s documentation, Core Audio is a set of software frameworks designed to handle the audio needs in various applications. They include playback, recording, editing, signal processing, compression, decompression, and more.
On Mac, coreaudiod is the launchdaemon that powers Core Audio. Daemons typically run as root in the background, whether you’re logged in or not. Their process names end with the letter “d.” We’ve covered more about launchdaemons and their implications on macOS elsewhere.
When the sound stops working or makes a crackling noise, restarting the coreaudiod process should solve your problem. Here are some ways to reset the Core Audio in Mac:
Use Activity Monitor
Launch Activity Monitor and make sure to filter by All Processes. Type coreaudiod in the search box and click Force Quit to manually kill the process. Here’s a complete guide on using Activity Monitor for Mac.

Use Terminal
Launch Terminal and type in the following command:
sudo killall coreaudiod
Press Return, type in your administrator password, and check the sound again. The coreaudiod process should restart.

In rare cases, you may not hear any sound at all. If this happens, shut down and restart your Mac. If rebooting isn’t an option at the moment, use this command instead:
sudo launchctl start com.apple.audio.coreaudiod
The launchctl command initiates the daemon and reinitializes the coreaudiod process.
4. Sound Not Working Due to Major Updates and Third-Party Apps
Third-party plugins that integrate with your Mac can cause the sound to not work properly. Musicians and sound engineers are usually particularly cautious of this because there are often hardware and software incompatibilities with a new release of macOS. Major upgrades should not be taken lightly, you must have a backup of audio files.
While most developers are quick to release app updates, both the hardware and operating system can be a major headache. USB-related audio issues in 2018 Macs were quite common in discussion forums. Some of the common audio-related update issues include:
- Big Sur: Major issues with the Bluetooth connectivity when trying to pair audio devices to Macs. Also, output audio devices vanished occasionally and only appeared upon restarting.
- Catalina: Every third-party audio plugin should get “notarized” by Apple. Non-notarized apps were not allowed, meaning that any older audio plugin will no longer work. macOS 10.15.5 fixed a bug in the T2 chip wherein internal speakers in sound output devices may not appear in the preferences.
- Mojave: In macOS 10.14.4, Apple improved the reliability of USB audio issues in the MacBook Air, MacBook Pro, and Mac mini. And in macOS 10.14.5, Apple fixed the audio latency on MacBook Pro models introduced in 2018. Also, it was the last release to support 32-bit apps.
Points to Consider With Third-Party Apps
With so many creative audio apps available for Mac, it’s not possible to describe exact solutions for each app. Here are some points to consider for fixing sound problems:
- Check the desired output device in the Audio MIDI Setup utility. Control-click the Built-in Output option to see the list of devices. Toggle the output device selection to correct the configuration problems, if there are any.
- Every audio app stores a profile in the Audio MIDI Setup utility. If you see any errors like “Error in the sound driver of Core Audio,” delete the profile and restart the app.
- Mix multiple audio interfaces by creating an Aggregate Device. This increases the number of audio inputs and outputs and reduces the chance of any configuration-related errors. See Apple’s help page on Aggregate Devices for help.
- If you work as a musician or have a dedicated audio workstation, do not upgrade to major macOS releases until music technology manufactures have tested their drivers. Visit Gearspace to see what audio gear and software is compatible with the latest version of macOS and Apple Silicon chips.
5. Reset the NVRAM
NVRAM is a small amount of memory that your Mac uses to store various types of settings, including sound volume, display resolution, startup disk selection, the time zone, and more. Resetting the NVRAM can help clear up glitches. Follow our guide to reset NVRAM and SMC in Intel Macs.
In Macs with the M1 chip, you can’t reset the NVRAM with the boot key command. Instead, your Mac will test the NVRAM on its own. If something is wrong, it’ll simply reset it when you restart your Mac.
6. Problems With External Devices
Sometimes when you connect an external device (like an HDMI TV), the sound will continue to come from your internal Mac speakers. Bizarrely, the connection still results in a perfect picture and the connected HDMI device won’t show up in Preferences > Sound > Output.
At first, check the connection and inspect the HDMI cable for any physical defects. Even tiny flaws can cause problems, so you should try an different cable if you find any.
Ensure that your equipment is compatible. Some older components might be unable to receive audio via an HDMI connection, even though your Mac and other devices can play sound through it. Note that older MacBook models (from before 2011) do not support passing audio through the Mini DisplayPort.
Navigate to Sound > Sound Effects. In the Play sound effects through section, click the dropdown menu and choose your connected device.

Restart your Mac. Afterward, open Sound > Output in System Preferences and select your TV from the Select a device for sound output section.

Launch the Audio MIDI Setup app. Select the HDMI option from the left panel and choose your TV from the Output tab. If you cannot see the speaker icon next to HDMI, click the cog button and select Use this device for sound output.

7. Check Your Hardware and Ports
If, after checking all these software aspects, you’re still having problems with the audio, you should examine all the ports. These include Thunderbolt, HDMI, USB, and headphone (or microphone) sockets.
Detach all wired accessories. Then, check the integrity of the cables to make sure nothing is frayed or split. Shut down your Mac and plug in one peripheral at a time after each restart. Try playing your audio each time.
If you use headphones and hear crackling noises, examine the socket. Modern Macs display a red light inside to warn of blocked sockets. Clean the jack, then connect your headphones and adjust the volume level.
Reset Your Mac’s Sound and Move On
Troubleshooting sound issues on your Mac is not always easy. The Mac lacks a comprehensive set of tools to diagnose and fix the problem. You’re left with trial and error and your judgment on finding the source of the problem. These tips act as a starting point to guide you through all the steps needed to fix your sound.
Sound issues aren’t the only problem you can have on macOS. You should be aware of other warning signs on your Mac so you can spot them early.