Sick of Twitter? Fed up with Facebook? Online abuse and NSFW content getting you down? Just want to exchange ideas away from the glare of people who oppose you?
Mastodon is the answer. And thanks to its open-source nature, it is possible to set up your own Mastodon instance, enabling conversation on any topic and giving your users some safety and privacy from trolls of all kinds.
What You Need to Set Up Mastodon
If you're not familiar with Mastodon, here are the basics. Toots are like tweets and can be composed of up to 500 characters (as opposed to Twitter's 280-character limit). Check our overview of Mastodon to see how it all works.
Here's what you need to create your own instance of Mastodon:
- A web server running Ubuntu Server. You can find inexpensive server accounts for under $10 a month at Vultr.com, although other solutions are available.
- An unused domain name pointing to the server. This means that the DNS records at the web domain's host are set to refer visitors to the IP address of the Ubuntu server. How you do this differs between providers, so check your corresponding documentation.
- A Mailgun account to manage sign-ups to your Mastodon instance. This is available for free, but your credit card details are required to send the first 10,000 emails. Head to the Mailgun signup page to create an account, and make sure you follow the domain verification instructions to ensure your email new/unused domain is listed as active.
Setting up Mastodon requires three main elements:
- Docker: Useful virtualization software
- Mastodon: The social network itself
- Nginx (pronounced EngineX): Multipurpose web server software, employed in this case as a reverse proxy
(A reverse proxy allows a server to retrieve resources or data from one or more other servers on behalf of a client. In many cases, this is a security measure to protect the server.)
You'll also need an SSH connection to your server. This is available via the terminal in Linux (or macOS). If you're using SSH on Windows, download and install PuTTY.
Step 1: Establish the SSH Connection and Install Docker
You'll need to connect to your server over SSH and sign in with the usual admin credentials. Once done, create a user called "mastodon," assign root privileges, and switch to the new user:
        adduser mastodon
usermod -aG sudo mastodon
su - mastodon
Next, update the package database, and install the management tools:
        sudo apt-get update
sudo apt-get install apt-transport-https software-properties-common
Now install Docker:
sudo apt install docker.io
...and add your current user to the docker group:
sudo usermod -aG docker $(whoami)
To finalize the change, log out as the mastodon user, then back in;
        exit
su - mastodon
Docker should run automatically when your VPS starts up. To do this you need to enter:
sudo systemctl start docker
And then:
sudo systemctl enable docker
Docker Compose allows you to create a text file that will run and manage containers. Install it with:
sudo apt install docker-compose
Step 2: Install Mastodon on the Server
You should already be in the mastodon user home directory. If not, move there using the cd command:
cd /home/mastodon
Clone the Mastodon GitHub repository:
git clone https://github.com/tootsuite/mastodon.git
Move into the new directory, and use nano to edit the docker-compose file:
        cd mastodon
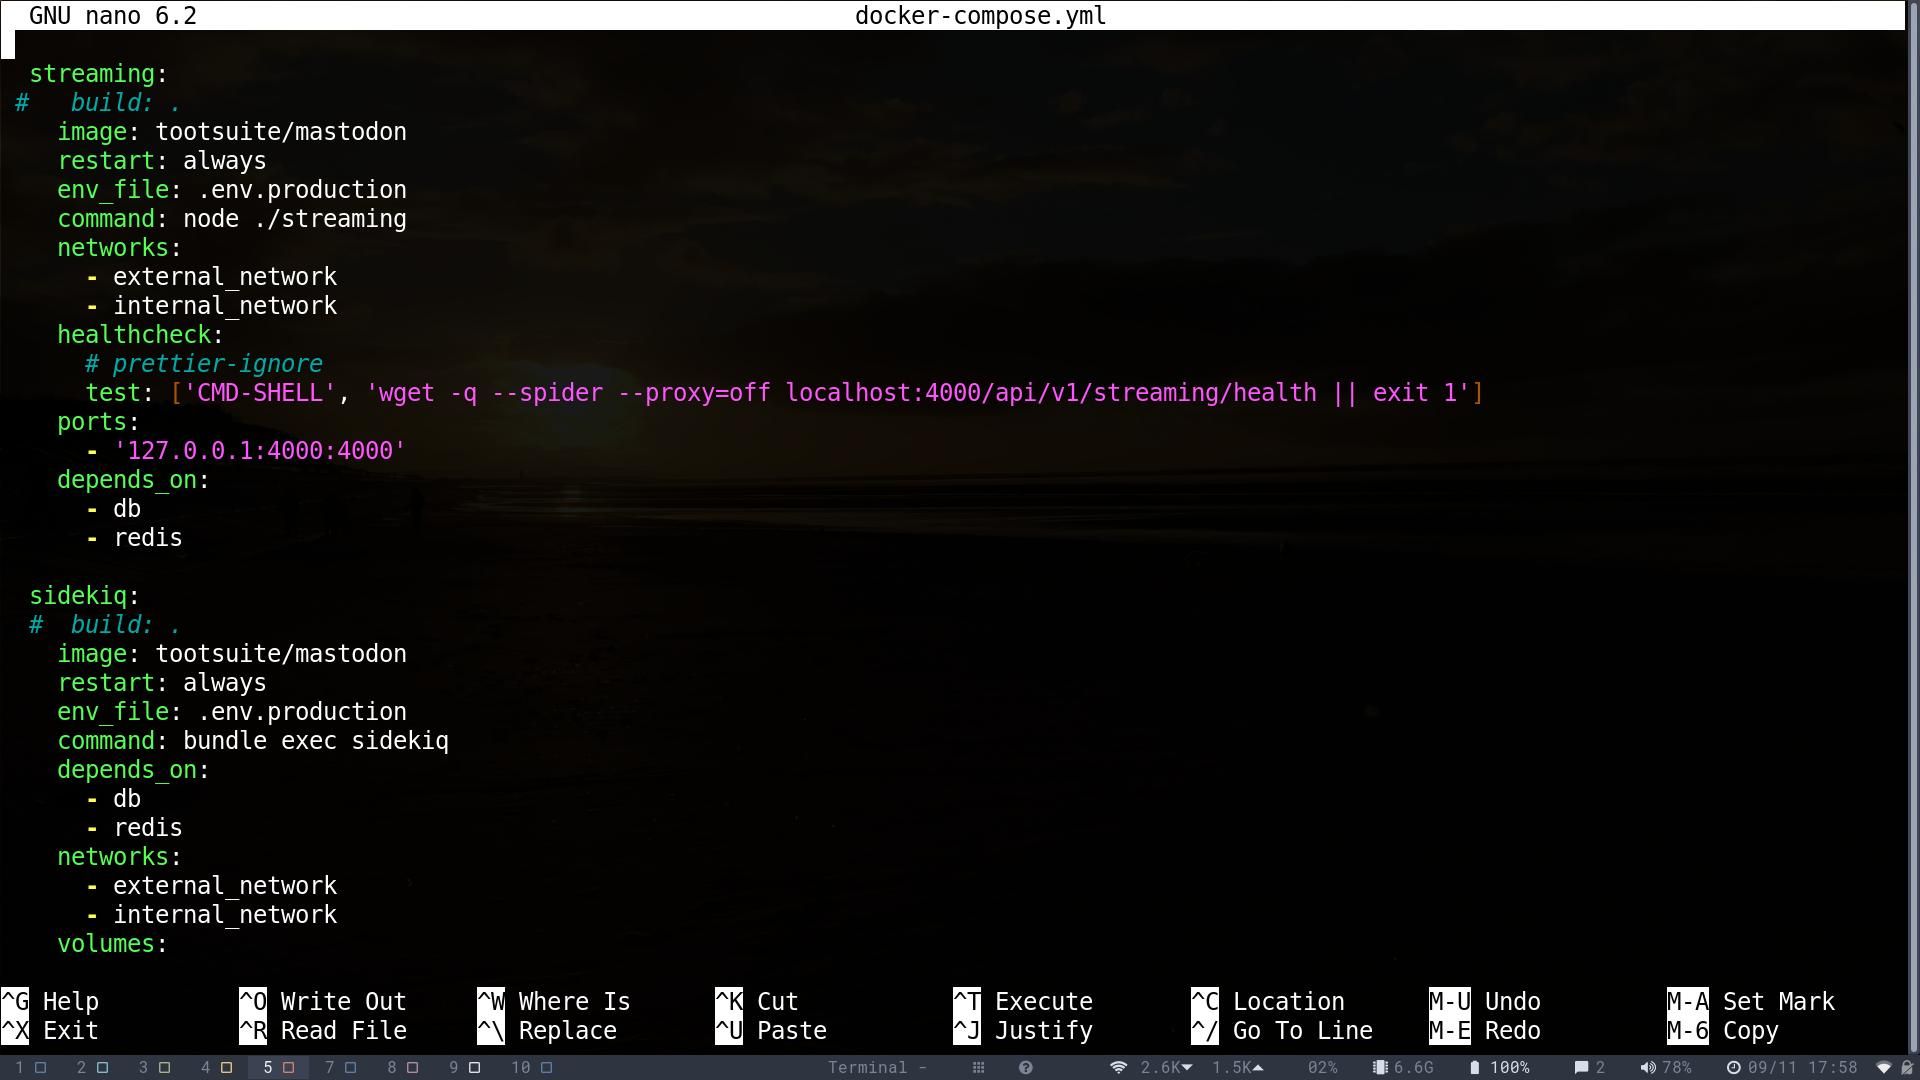
nano docker-compose.yml
Search the document for any lines which begin with the word "build" and comment them out.
Save and exit nano with Ctrl + O then Ctrl + X.
You're now ready to run the Mastodon installation wizard:
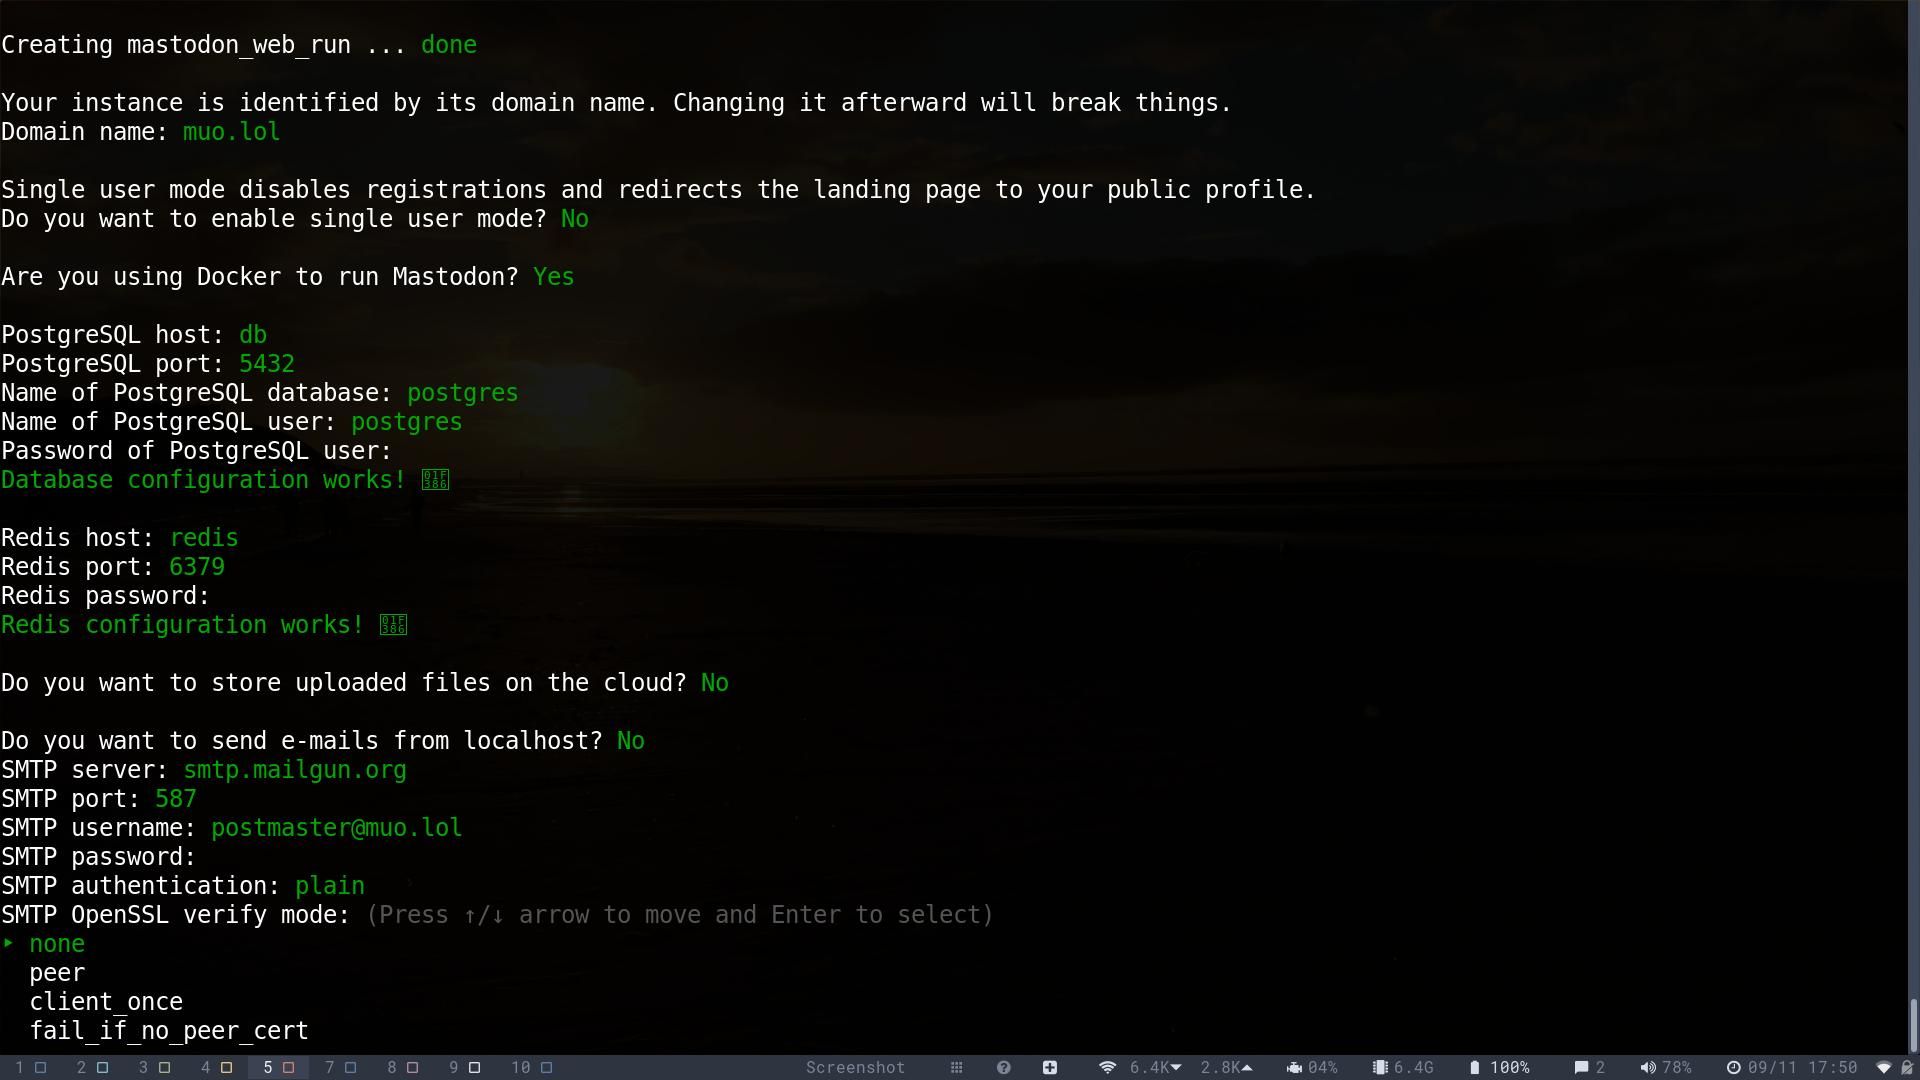
docker-compose run --rm web bundle exec rake mastodon:setup
The wizard will ask you questions about your Mastodon instance. It's safe to go with the defaults except for the domain name, which should be your domain name, and the mail settings. You will receive a green text output at every stage to confirm that your settings work.
If you're using Mailgun, you can find the appropriate credentials by going to app.mailgun.com/app/domains and clicking the domain. Find the Default SMTP Login and Default Password, and copy the details into the .env.production file as entries for SMTP_LOGIN and SMTP_PASSWORD.
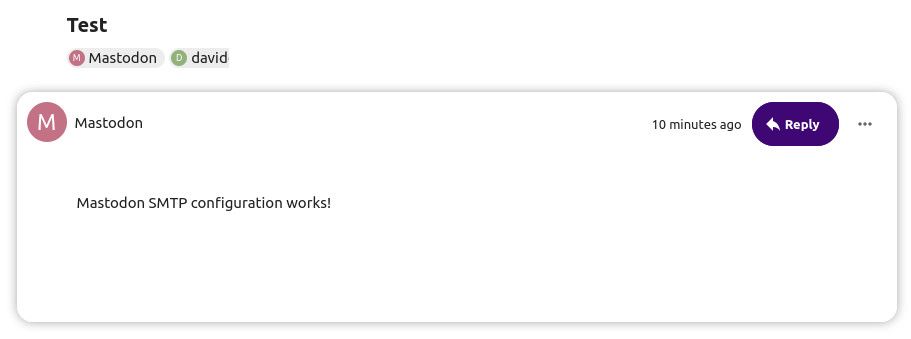
You'll be asked if you want to "send a test e-mail with this configuration right now"? Do this and check that the email is received before you go any further.
Save the configuration when prompted, and once the wizard completes, the configuration will be written to .env.production and outputted to the terminal. Check if the details are correct.
Enter a username for the admin user, and make a note of the generated password.
Step 3: Enable Nginx Reverse Proxy
Nginx is used in this setup as a reverse proxy.
Install it with:
sudo apt-get install nginx
Nginx has a default profile, which you'll need to delete:
        sudo rm /etc/nginx/sites-available/default
sudo rm /etc/nginx/sites-enabled/default
Create a new profile with:
sudo touch /etc/nginx/sites-available/mastodon
Next, you'll need to create a symbolic link to access the profile:
sudo ln -s /etc/nginx/sites-available/mastodon /etc/nginx/sites-enabled/mastodon
You then have a configuration file to copy into the text editor. Visit this GitHub page and copy the contents, then paste it into the newly created file by editing it with nano:
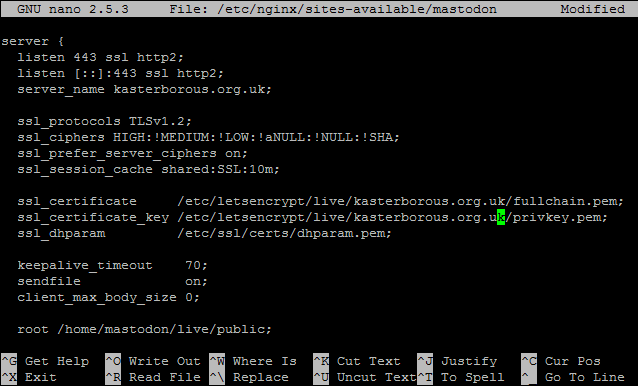
sudo nano /etc/nginx/sites-available/mastodon
With the file open, find every instance of "example.com" and replace it with the domain name you're using. Make sure you omit the "www".
Hit Ctrl + X to save and exit.
Step 4: Get an SSL Certificate and Run Mastodon!
You're now within sight of launching your Mastodon instance and creating your own social network. But for it to be trusted, you'll need an SSL certificate.
Begin by installing the Certbot PPA, and then Certbot itself:
        sudo add-apt-repository ppa:certbot/certbot
sudo apt-get update && sudo apt-get install certbot
Next, stop Nginx so that you can generate the SSL certificates.
sudo systemctl stop nginx.service
Follow this with the below command, substituting example.com with your own domain name:
sudo letsencrypt certonly --standalone -d example.com
Follow the prompts to complete the process. When you're done, return to the mastodon directory:
cd /home/mastodon/mastodon
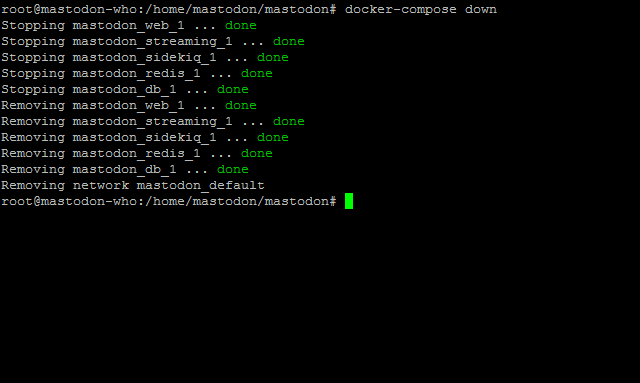
The next step is to stop Docker temporarily:
docker-compose down
We're nearly done—just run these commands in turn:
        docker-compose build
docker-compose run --rm web rails assets:precompile
docker-compose run --rm web rails db:migrate
docker-compose up -d
Wait while these commands complete, then bring Nginx back up:
sudo systemctl restart nginx.service
Now, if everything has run okay, you should be able to open your browser window and head to the new Mastodon instance to see it working!
Any problems here, sadly, will mean repeating what you've done so far. If .env.production is all correct, and Mailgun is working, then simply continue the steps following the last save of .env.production.
Note that if your domain isn't correctly configured with your domain registrar, and with Mailgun, then you won't be able to run Mastodon until you resolve these problems.
You're Up and Running: Automate Tasks and Administer Mastodon
We're tantalizingly close to the end now. You'll be able to publicize your Mastodon instance in just a few more minutes.
You'd need to automate certain tasks. Go to the mastodon directory, and create a new directory for the cron jobs—instructions that run at a predetermined time.
        cd /home/mastodon
nano mastodon_cron
In the text file, add:
        cd /home/mastodon/mastodon
docker-compose run --rm web rake mastodon:media:clear
docker-compose run --rm web rake mastodon:push:refresh
docker-compose run --rm web rake mastodon:push:clear
docker-compose run --rm web rake mastodon:feeds:clear
Exit with Ctrl + Y, then input:
sudo chmod +x mastodon_cron && sudo crontab -e
The crontab file—a sort of controlling index of all scheduled (cron) scripts—will open. Input this line at the end:
0 0 * * * /home/mastodon/mastodon_cron > /home/mastodon/mastodon_log
Press Ctrl + X to save and exit.
Automatically Refresh the SSL Certificate
Although the SSL certificate is set up, it will expire after 90 days. The solution is a cron job that auto-renews the certificate.
sudo crontab -e
...then scroll to the end of the file and add these lines:
        0 1 * * 1 /usr/bin/letsencrypt renew >> /home/mastodon/letsencrypt.log
5 1 * * 1 /bin/systemctl reload nginx
Again, press Ctrl + X to save and exit; the instruction will renew a certificate over 60 days old, at 1:00 AM on a Monday. It will then reload Nginx.
Mastodon Administration
Everything is now ready. Anyone can head to your Mastodon instance to sign up and start sending their toots. This includes you—but of course, you'll need an account with elevated permissions. Begin by creating your account and clicking the link in the confirmation email.
Next, return to the mastodon subdirectory:
cd /home/mastodon/mastodon
Use this command to elevate your username to the admin level:
docker-compose run --rm web rails mastodon:make_admin USERNAME=yourusername
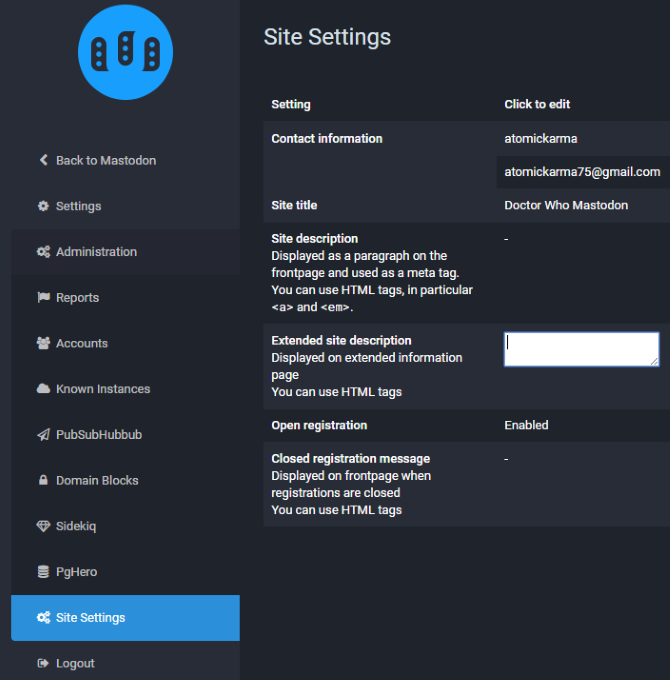
Head back to Mastodon in the browser window, and access your account Preferences. Find the Administration link to view user accounts, and manage the Mastodon Site Settings, which includes things like the title and description, and the purpose/topic of the instance.
Your Own Social Network, Discussing Your Topics!
Twitter has come under fire for its slowness in dealing with cyberbullying, and the proliferation of accounts promoting and glorifying religious extremism. Facebook, meanwhile, continues to be a privacy nightmare.
To deal with this, you could join Mastodon. We think you should, as you'll at least see how things can be done differently. And if you don't like it, why not try other Twitter alternatives instead?


