A fire alarm seems like such a simple concept, and one that really doesn't deserve a whole lot of thought, but once you see how the Roost Smart Battery and the Nest Protect stack up against one another, you'll wonder how you ever got along without either one.
Sure, a smoke detector has a simple task. When there's smoke, it'll let you know about it with a high-pitched shrieking sound. Is there really much room for improvement?
Turns out, there is. Whether you're talking about the brand new Roost 9V Smart Battery or the Nest Protect smoke and CO2 detector (our review, and more smart detectors to protect your home), there are new features that really belong in every smoke detector. But how do these two stack up against one another, and which should you buy?
In this article we'll show you what we found when we tested each one, and the pros and cons of each. Then you can choose which one is best for your home.
Contender #1: The Roost 9V Smart Battery
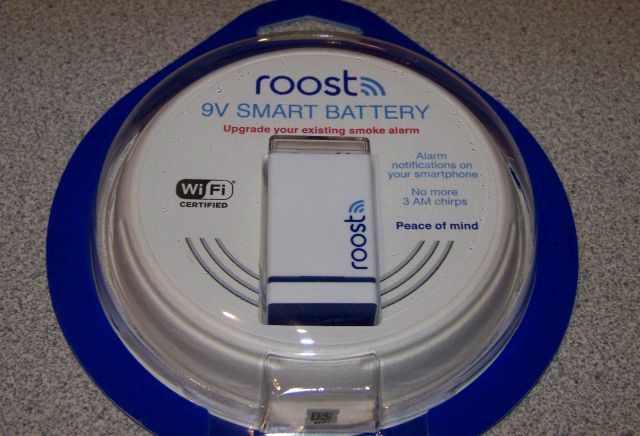
The Roost is a battery, plain and simple - but it's also a lot more - and not all batteries are made equal.
It delivers 9 volts to your smoke and CO2 detectors. Except it costs $34.99 rather than $7.99 like a standard 9V battery. So why would you want to pay over 400% more for your smoke detector's 9 volt battery?
Well, it basically fixes everything that's wrong with a standard smoke detector.
- It avoids those irritating chirping sounds at 3 A.M. when the battery runs low, by warning you ahead of time when battery power is about to become an issue.
- You have to be in the house when a smoke detector goes off to know there's a fire. Roost will alert you via your smartphone, no matter where you are, whenever your smoke detector goes off.
- It can turn your collection of cheap, standard smoke detectors into "smart" smoke detectors at only 35% of the cost of a Nest smoke and CO2 detector.
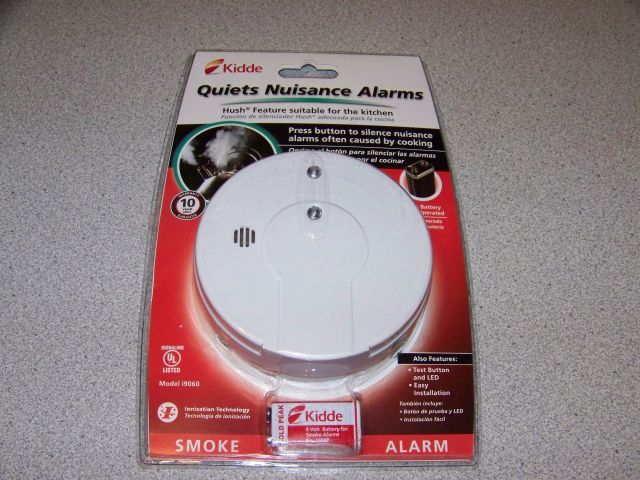
For our testing, we used a cheap Kidde brand smoke alarm that I picked up at Staples.
I gave the cheap "Kidde" 9 volt battery to one of my kids to use in their toys, and instead used the Roost 9V battery. Before you install the battery though, you need to sync up your smartphone with the battery. You do this by installing the app (see below).
Using the Roost App
You can get the free Roost app at the Google Play store or the iTunes app store.
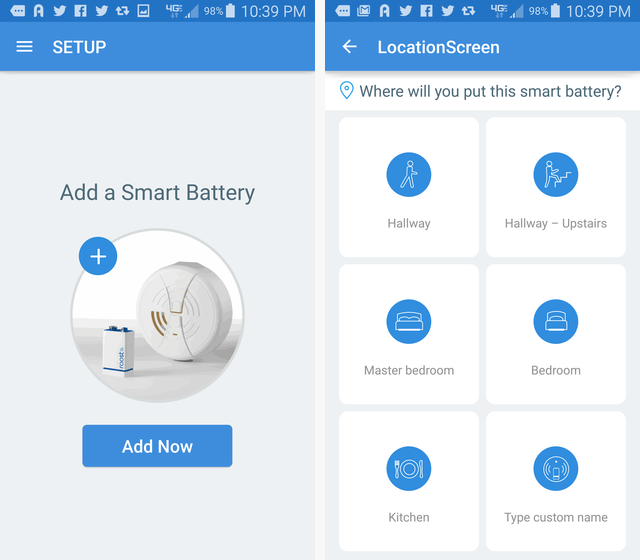
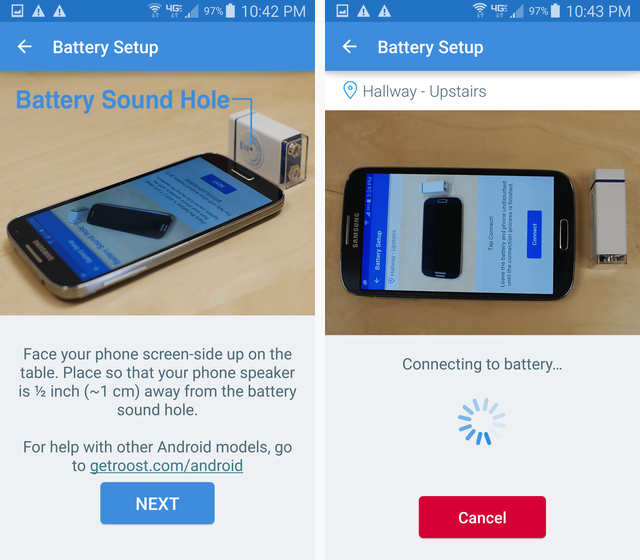
Setting it up is really simple. Just select the "+" symbol to add a new smart battery to your collection, and choose the location in the house where this one is going to be used.
In my case, I chose the upstairs hallway near my childrens' bedroom. To establish communication between the app and the battery (basically initializing the battery), you need to place your phone's speaker near the battery's microphone. Your phone will then emit a really loud buzzing sound until communication is established.
It's one of the weirdest syncing operations I've ever seen, but the benefit of course is that the developer didn't have to invest in Bluetooth technology - since sound is quite a bit cheaper to implement. And the setup process is fast enough, so no complaints here.
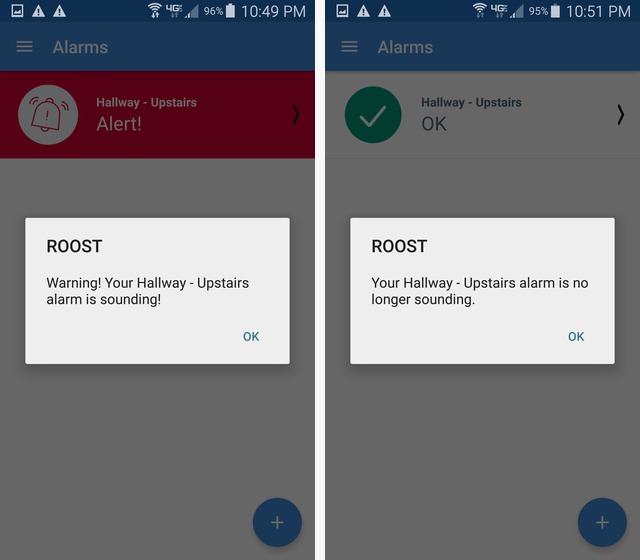
After this, you simply install the battery and install the smoke detector. From now on, if the smoke detector ever goes off, your phone will receive a notification like those shown below - no matter where in the world you are.
The whole process is cloud-based, so you don't have to be at home on your network to get the notification.
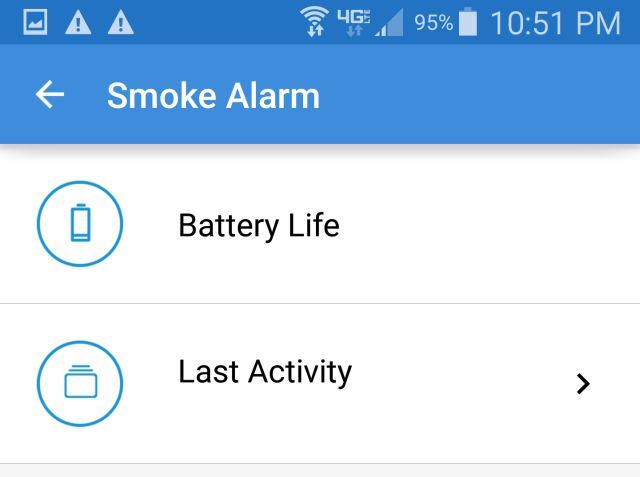
The Roost app will also provide you with the current battery life (the Roost specs state that it is estimated to last approximately 5 years in a single smoke detector).
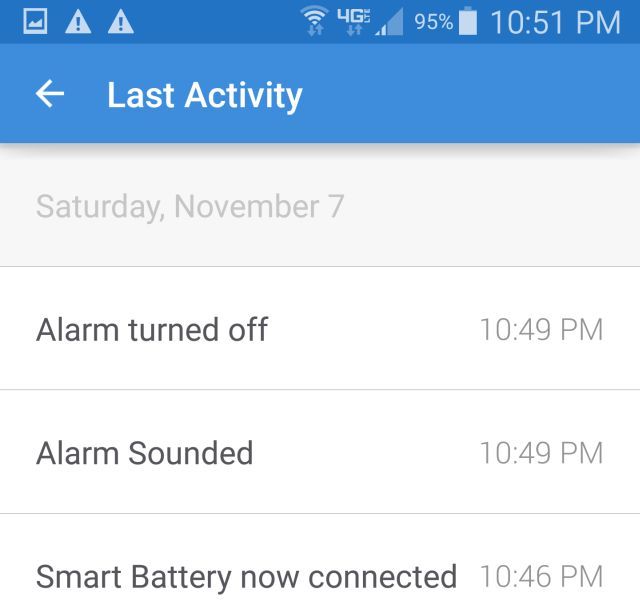
You can also see a log of all of the times the smoke detector has gone off in the past.
My favorite feature is the ability to "invite" anyone else you like who may be interested in knowing when the smoke detectors in your home go off. You can have your parents, children, or your best friends install the Roost app.
Just invite them to get notified from your Roost batteries whenever your smoke or CO2 detectors issue an alarm. Roost works with hardwired or non-hardwired smoke detectors, since they all require a 9 volt backup battery.
Roel Peeters, the CEO & Co-Founder of Roost Smart Battery told us that the mission of the Roost team is to provide the ability for regular home users who may not be so tech savvy, to have the convenience and advantages of having a smart smoke and CO2 detector, without the complexity and headaches of typical Smart tech devices like Nest.
When asked whether he felt there were disadvantages to Roost users who did not own those fancy, advanced smart detectors, he admitted that the Roost might not have the bells and whistles of those other systems, but also quipped that they are ultimately unnecessary.
"Sure, the Roost may not have a convenient night-light, but since when do people need their smoke detectors to be a night light?"
The man has a point. Night-lights are about 99 cents at your nearest Dollar Store.
So how does the Roost Smart Battery stack up?
Pros:
- Easy installation. In less than 30 minutes you could have every smoke detector in your house converted into a "smart" detector.
- Low cost. You can convert three of your standard smoke/CO2 detectors into a smart detector for the same price as replacing one detector with a Nest Protect.
- Multiple alert recipients.
- No electrical wiring or tools required to set up.
- Easy for users who are not tech-savvy to take advantage of smart home technology.
- Works with mains powered devices too: just replace the back-up battery, and the built-in microphone will still work to give you remote notifications when the alarm goes off.
Cons:
- No integration with other smart home devices.
- No IFTTT compatibility.
- No night light.
Contender #2: Nest Protect Smoke and CO2 Detector
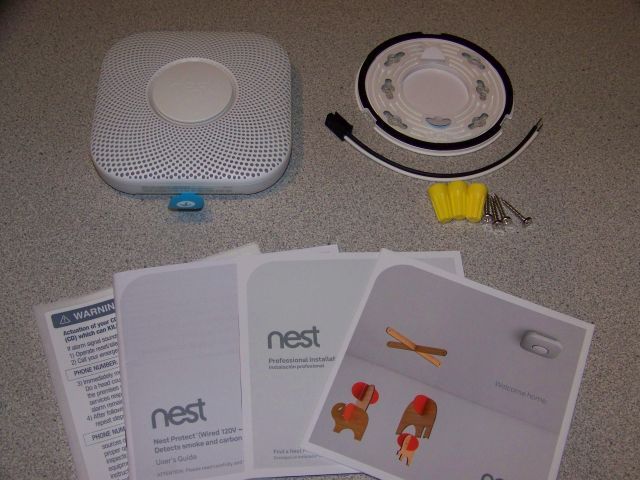
Now, moving on to the Nest Smoke and CO2 detector. The Nest detector comes with everything you need to install it, as well as all of the documentation and quick setup instructions.
Setting up a Nest Protect smoke and CO2 detector is really not that difficult, but you do need to make sure that the circuit feeding your regular hard-wired smoke detector is turned off before you start the installation.
Installing the Nest Protect
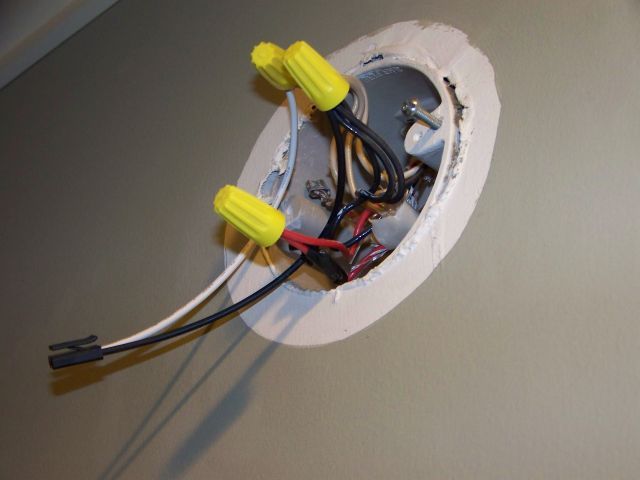
Removing the old detector and wall plate will reveal all of the wires you need to access. The Nest Protect only requires you to connect the black and white wires to your existing black and white home wiring.
If you have existing red wires, just attach them with a wire nut and tuck them inside the wall box.
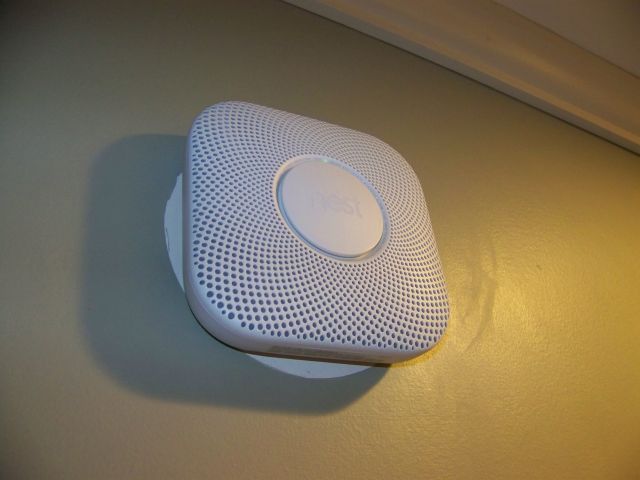
Once you've wired the connector to the existing home wiring, screw the replacement Nest wall plate into your standard wall-box. Then, mount the Nest to the plate by aligning the tabs on the back of the next with the tabs on the wall plate, press the Nest Protect flush with the wall and twist clockwise until the "Nest" logo is parallel to the ceiling.
Installation is really fast and easy, but you do need to be comfortable with working with your home wiring.
Using the Nest App
To connect with your Nest Protect with your smartphone, you'll use the same Nest app that you'd use to communicate with a Nest Thermostat. Get the Nest app for free from the Google Play store or from the iTunes store.
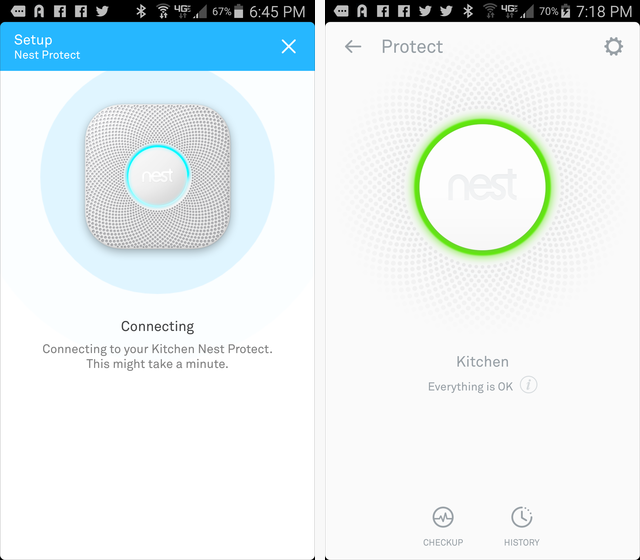
Once you've installed the Nest app, just choose to add a new device, and select "Nest Protect" from the list. You'll need to provide the Nest Protect with your wireless LAN password so it can connect to the Nest Cloud.
Once connected, you'll see the "Everything is OK" status on the main Nest Protect screen.
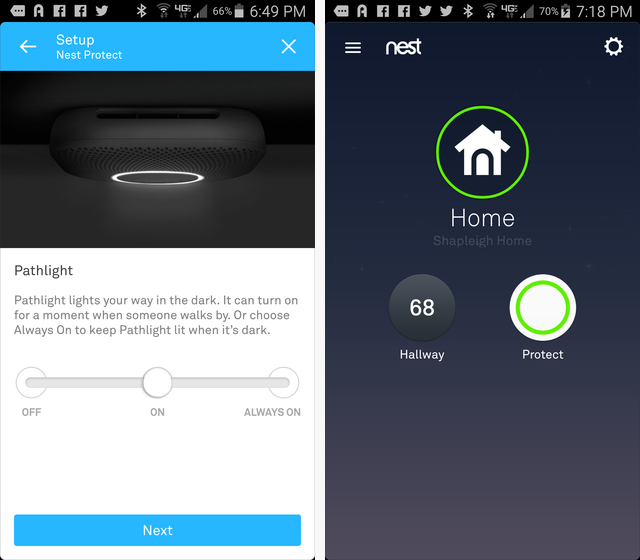
The final step of setup is to choose the brightness of the "Pathlight" (essentially a night light). Once you're done, you'll see your new Nest Protect show up on the "Home" screen of your Nest app.
So, what can you do with your brand new, shiny Nest Protect?
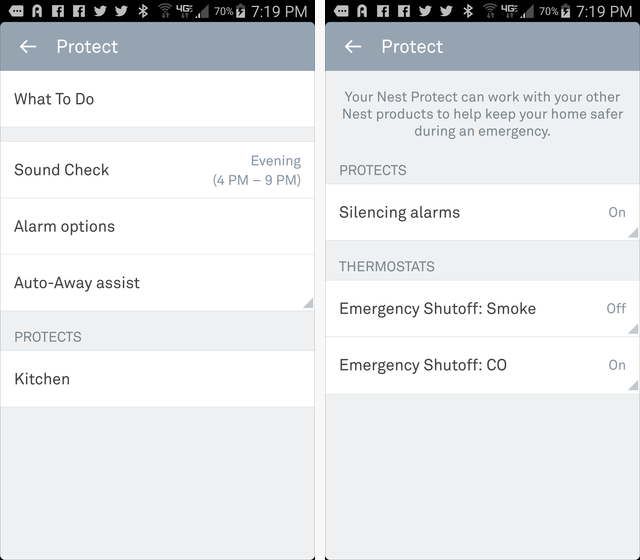
You can receive alarms whenever it detects either high smoke or high CO2 levels. It can also give you an "early warning" when those levels are sensed as present in the environment but they aren't yet high enough to set off the alarm.
Other family members in the house can also install the Nest app and connect to receive notifications from the device, but the'll need to know the Nest account password. There is no feature to add other family or friends to the alert system unless you're okay with providing the password to the system.
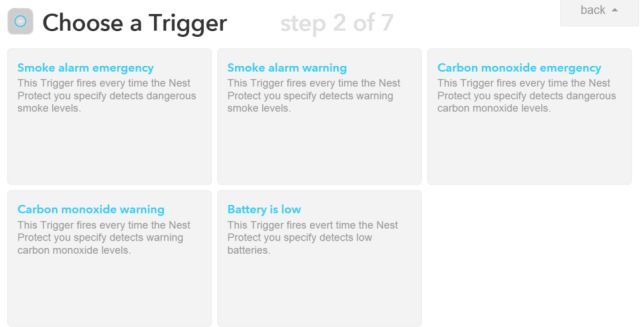
On the other hand, Nest Protect does offer integration with IFTTT, so if you wanted to, you could configure email (or even Facebook or Twitter) alerts, any time the Nest Protect identifies smoke or carbon monoxide present in the house.
The Nest Protect looks really cool installed on the wall and offers a refreshing change to the old, boring smoke detectors that have been in use for so many years. However, the features are still pretty basic - you get battery low or smoke/CO2 alarm notifications. The only "special" feature the Nest Protect offers beyond those basic features is its "Pathlight" feature.
Pros:
- Aesthetically pleasing design - a real conversation starter.
- Early warning alarm before smoke or CO2 levels get too high.
- Motion-detector activated "pathlight" night-light installed on the front of the device.
- The ability to help the Nest Thermostat figure out when you're "away" from home (so it can turn down the heat).
- IFTTT integration with many other online services.
- Smart enough to identify that steam is not smoke.
- If you have multiple Nest Protects, the alarm will sound simultaneously on all of them, and inform you via the voice output which location the danger was detected in.
- Re-assuring green glow when you turn off the lights to go to bed, letting you know the system is operational and everything is protected.
Cons:
- Nearly three times the cost of the Roost Smart Battery.
- Requires that users are slightly more tech-savvy.
- Longer set-up time.
And the Winner Is...
I have to admit that when I started this "battle of the smoke detectors", I was biased in favor of the Nest Protect. I already owned the Nest Thermostat (which I absolutely love). But it was the first time I'd ever used the Nest Protect, and I was actually a bit surprised at how few additional features the Nest Protect offered over the Roost Smart Battery.
In all honesty, the Roost Smart Battery gives me the same remote notifications whenever my smoke/CO2 detector goes off, and it also gives me the same "low battery" warning as the Nest Protect. And while I can't get any nifty IFTTT integration with the Roost Smart Battery, I am at least able to send the alerts to anyone at all on my family or friends list who have installed the Roost app and want to know when our house (and therefore our family) is in trouble.
Finally, at a cost point of only $34.99 per smoke detector, I can "smartify" all smoke and CO2 detectors in the house with a Roost Smart Battery for the same cost as a single Nest Thermostat. So, for a home that has many smoke and/or CO2 detectors: the Roost Smart Battery is a clear winner. It allows you to transform all of your existing detectors into a "smart" detector at a third of the cost, and you get the most important core features that you'd get with a Nest Protect.
However, if you only have 2-3 smoke alarms in your house, the Nest Protect is a better choice. This is because for the additional investment, if you can afford it, you get the interlinking of all detectors (where the system will tell you where the smoke is), the automatic self-testing, and the reassuring green status light letting you know that all is well with your system.
What do you think about the Roost Smart Battery and the Nest Protect? Which would you use to transform your boring old smoke detector into a "smart" detector? Share your thoughts in the comments section below, and let's discuss the pros and cons of each device!

