Snapping photos on your smartphone is easy. But so is taking a bad photo. All too easy, in fact. Below are 10 common smartphone photography mistakes that people make.
1. Using the Wrong App
Mistake: You've got the default app, of course, which ships with your phone. This is probably the one you use the most -- and why not? After all, it has a shortcut button that you can use to launch it, and a single snap takes the photo.
That's pretty much all you need, right?

Use the right app: You have such a huge choice of smartphone camera apps that it doesn't make sense to ignore them. A look in the iOS App Store or Google Play will reveal more camera apps than we can list here. Android has a great choice of alternatives, for instance.
Spend time looking for a camera app you feel comfortable with, one that will help you get better results from your smartphone photography. Whether you're looking for something simple or highly customizable, you can find it.
2. Who Needs the Rule of Thirds?
Mistake: A common error of the "whip it out and snap it" philosophy of photography is to ignore basic rules, such as the rule of thirds. It's perhaps the most important aspect of photography.

Activate the grid: You know how your default camera app has a grid button? That's to help you to use the rule of thirds.
The idea is simple. With the help of an imaginary or overlaid 3 x 3 grid, you can take superior photos. Perhaps the most common way is aligning the subject with the left or right vertical grid line. If it is alive, the eyes should be aligned to either horizontal. The end result is a photo that isn't cut in half by the horizon, and avoids the placement of a sole subject in the center of the image.
3. Composition Is for Musicians
Mistake: So there's this concept in photography called "composition" in which you're supposed to put some forethought into your photos. You know, stuff like where people are stood, what angle you're snapping from, and even how you hold the camera.

Trivial nonsense, of course! What you should be doing is what you've always done: pull out your phonecam, take a photo, and carry on. Photography rules are for DSLRs, not the cameras on smartphones.
Understand composition: How you position your subject is incredibly important for ALL photography. Our guide to five essential photography tips explains all you need to know to get started with the golden ratio, leading lines, and using foreground and background.
4. Rushing the Shot
Mistake: You've got an awesome choice of fast-out-and-snap camera apps on your iPhone. Why wouldn't you take every single photography this way? Isn't that what smartphone photography is all about? Sure, a photo might be blurred, but that's okay, isn't it? After all, it shows what a great time you were having!

You're simply too busy to get people to stand in a particular way. You don't have time to get close to the subject, or get down low, or engage any of the settings on your camera app. What will be will be.
Plan ahead and understand the app: Just as detrimental as using the wrong app is using an app you don't know. Understanding what it can do will teach you to plan ahead. Sorry, but you're going to be a bit busier with your smartphone photography from now on.
5. Leaving Your Flash On
Mistake: Thinking the flash is vital to taking photos on any camera. It can result in red eyes, but this can be quickly excised in a photo editing tool. If your photos are a bit dark, the flash can fix that, as well as fill in some odd shadows. Some people complain that the flash makes photos seem flat, but, well, they are flat, right? Photos are not 3D.

Avoid using the flash whenever possible: Modern smartphone cameras have great low-light sensors. In most cases you won't need it, and if you do, it's probably not the right time, or place, to take a photograph. Leave your flash off, and only turn it on if you absolutely need it.
6. Making Full Use of the Zoom Feature
Mistake: While you've been ignoring most of the settings, you've found the zoom tool works perfectly, so why not use it as much as possible? After all, what's better than getting zoomed right into the subject for an extreme closeup?
Some people will tell you that you've got to be more mobile when taking photos, but when it comes to a smartphone, that superior technology will see you right.
Avoid zoom whenever possible: You probably don't need zoom. It might be warranted in macro mode, but at all other times, you should use the original zoom tool, developed over millions of years of evolution: your feet. Get closer to the subject, and you won't need zoom on your smartphone.
The problem is that digital zoom results in lower-quality photographs. It's a better idea to get as close as possible, take a well-composed photo, and zoom in later if you absolutely have to.
7. Who Needs a Tripod?
Mistake: No one really cares about wobbly photos, blurs, or fingers in view of the lens. Cameras are to be held, not mounted on a tripod! Just like you don't need to lean against a wall for a straight edge, employ a monopod, or place your camera on a flat surface.
Plus tripods are expensive and a pain to carry around. Maybe a selfie stick could be useful... but no, not a tripod.
Use a tripod, even if it's pocket-sized! I've enjoyed great results using a smartphone tripod. Available in all sorts of shapes, sizes, and levels of usefulness, they range from standard desktop stands to ones with bendy legs and magnetic feet. In short, you can place a smartphone tripod almost anywhere.
8. Forgetting to Keeping It Steady
Mistake: Blurry sweeps and shaky hands are fine. What's the worst that could happen? My post-processing app can sort out these problems. What next, asking me to breathe out when I snap the shot?
As if a tripod wasn't bad enough!

There are so many ways to keep your smartphone camera steady: As with snapping without a tripod, you might want to sit the device on a wall for a level horizon, or lean against a wall to keep things straight.
Alternatively, you can use tried-and-tested tricks for keeping your shots steady. For instance, you can try using two hands. Most stability/shake issues occur when you press the shutter, so if the camera app has a timer, enable this, then line up the shot in time for the photograph to be captured.
9. Camera Settings? PAH!
Mistake: It's point-and-shoot and totally automatic. Why would I bother playing with the settings? They're for professionals -- I'm just photographing a kid's party! I don't even want to try and get my head around ISO and shutter speed and that other thing.
Automatic all the way, yeah?

Know your camera app settings: You don't absolutely need to learn about the exposure triangle. But it's a good idea to know that it exists, and that aperture, ISO, and shutter speed all interact to determine the quality of your photo.
Older smartphone cameras didn't have these options. In those days, it truly was point-and-click photography. But with better quality camera sensors and lenses comes better software. Even if you can't cope with the exposure triangle, focus and white balance should at least be given some attention.
10. Forget Lighting, Technology Can Fix Anything
Mistake: The direction of the sun, light through windows, and reflections off of brightly colored furnishings or clothes really shouldn't be a problem to you. A bit of Instagram magic (or tweaks from some other post-processing tool) and no one will ever notice!

Lighting is important! It's one of the most important aspects of photography. You wouldn't take a photo of someone with the sun behind them unless you were expressly snapping a silhouette shot. Where the light lands on your subject is important to consider, and the same goes for intensely-colored clothes and furnishings.
It's all in the planning, positioning, and presets. The three Ps of smartphone photography, if you will!
Bonus: Only Take One Snap
Mistake: That fast-out-and-snap routine I mentioned earlier is always the go-to method. You want to remember what you're seeing, so you whip out your phone, snap a quick photo, and continue on your way. Why spend lots of time messing with settings and composition?
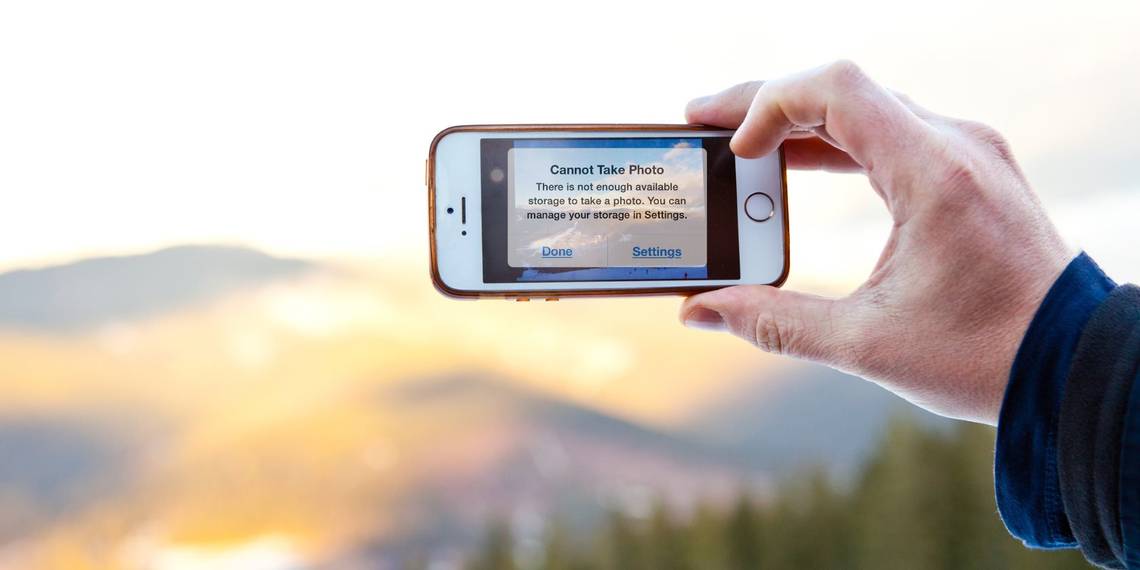
Taking multiple snaps is useful for many reasons, especially with group shots. With gigabyte upon gigabyte of data storage on your phone, you can probably afford to take as many photos as you need. Once you've synced them to your PC, you'll be able to spot the best. Perhaps cropping or post processing will be required, perhaps it won't. But surely you prefer to get a single, great photo from a selection of ten, rather than one poor snap?
Unlearn Your Bad Habits and Avoid Mistakes
No one is expecting you to be the greatest photographer with your smartphone. But taking on board the basics, especially if you're just starting out, will yield some instant results. That's not a bad place to start building your ability from! And if you're using a smartphone, try these tricks and tips to improve your smartphone photography, from using the right app to keeping the lens clean.
As long as you followed the advice in bold, your smartphone photography should improve considerably in the coming days. But don't just sit there reading this -- get your smartphone out, and start snapping, without the mistakes!
What smartphone photography mistakes have you overcome? Are there any you think should be included in this list? Tell us in the comments.
Image Credit: Zara10/Depositphotos