For those of you who want to have absolute privacy and no geo-restrictions while browsing the Internet, a Virtual Private Network is the way to go. However, by virtue of the name itself, a VPN may sound very daunting to a lot of people, and so it is probably dismissed as something which can't be done by someone with no tech knowledge. I am happy to tell you that it is extremely easy to set it up. In fact you can have it up and running in minutes, and I am going to show you how.
The VPN that I am going to use today is Tunnelbear. This is without a doubt my favourite VPN and I haven't hesitated to say so in the past, and neither has Erez. It's reliable, fast, available for mobile and tablet devices, offers a minimum of AES 128-bit encryption, and if you are willing to pay a nominal $5 a month, you can have unlimited service (free users only get an initial 500MB a month, then an extra 1GB a month - and that's only after they tweet on Twitter about the service).

Today's article will show how to set it up on an iOS device, but it is also available for Android devices as well as PCs and Mac OS X. Just head on over to the Tunnelbear download page and grab your installation file. I should point out though that the only country where Tunnelbear doesn't work is China.
Setting Up
Once you are on the Tunnelbear download page, click on your operating system. I am using an iOS device, so this takes me to iTunes where you can get it sent to your desktop iTunes app. Or alternatively, look in the App Store on your phone.
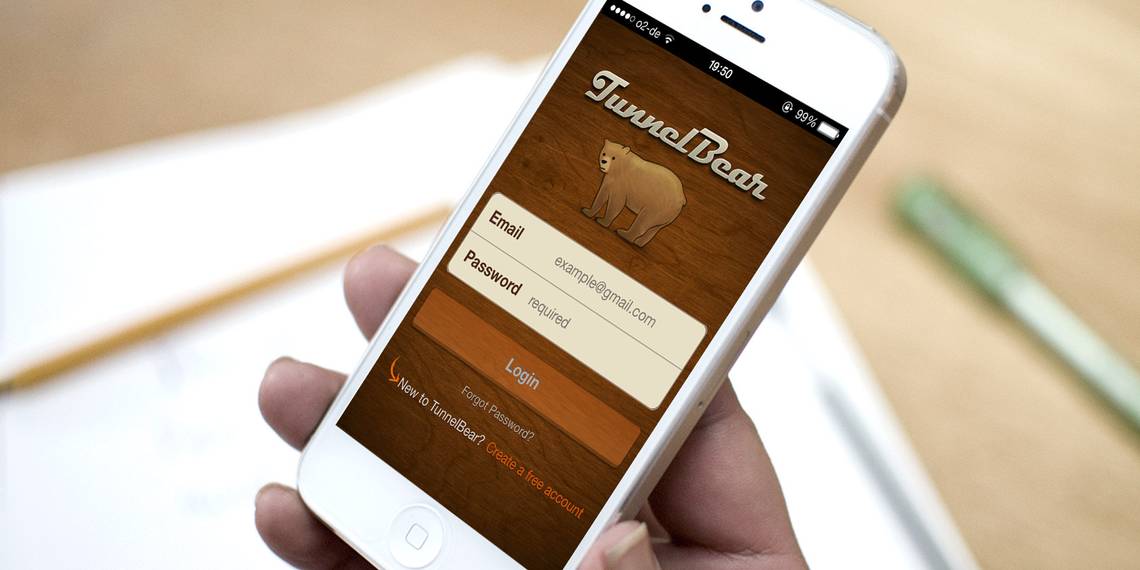
Go ahead and install the app to your device. I don't think you need me to tell you how to do that, so we'll skip that bit and move swiftly on. Once Tunnelbear has been installed, open it up and you will see the main screen.

I'm assuming you don't have an account yet, so go ahead and make one. I'll wait.
Once you have made your account and logged in, you will then see this message on your phone.

Tap Yes, and your browser will open up to show this :

As the screen says, Tunnelbear needs to install the necessary settings on your phone, so tap I'm Ready!, and let Tunnelbear do its job.

At this stage, go ahead and tap on Install. But then you will see this:

This sounds scary and might put a lot of people off installing Tunnelbear. But you can take it from me – yes, it alters some settings, but not for the worse. And if the day ever comes when you decide you don't want Tunnelbear anymore, all you have to do is go into your iOS settings, then General > Profile. Find Tunnelbear and delete it. Simple as that. So everything is easily reversible.
The profile will be instantly applied to your phone, and you'll be informed that it is ready to be used with a link to Open the App. Tapping on that link, you'll see the sleeping bear:

In the top right hand corner is your remaining amount of data (F being Full and E being Empty). Mine doesn't show because I am a paying customer, therefore I have the unlimited plan.
Controlling Your VPN
You can now close the app, as you don't really need it (unless you want to check on how much data you have left). The controls to Tunnelbear are in your iOS settings. If you go into your Settings app, you will now see that you have a new section called "VPN".

Click on that and you will see this:

Simply choose which country you want to browse from. For example, the United Kingdom will give you BBC iPlayer. Browsing from the US will get you US-only sites such as Hulu and certain geo-blocked videos on YouTube and IMDB. Or maybe you want to give your spies and enemies a migraine and randomly choose a country for a few hours.
Tap on the one you want, make sure the tick mark is next to it, then tap on the VPN slider button at the top. When the button goes green and the status says "Connected", that's it. You are officially in another country. Congratulations.
And just to show you that it works, I am in Würzburg, Germany. But when I chose United Kingdom and connected, I went to WhatIsMyIP and it said I was living in Maidenhead in England.

Before you get all excited and start downloading illegal stuff, I should point out that Tunnelbear has specifically said [Broken Link Removed] that they do not allow port forwarding, as they do not want Tunnelbear to be used for illegal purposes (like torrenting). So just use it for your browsing, your emailing, and your IM'ing, and leave the torrents out of it. You are also only going to get 75-85% of your normal Internet connection speeds, as everything will now be routed through Tunnelbear's servers. So even if you could get torrents, it wouldn't go spectacularly fast anyway.
That's It
And that is how easy it is to set up a Virtual Private Network on your iPhone. I highly recommend you give Tunnelbear a go. If you don't want to pay for it, then free users get 500MB of data every month, which really isn't a lot. Start as a free user, get your 1.5GB a month free and see how you like it. I'm sure you'll soon be tempted, like I was, to upgrade to that $5 a month plan.
I don't pay for very much on the Internet, but I absolutely didn't hesitate to swipe my wife's credit card from her handbag for this.
Image Credits: PlaceIt