The ever present war between malevolent hackers and information security professionals wages on. According to a study conducted by the Bureau of Labor Statistics, the projected rate of growth for jobs in information security is much higher than all other occupations. As innocent bystanders, there are a few measures we can undertake to discourage the bad guys.

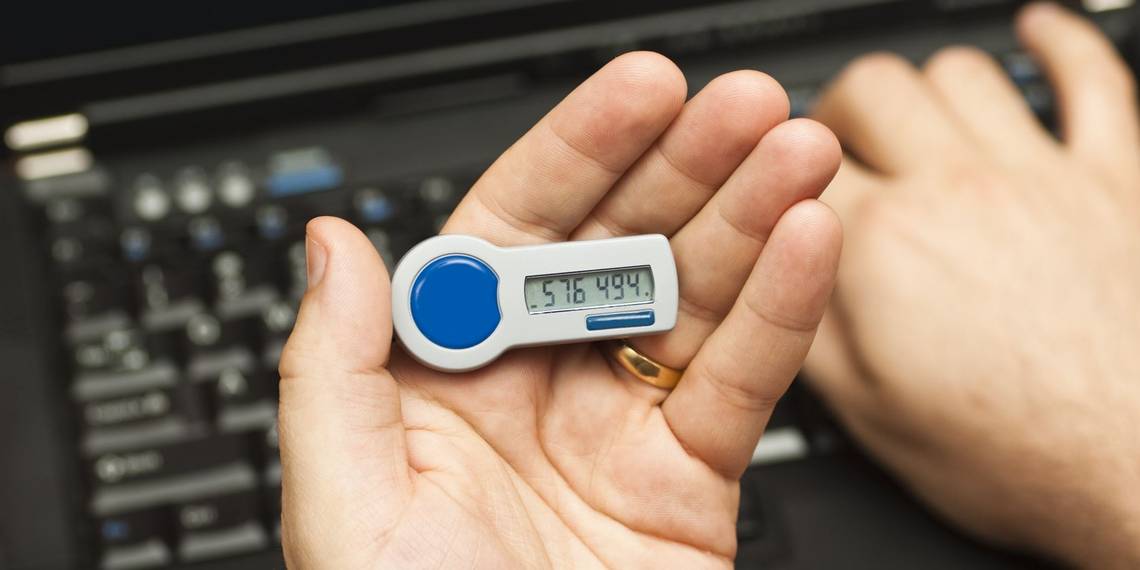
Two-factor authentication (2FA) has been around for some time now. It requires that two methods of authentication be used in order to verify a user's identity. This usually is comprised of the regular username and password, along with a verification code sent to your mobile device via text message. This means that even if your password was compromised (how to make your passwords stronger), the mischievous hacker will need access to your mobile device in order to get full access to your account.
There are reports of nasty individuals masquerading to mobile carriers and claiming to have "misplaced" their SIM cards in order to get access to a victim's mobile number. This still proves there's room for improvement, but 2FA also extends beyond a text message verification. This guide will help setup enhanced security on both Ubuntu server and desktop flavors, in conjunction with Google Authenticator for two-factor authentication.
Considerations and Prerequisites
Setting this up means all the users of the system will need the verification code from Google Authenticator when:
- Logging in to the system
- Running sudo commands
While the trade-off here is time, the added layer of security can be vital. Especially on machines that house sensitive data. This guide will make use of:
- Ubuntu 16.04 (Desktop or server)
- Google Authenticator App (from the Google Play Store or Apple App Store)
Install Google Authenticator
As we've covered, We will use Google Authenticator to be the second line of defense against unwarranted access. Let's get the mobile part of the equation done first. The install steps are exactly like installing any other application. This install steps below are for the Google Play Store, but they should not differ in the Apple App Store.
Open the Google Play Store on your Android device, and search for google authenticator. Locate and tap the correct entry, taking care that it is published by Google Inc. Then tap Install, and Accept when prompted, and wait for the installation to complete.

Next, fire up a terminal session on your desktop or server.
Run the following command:
sudo apt-get install libpam-google-authenticator
When prompted, enter your password and hit Enter. If prompted, type Y and hit Enter again, then sit back and let the installation complete
Configuration
You will now need to edit a file to add two-step authentication to your precious Linux box. Run the following command:
sudo nano /etc/pam.d/common-auth
Not far down look for the line that reads:
auth [success=1 default=ignore] pam_unix.so nullok_secure
Directly above that line, add the following:
auth required pam_google_authenticator.so
Your file should look something like this:

Press Ctrl + X followed by Y to save and close the file.
Set Up Each User
The next step will finally link your account to the Google Authenticator. This step will need to be run for all users that login to your system. Our example just has a single user, makeuseof. However, the steps will be identical for any other user on your system.
In your terminal run the following:
google-authenticator
Taking a closer look at what's being provided we find:

- A QR code
- A verification code
- A new secret key
- 5 emergency scratch codes
The QR code and the secret key pretty much serve the same function. We'll return to these in a second. The verification code is a one-time use code that you can use immediately, if necessary. The scratch codes are one-time use codes that can be used in the event you don't have your mobile device handy. You can print these out and store them under thermonuclear lock and key, or just ignore them. Ultimately that will depend on how prone you are to forgetting or losing your mobile device.
You will also be asked a series of questions. The default values are more than adequate, and you can answer Y to all of them. However, feel free to change these as desired. Don't close the window or terminal session just yet.

Set Up the Mobile App
Before continuing to any other user, let's complete the one you're currently logged in with.
If this is the first time launching the Google Authenticator on your mobile device click Begin. Alternatively, from the main window click the plus icon in the bottom corner. If the resolution on your terminal window is good enough to see the QR code select Scan a barcode or Enter a provided key if your mobile device camera is similar to a potato. If you opted to enter a key, you will now need to enter an account name to help you remember which account this relates to. Following that enter the verification key provided in your terminal window. Now just hit ADD.
Scanning your barcode will do these three steps simultaneously. And voila! Your mobile device and system now have an added layer of protection. The only possible way some ill-intentioned individual can gain access to your system is if they crack your password and get access to the mobile device you have configured.

Final Steps and Testing
You may have multiple people using this particular system. In our example, slaghoople is an additional user. Run the following in your terminal session:
sudo su slaghoople
Open the Google Authenticator app on your mobile device. Type the six-digit authentication code, which the app has provided in the terminal window. Enter your sudo password and hit Enter. You should now be logged in. As the new user, issue the following command:
google-authenticator
You can now simply follow the exact same steps as we did for the first user described above. After answering the questions, open your Google Authenticator mobile app. Add another account. Enter slaghoople as the account name to help you differentiate between the two on your mobile device. Choose to either scan the barcode or type the verification key. Slaghoople will now require the code from the mobile app along with her sudo password for logging in and issuing elevated commands. Rinse and repeat for any additional users. Once all your users have been setup you will notice that trying to login or running sudo commands require a verification code.


And that's it. Your Linux machine is now much more secure than it was previously. Some may argue that this process is a hassle. Of course it is! That's the point!
Have you had your password leak and had a system compromised? How do you secure your sensitive data? Do you currently use two-factor authentication? Let us know in the comments!
Image Credit: Dave Clark Digital Photo via Shutterstock.com