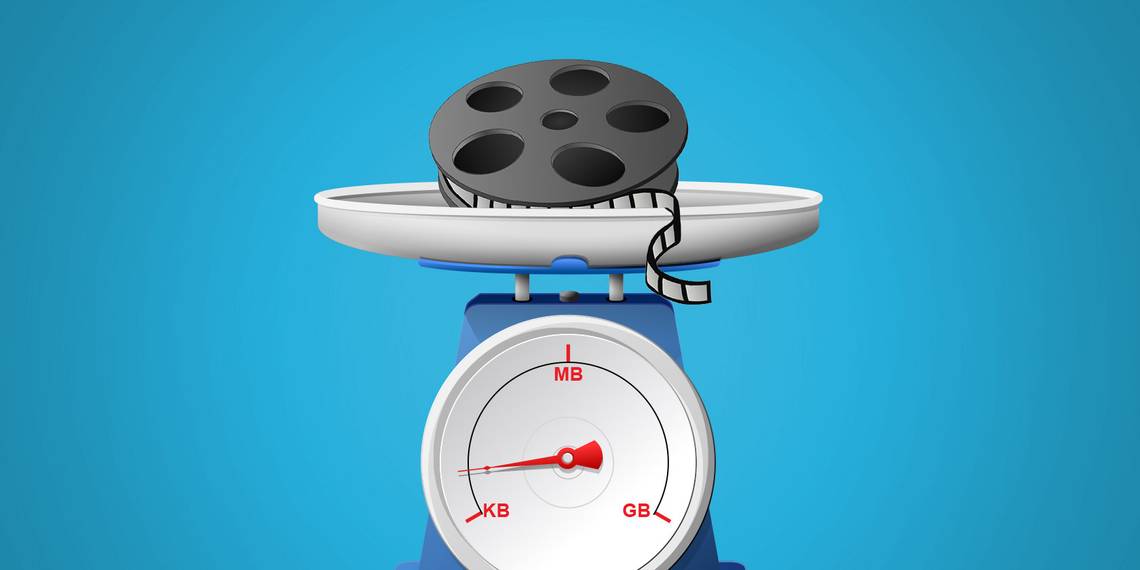
Your smartphone, your DSLR camera, and your GoPro all shoot high-quality, high-resolution video. In no time at all, your video collection's total file size can take on epic proportions. When your memory card maxes out or you want to upload one of these videos to share on the Internet, you might be feeling the pain.
The good news is that you can reduce video file size easily in a number of different ways. The bad news is that, unless you adjust the correct settings, your video's quality will inevitably take a hit. How do you balance the two? Which settings should you change to reduce size without compromising quality? Read on to learn all that you need to know.
1. Pick the Right Software

You really should use a computer for this task, not a tablet or a smartphone (though you can compress a video on iPhone). The best desktop tool for this task is Handbrake. It's completely free and works the same on Windows, Mac, and Linux.
Download: Handbrake for Windows, Mac, or Linux (Free)
If you're on Windows, you can also try the Freemake Video Converter, which includes a simpler interface. Handbrake does a better job of encoding and converting videos, however, so I would recommend learning its ways for a superior final product. If your video has other issues, try a video quality enhancer to iron those out first.
2. Start With the Audio
Before you begin chopping down the quality of the picture itself, take a peek at the Audio tab in Handbrake. You might be surprised by how much space audio channels take up; unless your project requires extremely high-quality audio above all else, always tackle sound first.

- Check if there is more than one audio track. You only need one. If it's a movie file, isolate the English audio or your language of choice. If it's a video you made, the first track will probably be the right one to keep. Delete all of the other tracks if you don't need them
- Under Codec, choose AAC (CoreAudio) or MP3. These are lossy, compressed audio file formats that will be good enough to fly in many cases. Even for concerts and other sound-dependent material, you can choose one of these lossy formats and sample it at a higher bitrate.
- Under Bitrate, choose 160 by default for most videos. Choose a higher bitrate (256 or 320) if you're converting a video where sound is extremely important.
I would recommend that you simply set the sample rate to Auto in most cases, but this can also be tweaked to optimize audio file size. For human speech, set the sample rate to 32, and, if sound quality is important, set it to 48.
3. Choose the Best Codec and Container
Ideally, the original video you shoot should be using the highest quality video codec and container. When you're ready to reduce the size, you pick the most efficient codec and container.
What's the difference between the two? Basically, the codec is the encoder and decoder "brain" that converts a video into bytes, determining the base quality of the video. The container is the file format, the "body" that determines compatibility with different devices and services.

Choose H.264 as the video codec. This is the most popular codec to reduce video bitrate and might be up to two times as effective as MPEG-4 for video compression. It is also recognized by many types of devices, be it a simple TV or even your Raspberry Pi.

Choose MP4 as the container. Again, MP4 is efficient, but, more importantly, it's the most widely recognized file format for videos. In fact, YouTube, Vimeo, and Facebook all recommend MP4 over any of the rest.
4. Reduce the Video Resolution
Most people have HD-ready or full-HD TVs, but the big secret is that video resolution isn't as important as you might think.

Resolution affects the size of the video greatly, but the quality of what you're left with might not be too far from the original. How far you sit from the screen, the upscaling technology of the TV, and the bitrate of the video are all going to have a much greater impact.
Here's a list of commonly-used video resolutions that you can choose from:
- 2160p (3840x2160)
- 1440p (2560x1440)
- 1080p (1920x1080)
- 720p (1280x720)
- 480p (854x480)
- 360p (640x360)
- 240p (426x240)
As a rule of thumb, check the video's original resolution and go one level below. In Handbrake, you'll find these settings under the Dimensions tab. You can even check out a Preview of the lowered resolution under Summary before you commit.
If you plan on simply uploading your video to YouTube or Facebook, 720p is the best way to go (assuming file size is more important to you than resolution).
5. Bitrate Should Be Your Last Resort
The biggest determing factor when it comes to the quality of a video is bitrate. In simple terms, bitrate is the amount of data being conveyed per second on-screen. The more data that you allow through, the better the video quality will be. As such, reducing the bitrate can also negatively affect your video quality.

In Handbrake, select the Video tab and, under Quality, use the chart above to find an Average Bitrate suitable for your project. Make sure that 2-pass Encoding is toggled on.

Most DSLRs record video at a high bitrate, creating huge files. Again, YouTube has some recommendations that you can use as a thumb rule for any video upload. You shouldn't dip below these numbers, but if your current bitrate is higher, you can safely reduce it in many cases.
6. Don't Change the Frame Rate
If anyone tells you that you should reduce the frame rate for a lower video bitrate, don't listen to them. You should keep your video at the same frame rate that it was recorded natively in.

The human eye only needs 24 to 30 frames per second for a decent picture, so it might seem logical to lower the frame rate to that range. However, doing so can affect the smoothness of the video, ruining it before you even have a chance to enjoy it at all.
Can You Reduce the Video File Size Without Losing Quality?
With these Handbrake settings to reduce video file size, you should be able to substantially reduce the file size of a video without affecting the quality adversely. You might even hit your intended target size long before you need to reduce the resolution or the bitrate; it always pays to take processes like these step-by-step, tweaking only what's necessary. Once you've figured it out, you'll be able to play, upload, or stream these files anywhere.