Hi there. Post 4 of 5. We've looked at Installation, Views and Editing, and now we're going to take a look at the special effects magic that Picasa can work on your images.
Feel free to head back to the start, or just dive in here. Kate, who has been helping me with
Mac version differences, tells me there is nothing of concern, so you can all sit together today.
We were in Edit View, and had worked our way through the Basic Fixes and Tuning tabs. Now we need to take a look at the third tab, Effects.
The other two tabs focused on fixing things. Making corrections and adjustments. Now we mostly want to have some fun.
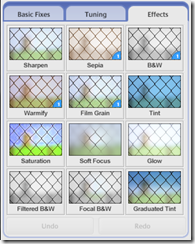
Find an image, grab a coffee, change to Edit View, and click the Effects tab.
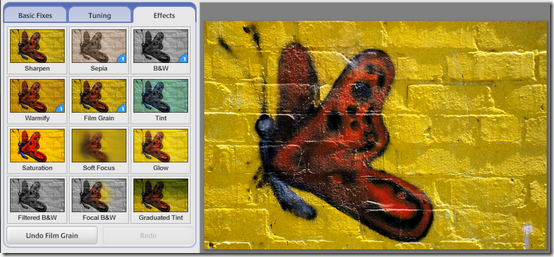
Sharpen
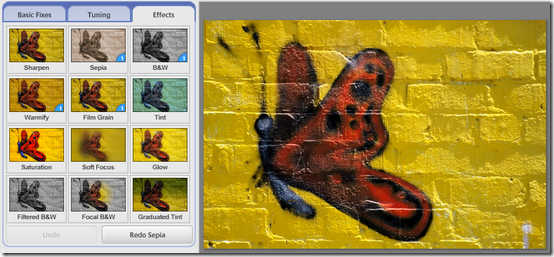
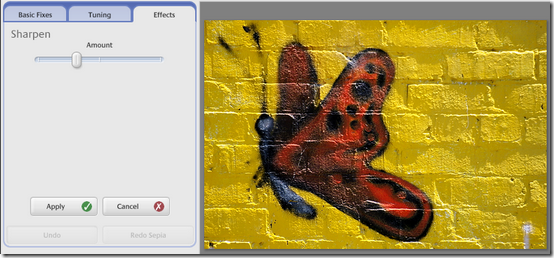
Most of these tools work in a similar way. You click on the thumbnail, and either get a result, or some questions. Sharpen only has one question.
Drag the slider to the right to sharpen the image, or to the left to soften it. Note that over-sharpening images is a common problem, so take it easy. You can't actually fix a blurry image with this tool. You just think you can. Click Apply or Cancel.
Sepia
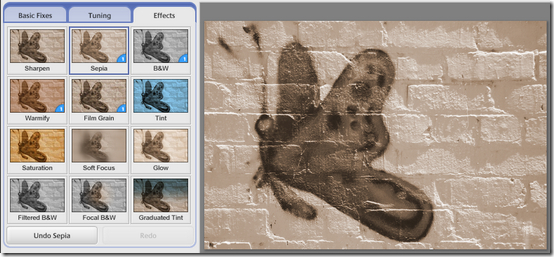
No questions with this one, or any of the others with a little (1) in the bottom right corner. You just get an old-fashioned image in multiple shades of warm brown. For some images this looks really stunning.
Click the Undo if you don't like the result. Note that you can undo multiple effects if necessary. Weirdly enough, you can also apply effects multiple times. Try clicking on the Sepia thumbnail a few times.
B&W
Much the same, except we're talking about shades of grey.
Warmify
And again, except this one changes some of the colours to make the image look warmer. The butterfly is warm enough already.
Film Grain
It's difficult to see the effect on this image, but it looks great on anything that looks old-fashioned, and perhaps a little plain.
Tint
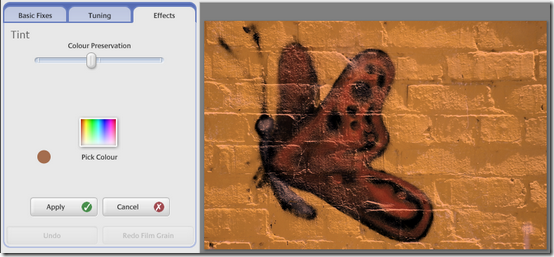
Two steps to this. Click in the Pick Colour box, and choose a colour from the resulting choices. Then decide on the Colour Preservation. Slide to the left to remove all the original colour. To the right to add most of it back.
Saturation
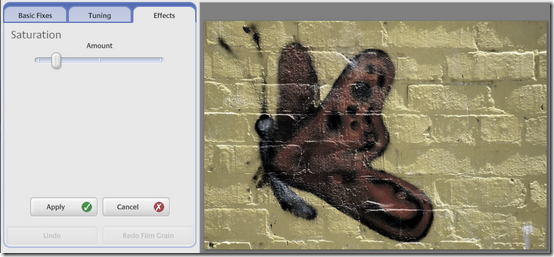
Just one slider. Drag it to the right to increase the intensity of all the colours in the image. Careful now. This picture has enough intensity already. Dragging to the left pulls the image closer and closer to black and white. Find somewhere you're comfortable with.
Soft Focus
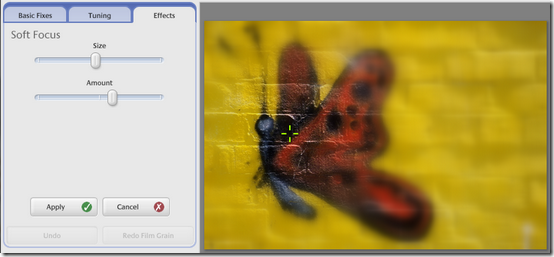
What happens here is that you have a portion of the photo which is nice and sharp, and the rest of the image is softened and blurred.
You can adjust the Size of the sharp area with the first slider, and the Amount of blur with the second.
You can adjust the position of the sharp area by dragging the green crosshairs around on the image.
Glow
This is another strange effect, but it really does make some images look as though they are glowing, by brightening the white areas of the photo. You can adjust the Intensity and the Radius of the glow. Needless to say, there's little point of trying it out on this image.
Filtered B&W
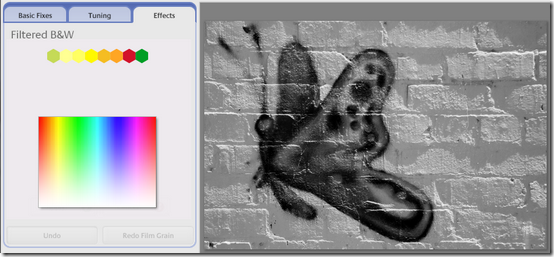
If you're old enough to have dabbled with film then this might make more sense. The Filtered B&W effect simulates filling your camera with B&W film, and then putting colour filters on the front of it.
The outcome is that certain colours are blocked, and others are enhanced, but the result is B&W. Mess with it a little.
Focal B&W
Now it's getting interesting.
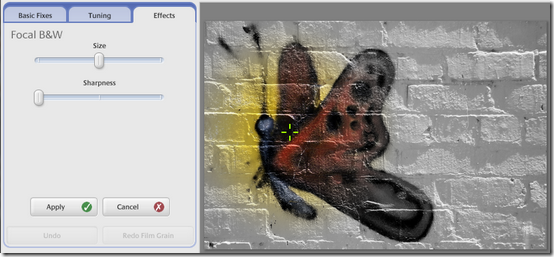
With this tool you are able to keep the main point of your image in colour, while the surrounding area gradually fades to black and white.
You can adjust the Size of the colour area, and the Sharpness of the transition to B&W.
Graduated Tint.
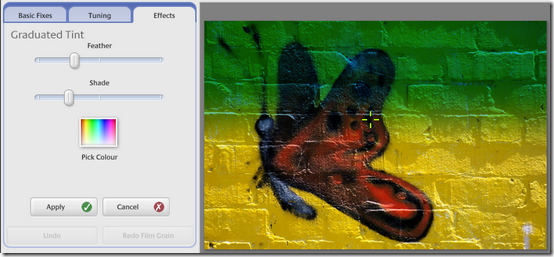
This is the last one, and you can tell it wasn't designed for buttefly photos. Graduated Tint applies a tint of the colour you choose to the top of the image. You can determine the Feather of the tint, which is just like the Sharpness in the previous tool, and adjust the Shade slider to decide just how much shading needs to happen.
When you're happy with that, drag the crosshairs around on the image to adjust the height and angle of the shade.
So why would you want to do this? Skies mostly, actually. You can darken a boring pale blue sky to make it more dramatic.
Onward
That's it. You now have control of all the tools. I just have one more thing to talk about. How to get your fixed, adjusted, modified, enhanced and funky images back out of Picasa and on the web. It's easy, so keep your eye out for the post really soon.
In the meantime, how about leaving some comments so I know how it's all going? Perhaps you have found a special use for one of these tools?


