
Photographers have been capturing silhouettes in their frames for ages. The beauty and simplicity combine to make for spectacular images when the backgrounds are beautiful and when we can connect emotionally with the shapes. But in order to capture them in real life, you need just the right conditions.
In this tutorial, we'll show you how to create silhouettes in Photoshop the easy way. We'll also show you how to create a common graphic effect using silhouettes. Let's get started!
What Are Silhouettes?

Silhouettes are dark outlines or shapes created when an object is backlit by the sun or some other light source. They're relatively common in the great outdoors or in places like movie theaters. But what about creating them from scratch from an existing image where there isn't a large enough light source to create a silhouette?
Photoshop to the rescue!
The Selection Tools in Photoshop

The selection tools in Photoshop continue to get better and better. There are the old trusty standbys, like the Pen Tool for complex selections, and a host of others—like the Rectangular Marquee and Lasso Tools. Each of these tools has different ways to help you make selections, depending on the subject.
How you ultimately create a silhouette will be determined by the selection tool that you think is best for the job. In current versions of Photoshop, the Select Subject tool—combined with Select and Mask—does a good job of making and refining selections. You can even automatically remove backgrounds, which could work too if your subjects stand out.
Once the selection is made, the process of creating a silhouette is relatively simple.
How to Create a Silhouette in Photoshop
We're going to use the powerful Select Subject tool to make our initial selection. Then we'll use the Lasso Tool to clean up the selection and expand it out by a few pixels. And no matter what method you use to make the selection, the final step is easy: just fill it with black.
-
Create a copy of the Background layer by pressing Ctrl + J. This will create a non-destructive workflow with the silhouette on a separate layer.

-
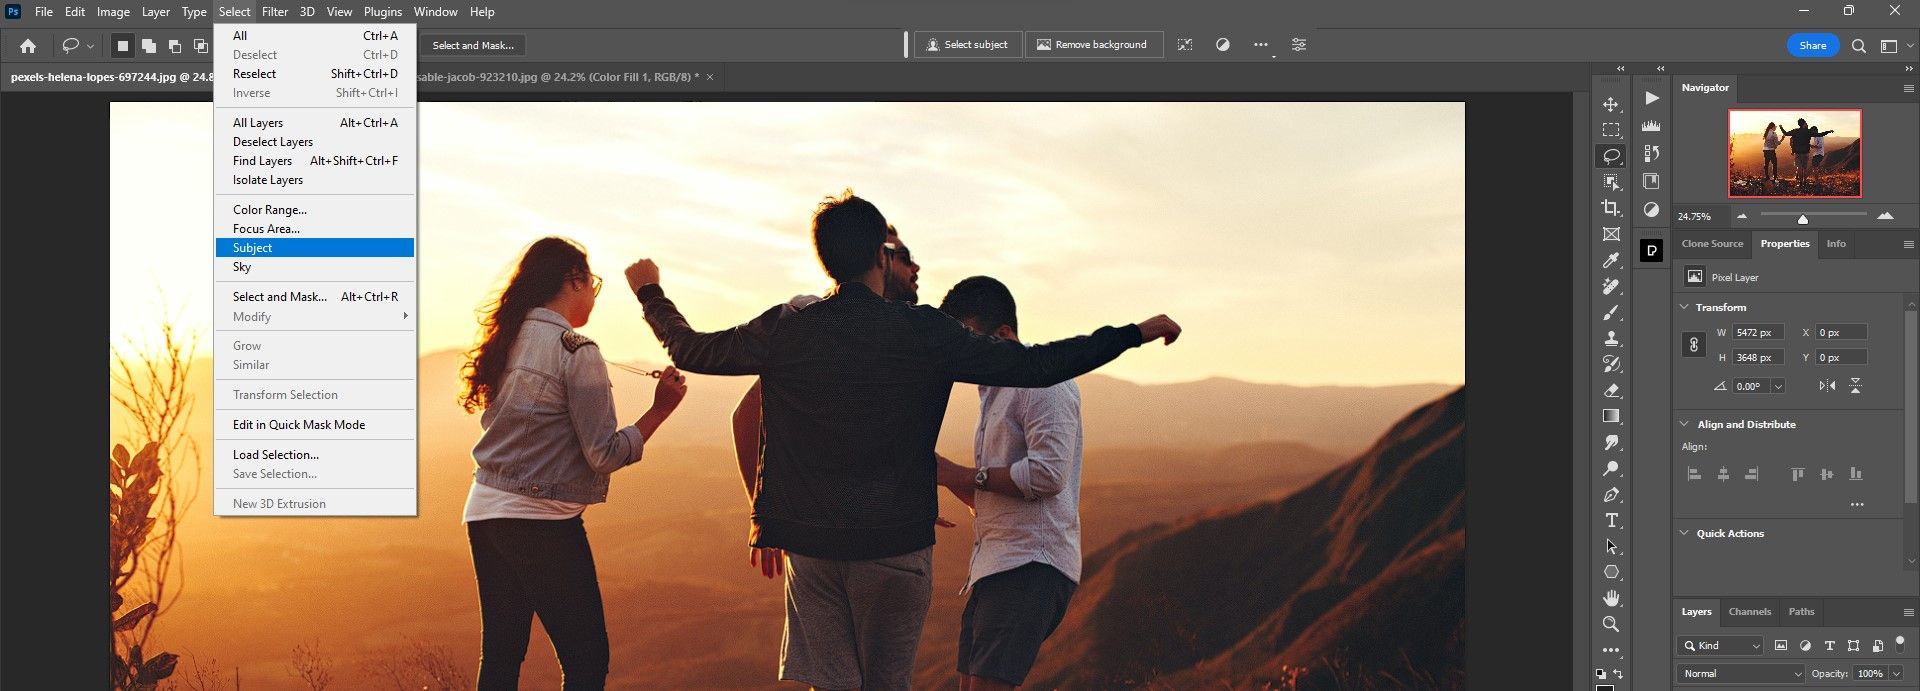
Go to Select > Subject or click on the Select Subject option when any of the selection tools are in use.
-
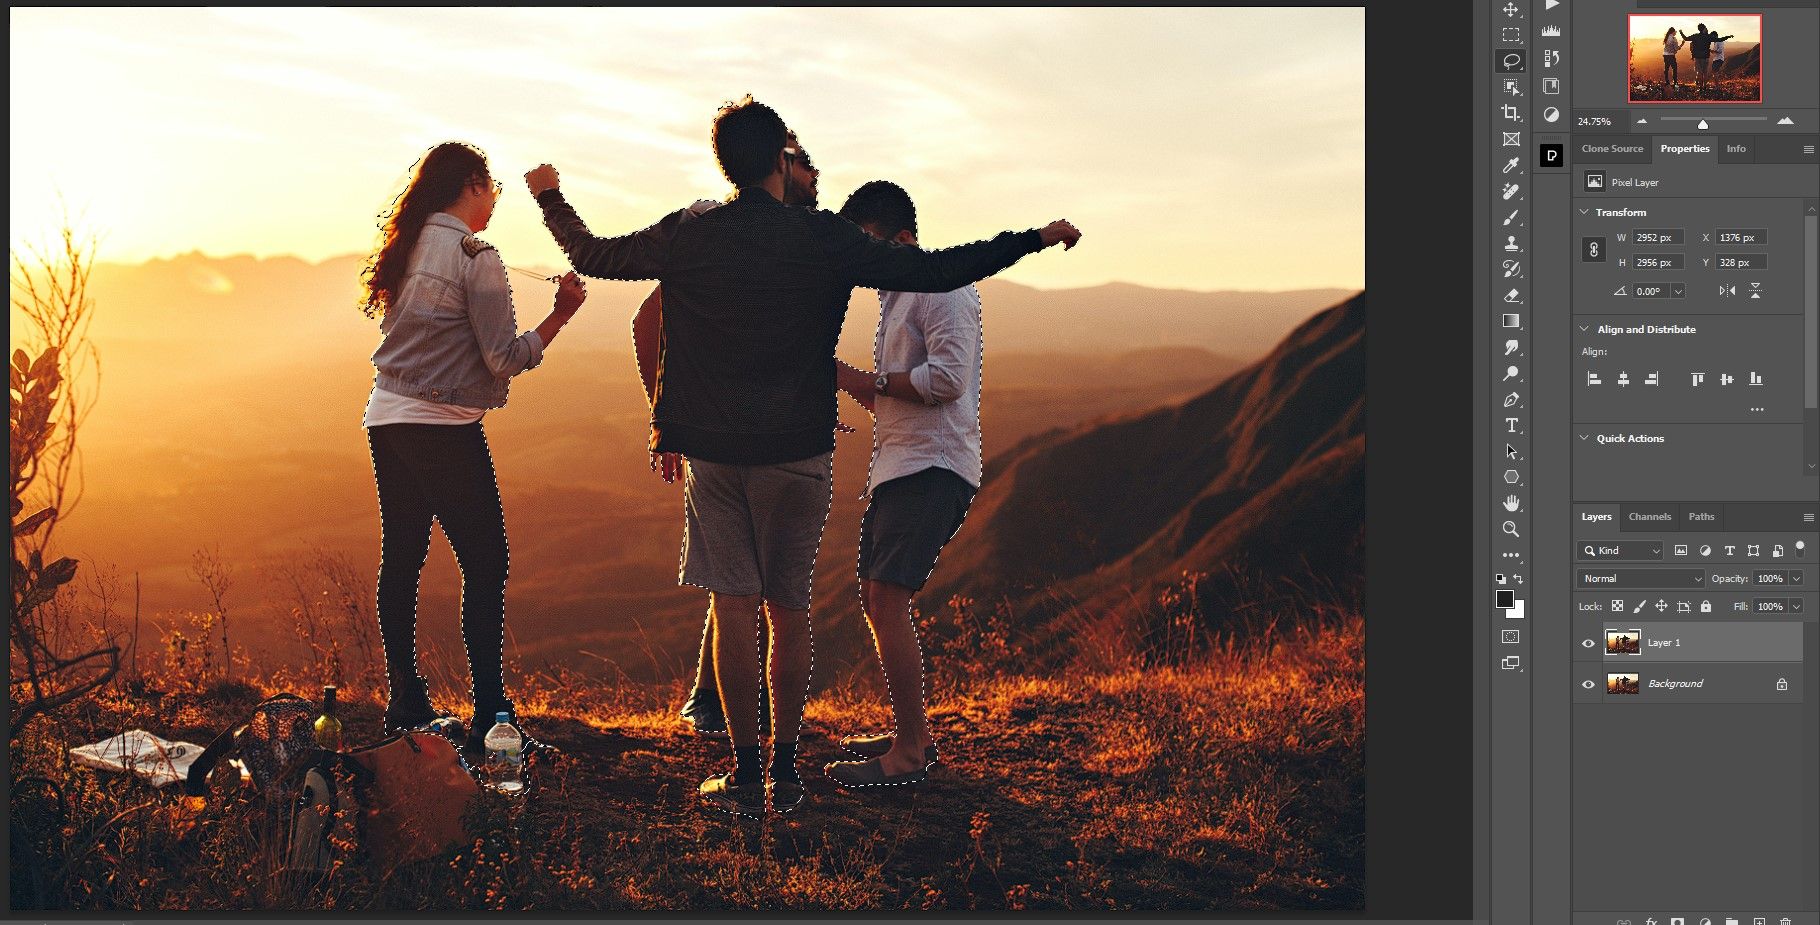
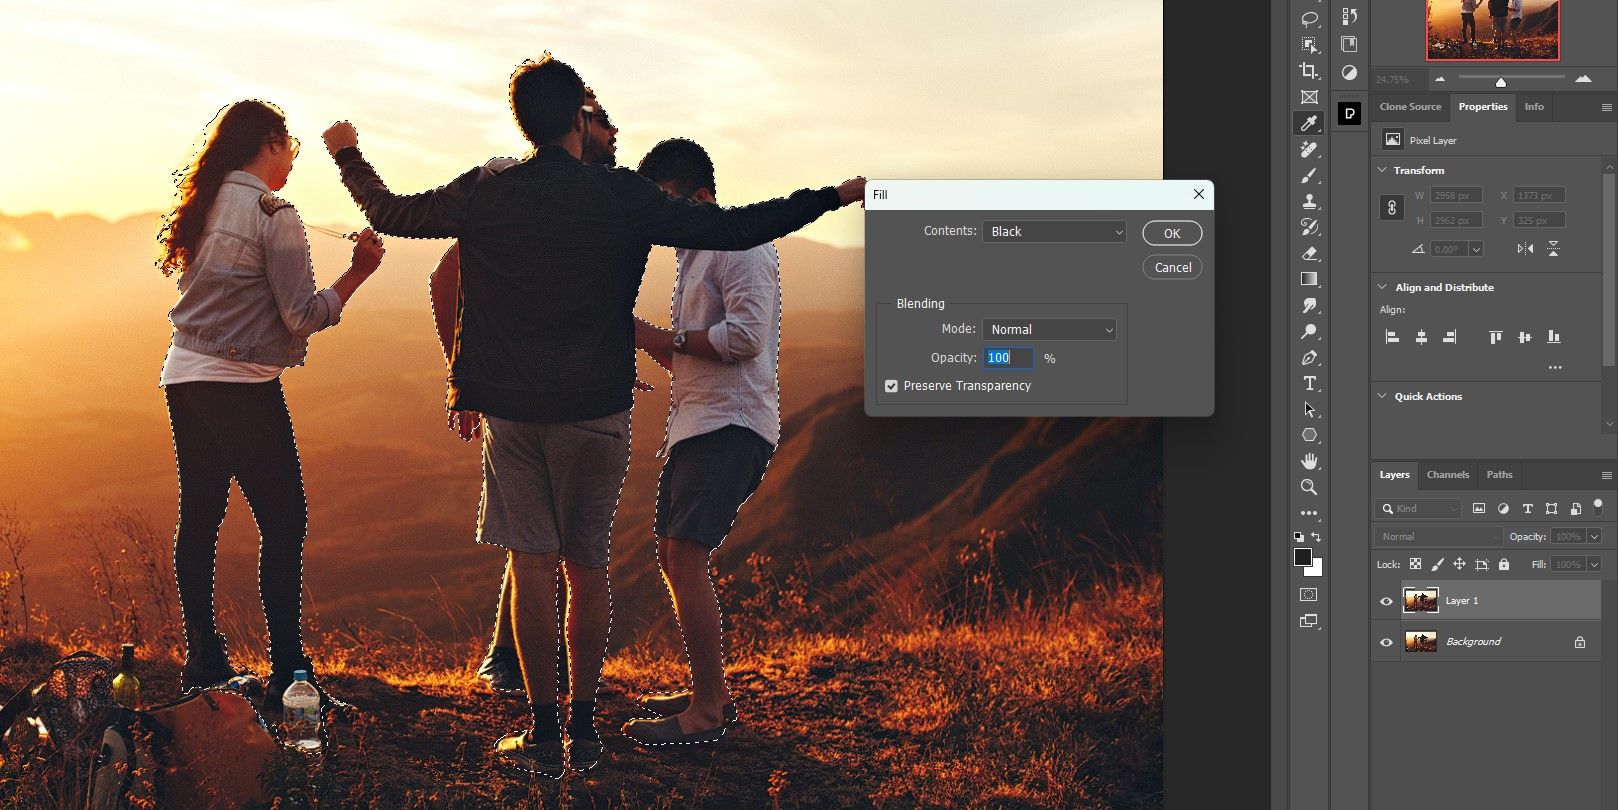
[Optional] Use the Lasso Tool (keyboard shortcut L) to clean up the selection if needed. Hold the Shift or Alt keys to add or subtract from the selection, respectively. For this image, we added pixels missing around the men's feet as well as around the water bottle.
-
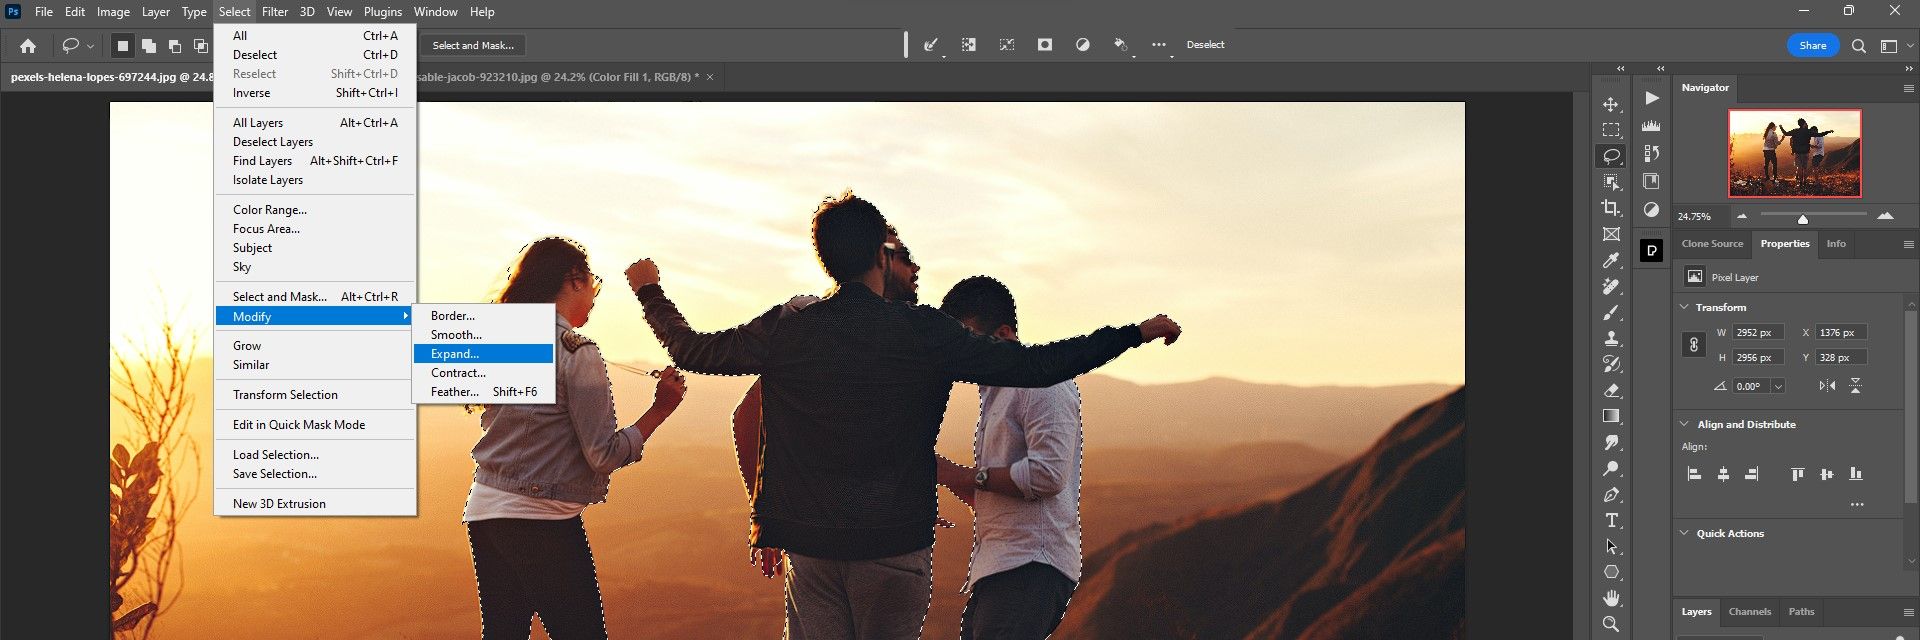
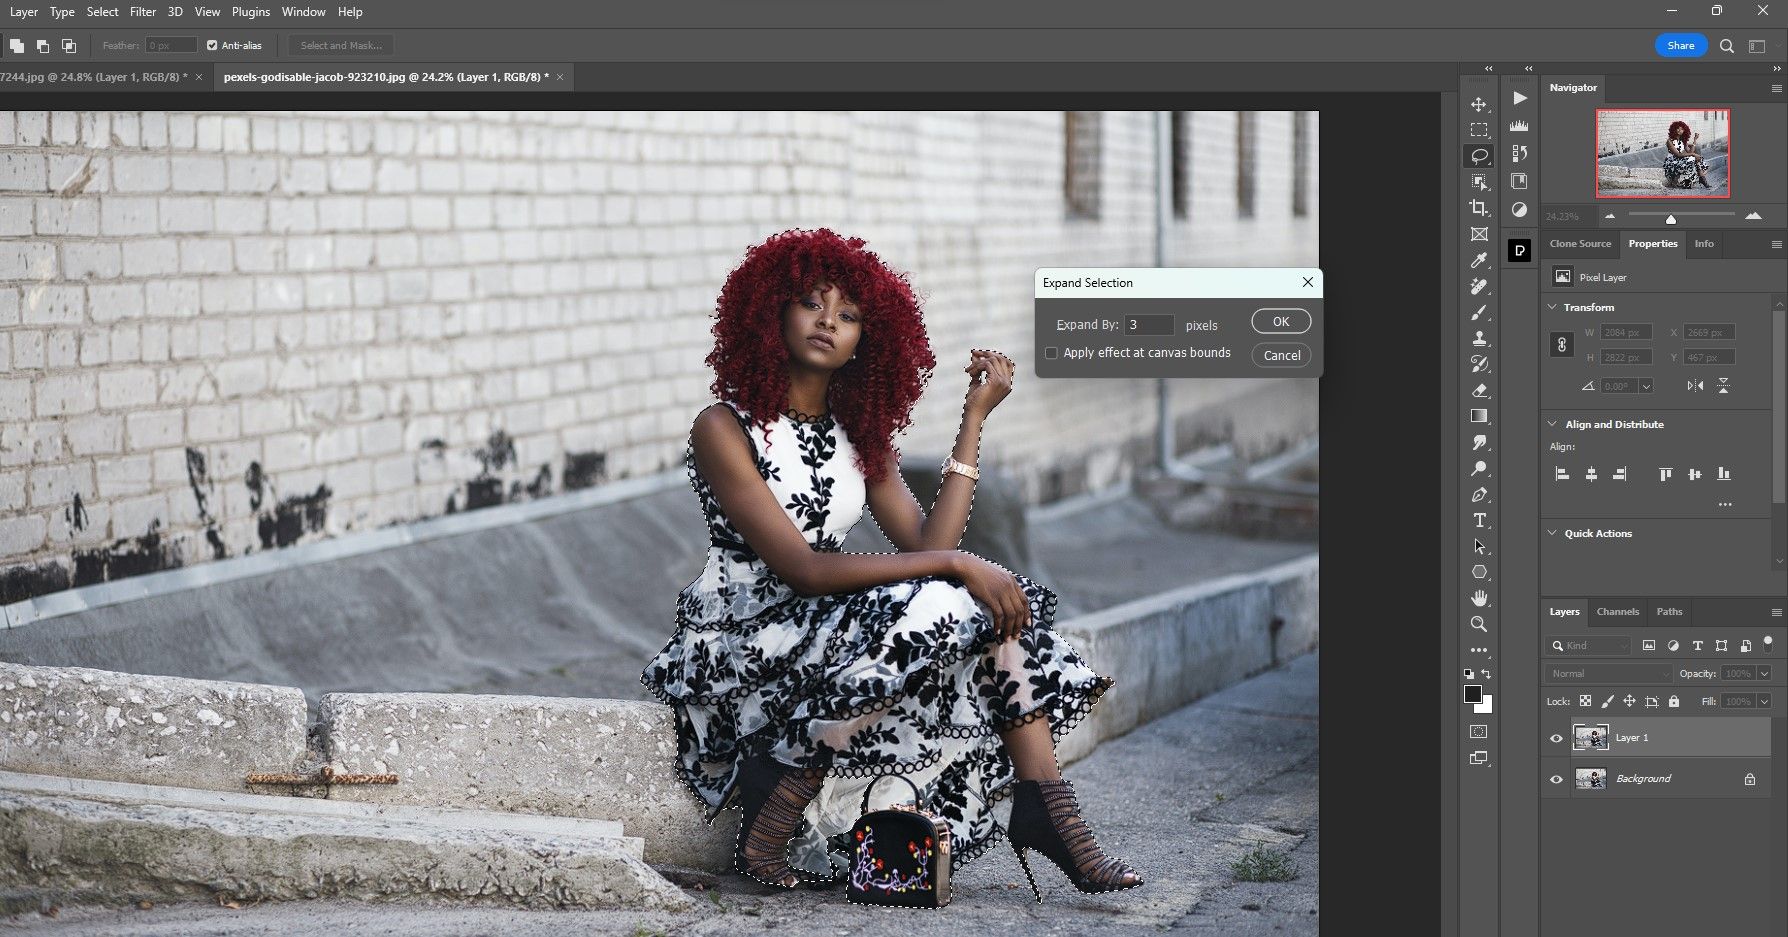
Go to Select > Modify > Expand.
-
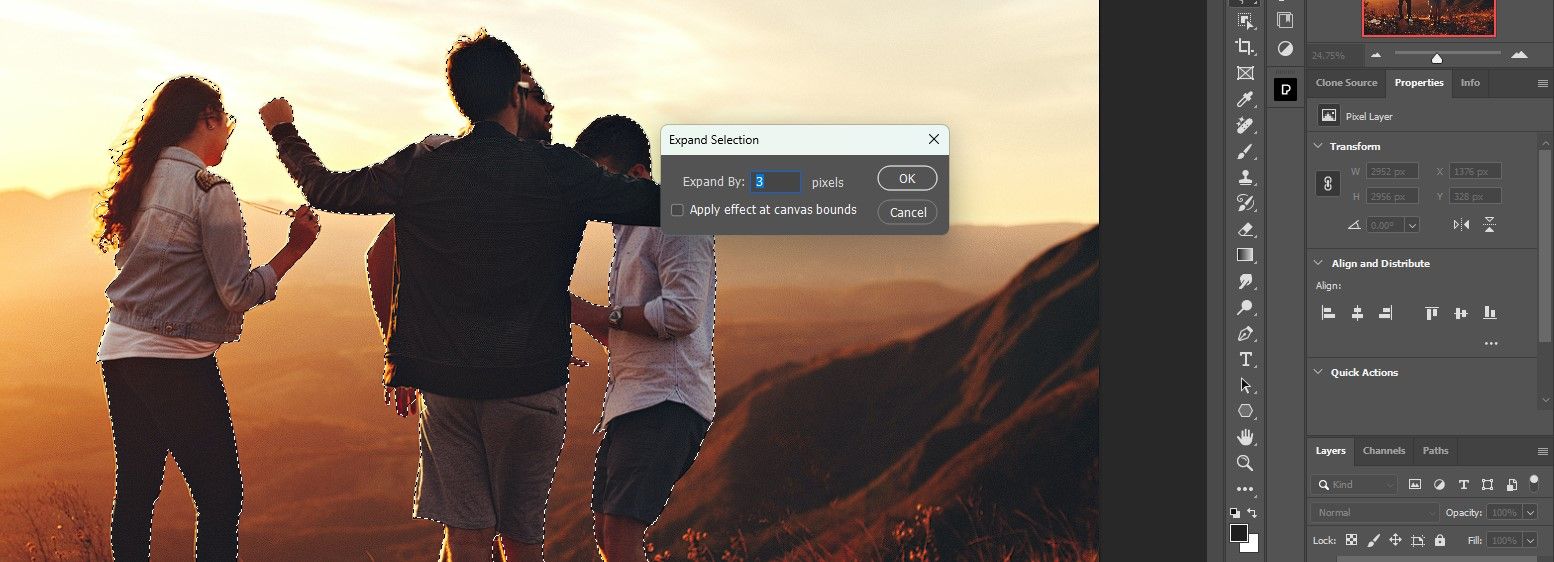
Select the number of pixels to expand out from the selection. This value will be different for each image. For ours, we chose 3 and clicked OK.
-
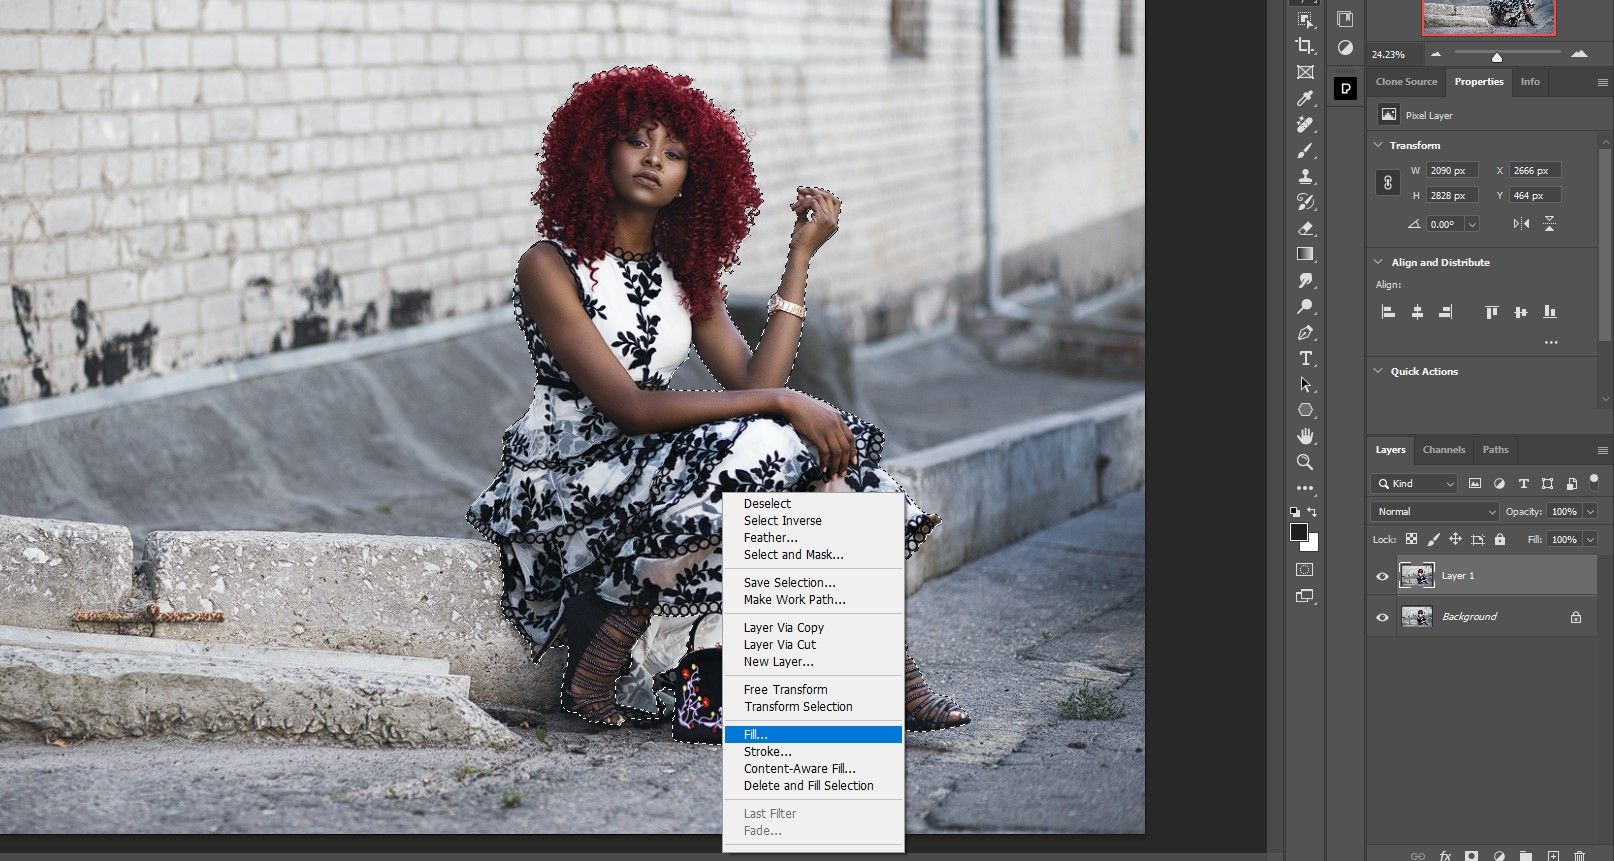
Then right-click anywhere within the selection and choose Fill. The Color Picker will appear, and you can select any of the existing shadow areas for more realism or choose from the dropdown menu in Contents. For our example, we chose Black and clicked OK.
-
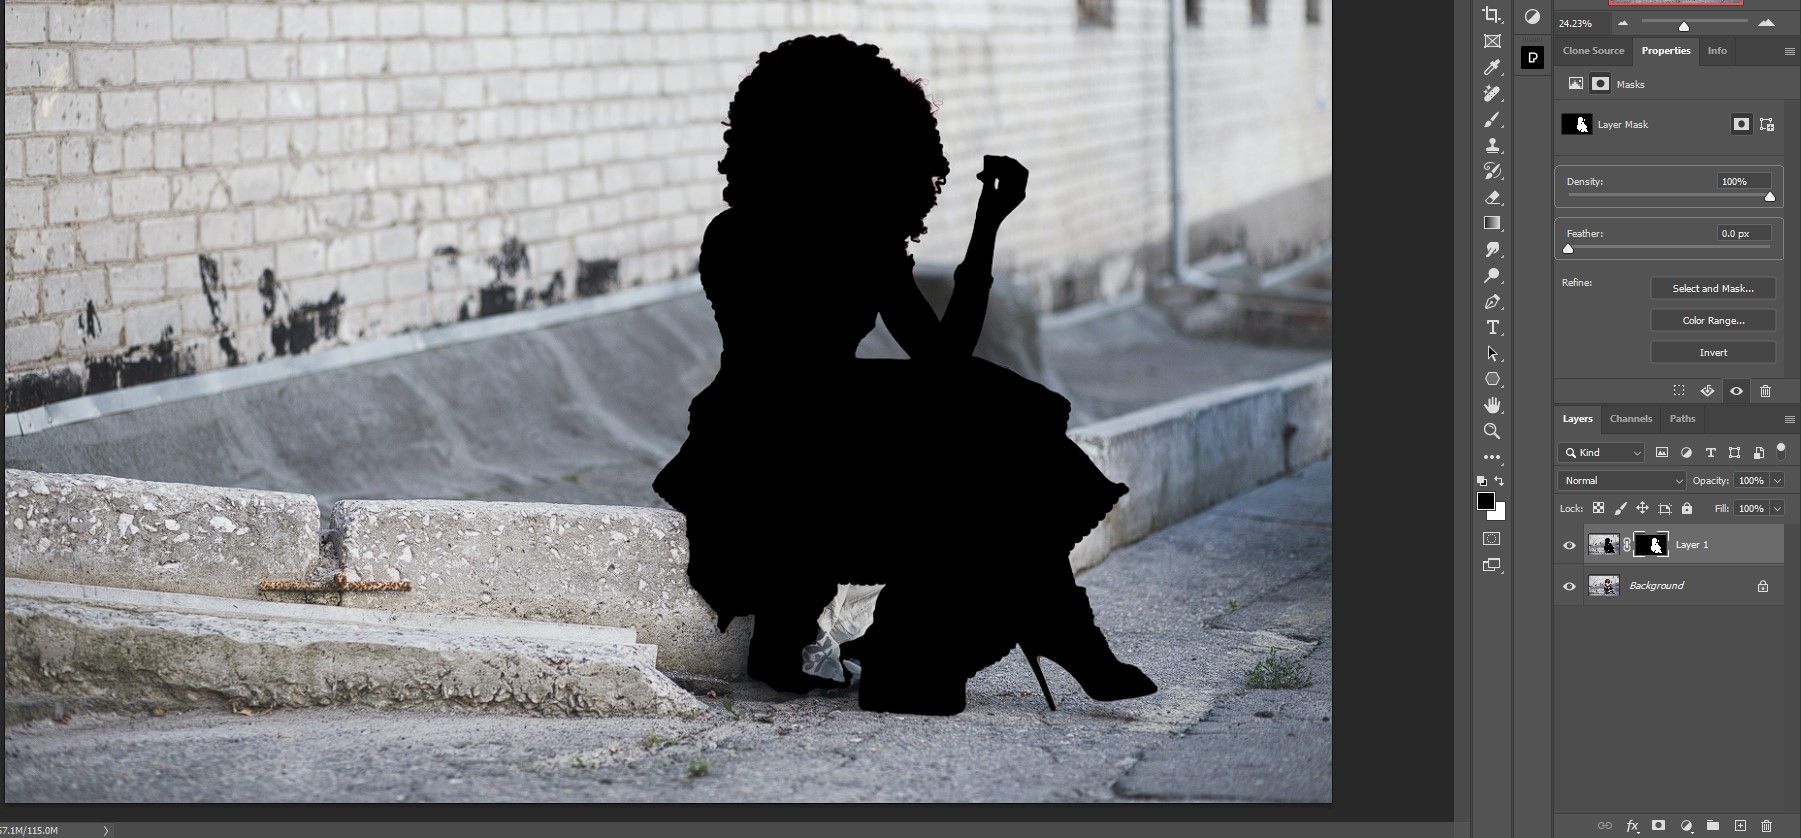
Then press Ctrl + D to deselect and we have our silhouette.
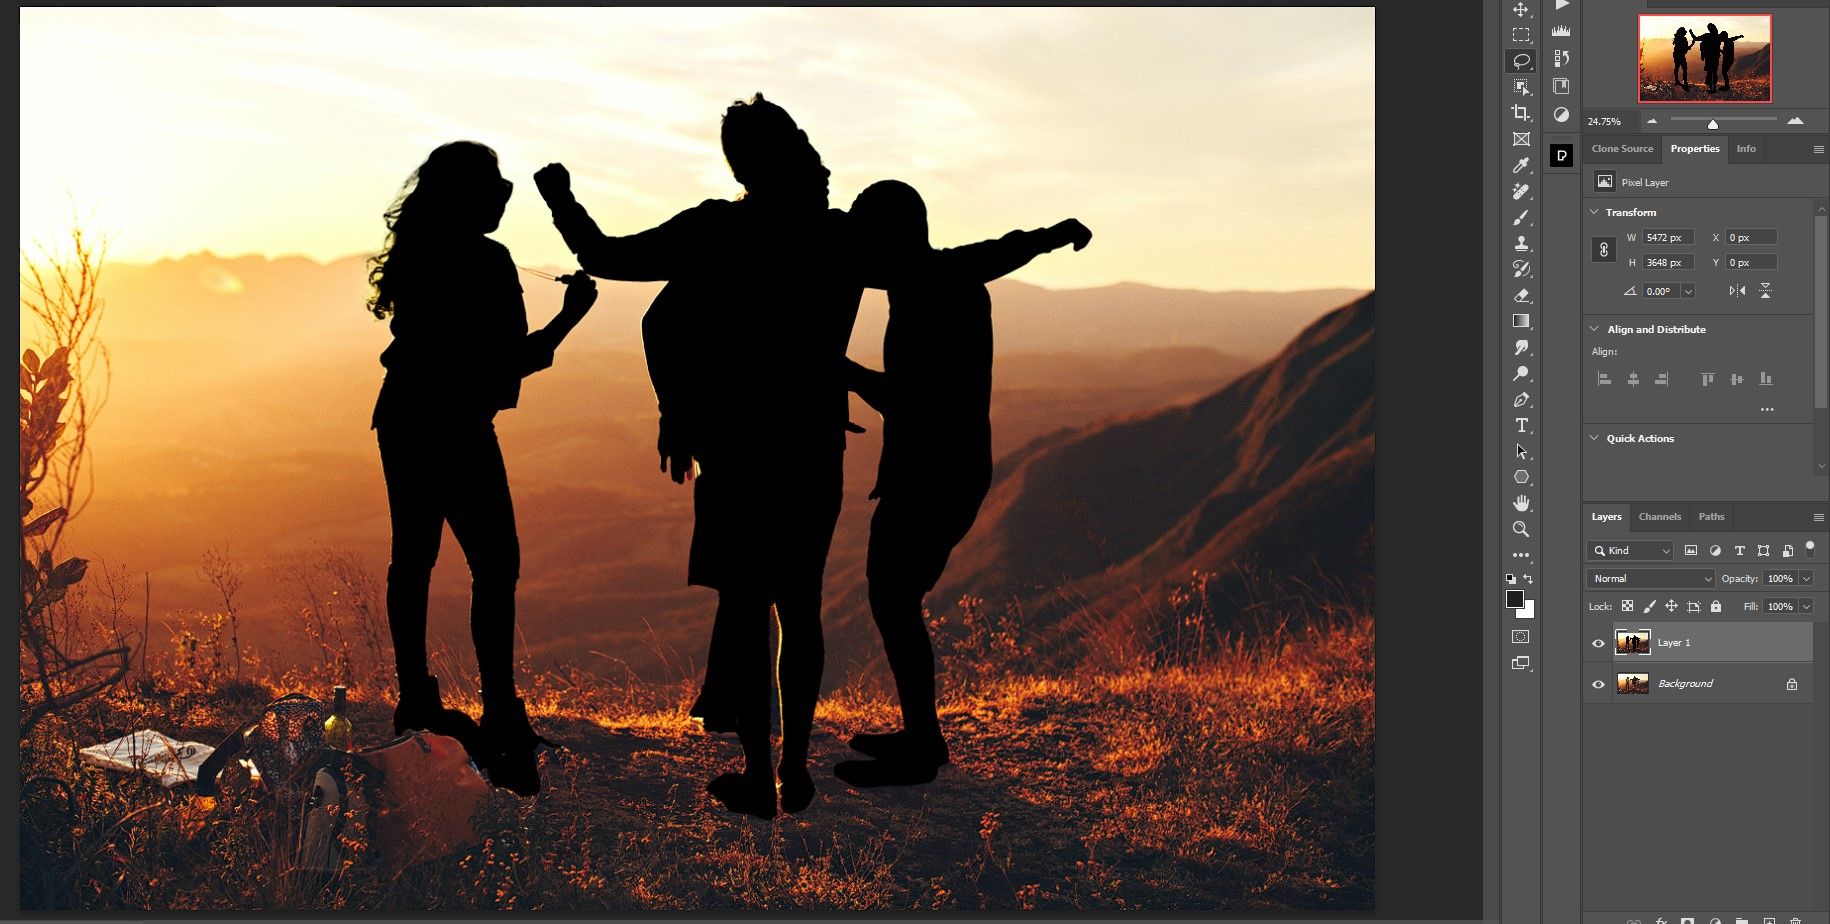


At this point, you may want to touch up your silhouette if there are any spots, like highlights, you'd like to include in the silhouette. You could either start the process over again if you think the Expand value should be different or simply use the Lasso Tool to select and then fill it with black once more.
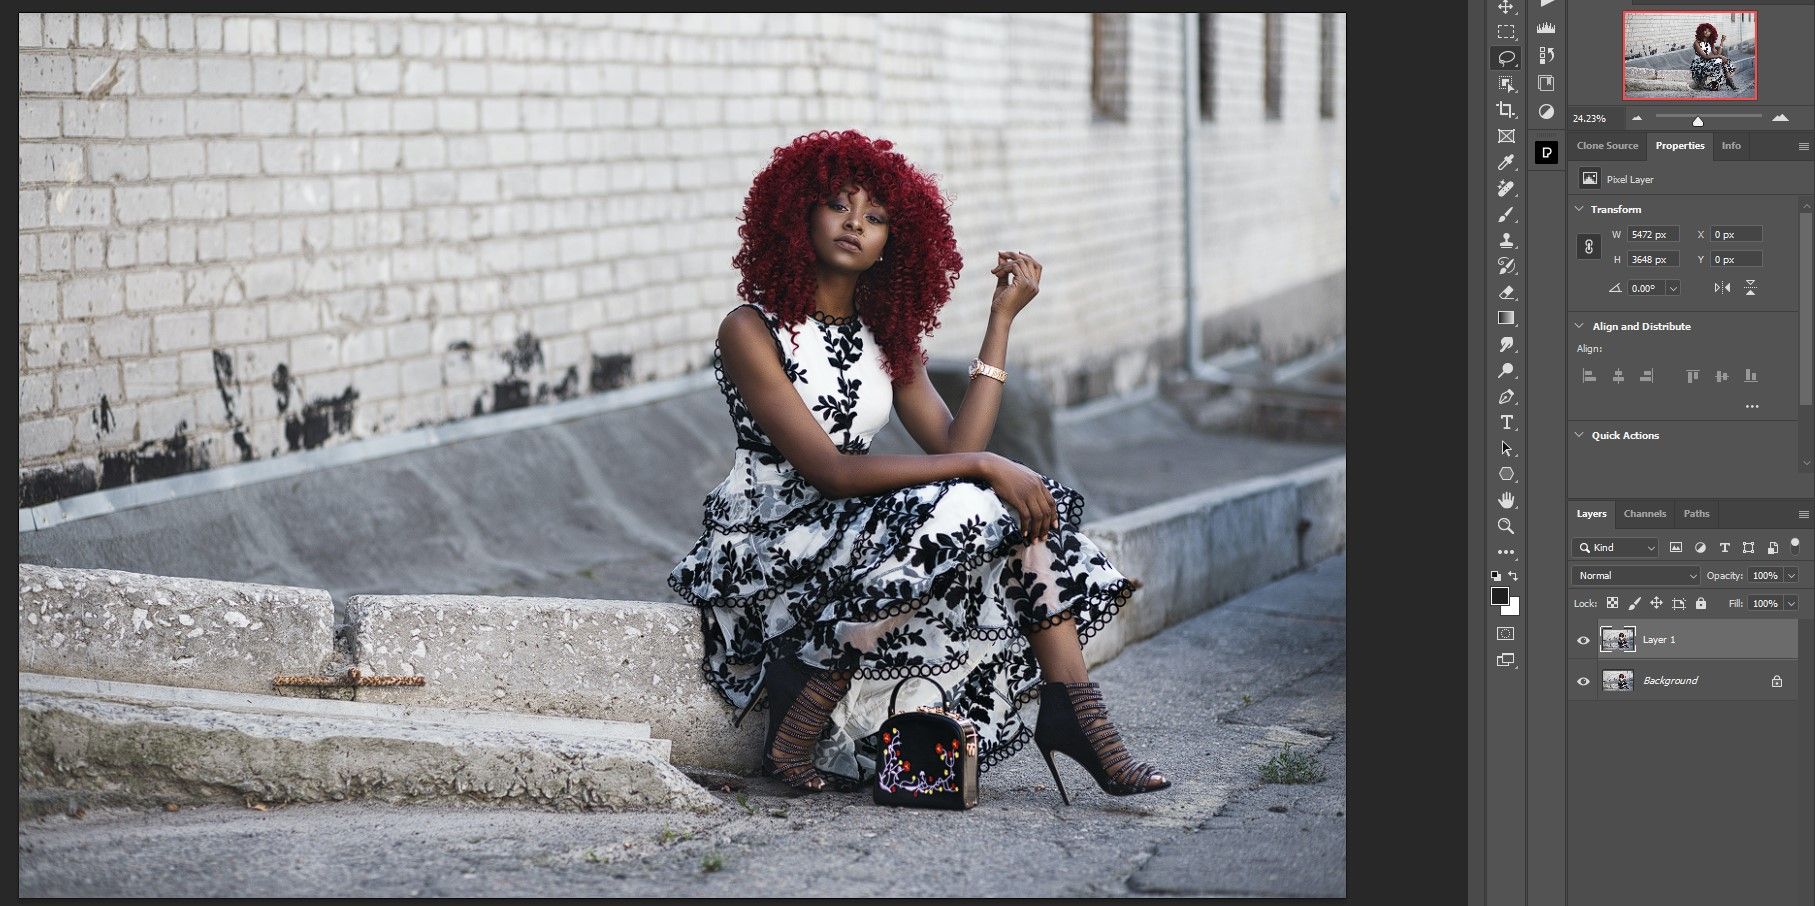
How to Create a Silhouette on a White Background for a Graphic Effect
If you want to make a silhouette for a graphic style, you could simply make a silhouette and create a Solid Color background. It's a classic effect that's minimalist and appealing. To achieve this, follow the same basic steps. But this time, we'll add a mask and move the layers around.
-
Create a copy of the Background layer by pressing Ctrl + J.
-
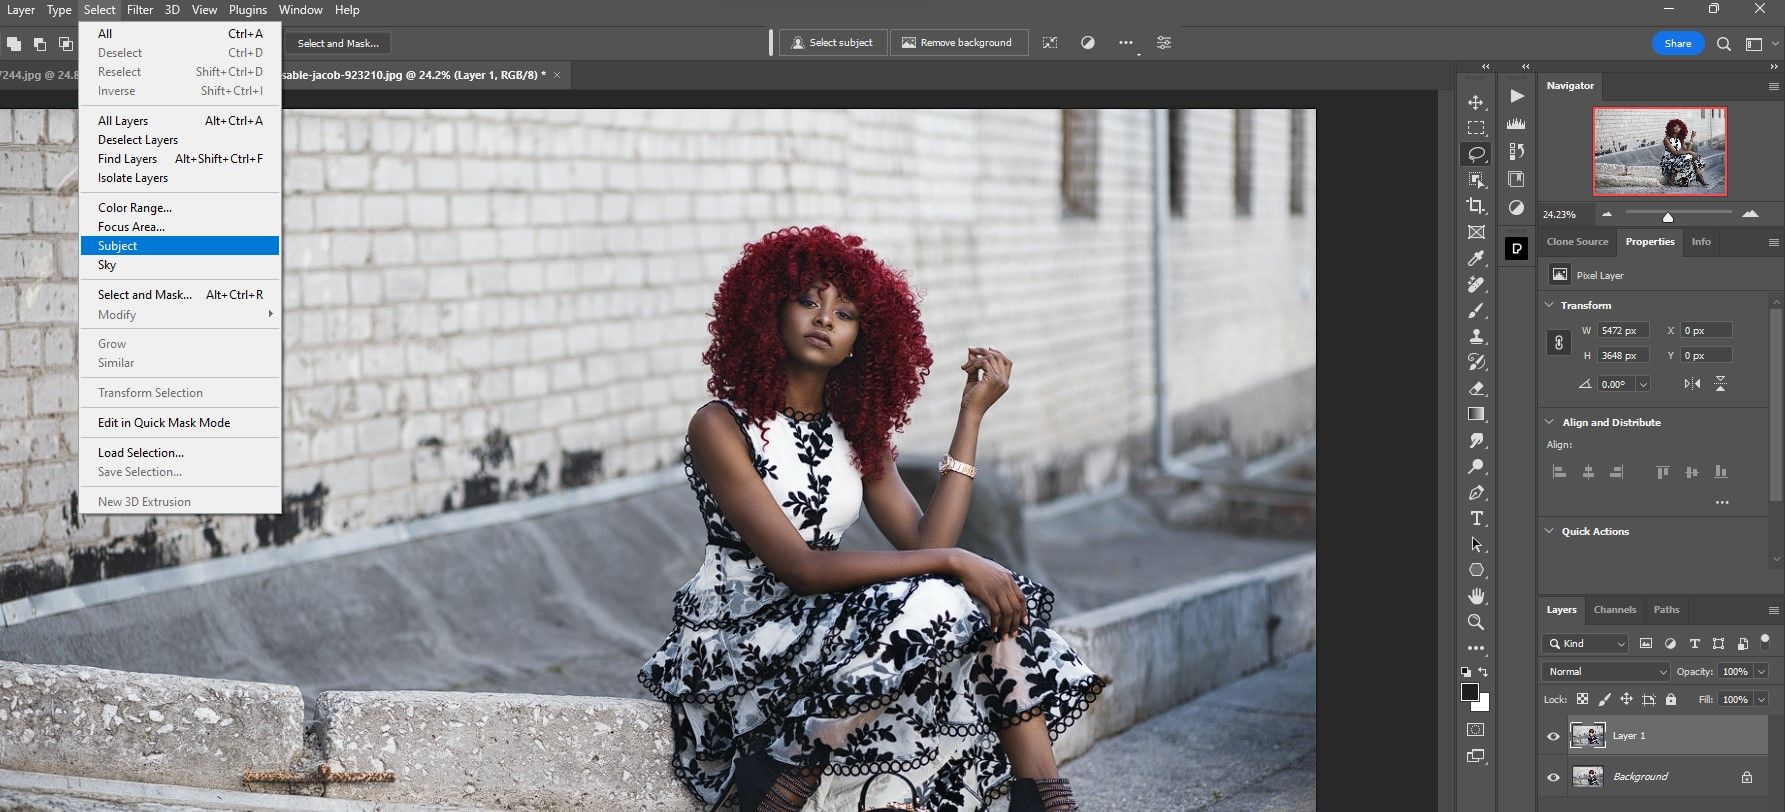
Go to Select > Subject or click on the Select Subject option when any of the selection tools are in use.
-
Go to Select > Modify > Expand. The selection was near-perfect, so we didn't need to use the Lasso Tool. We used 3 again for the value.
-
Right-click anywhere within the selection and choose Fill. Then choose Black from the dropdown menu.
-
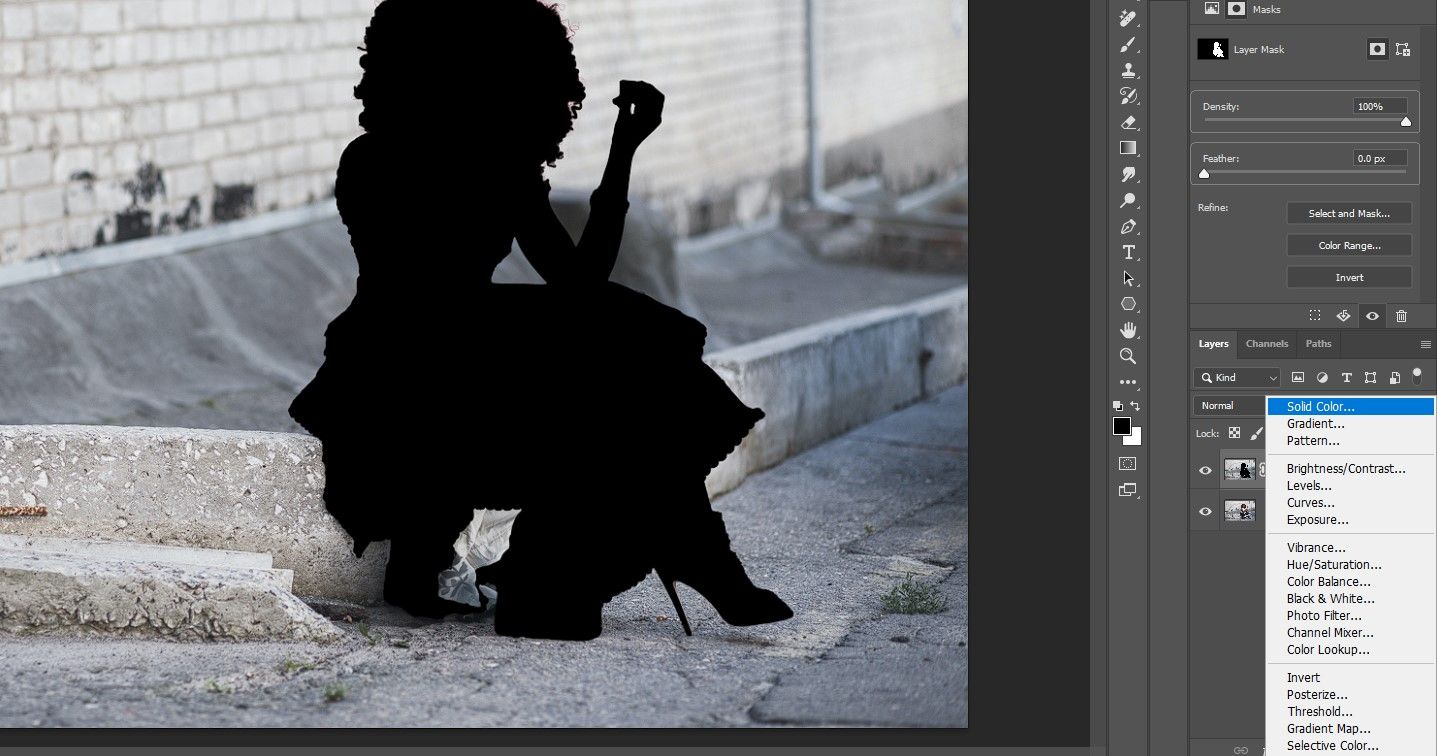
Click on the mask icon at the bottom-right screen in Photoshop.
-
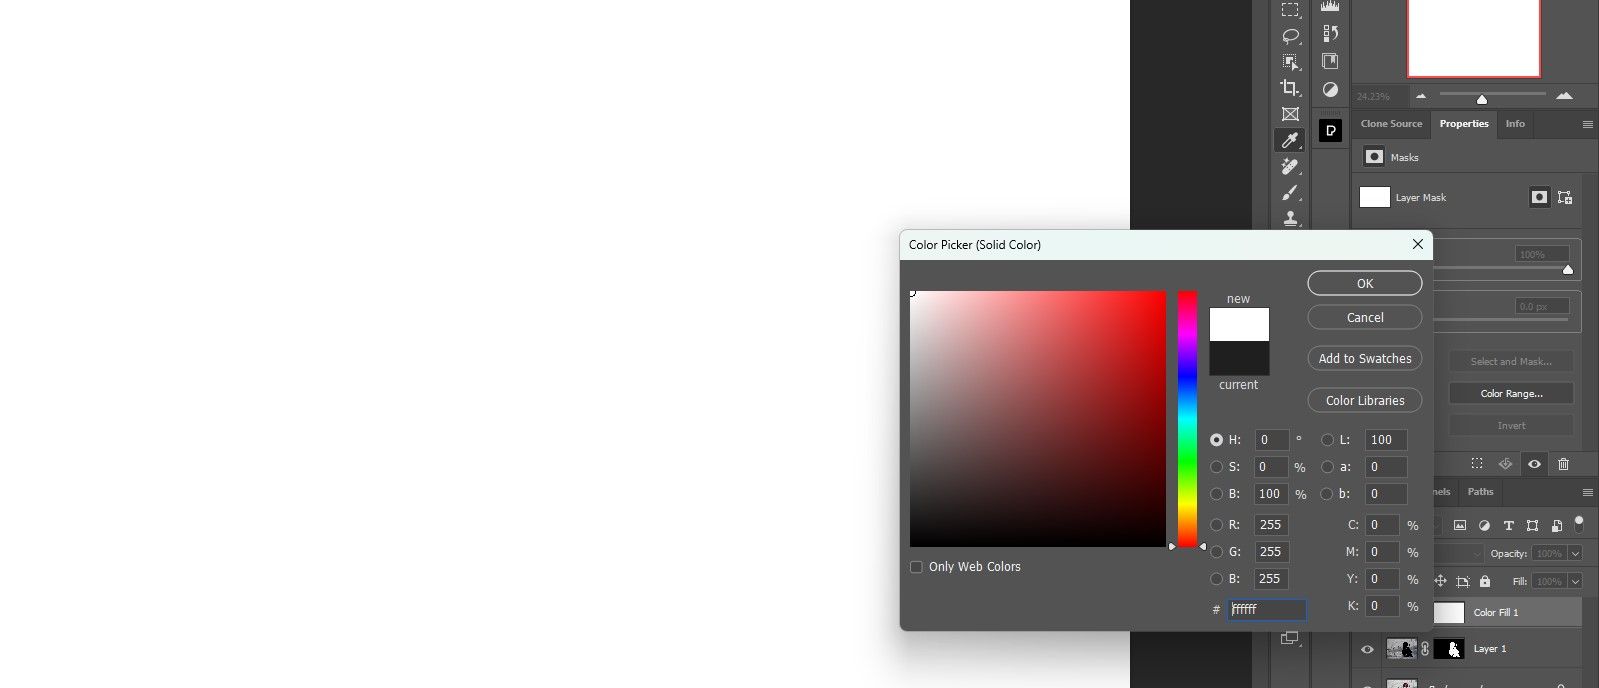
From the same menu bar, select the adjustments icon and choose Solid Color.
-
Move the point so that it selects white for the color. Then, click OK.
-
Drag the Color Fill 1 layer so that it sits directly below Layer 1.
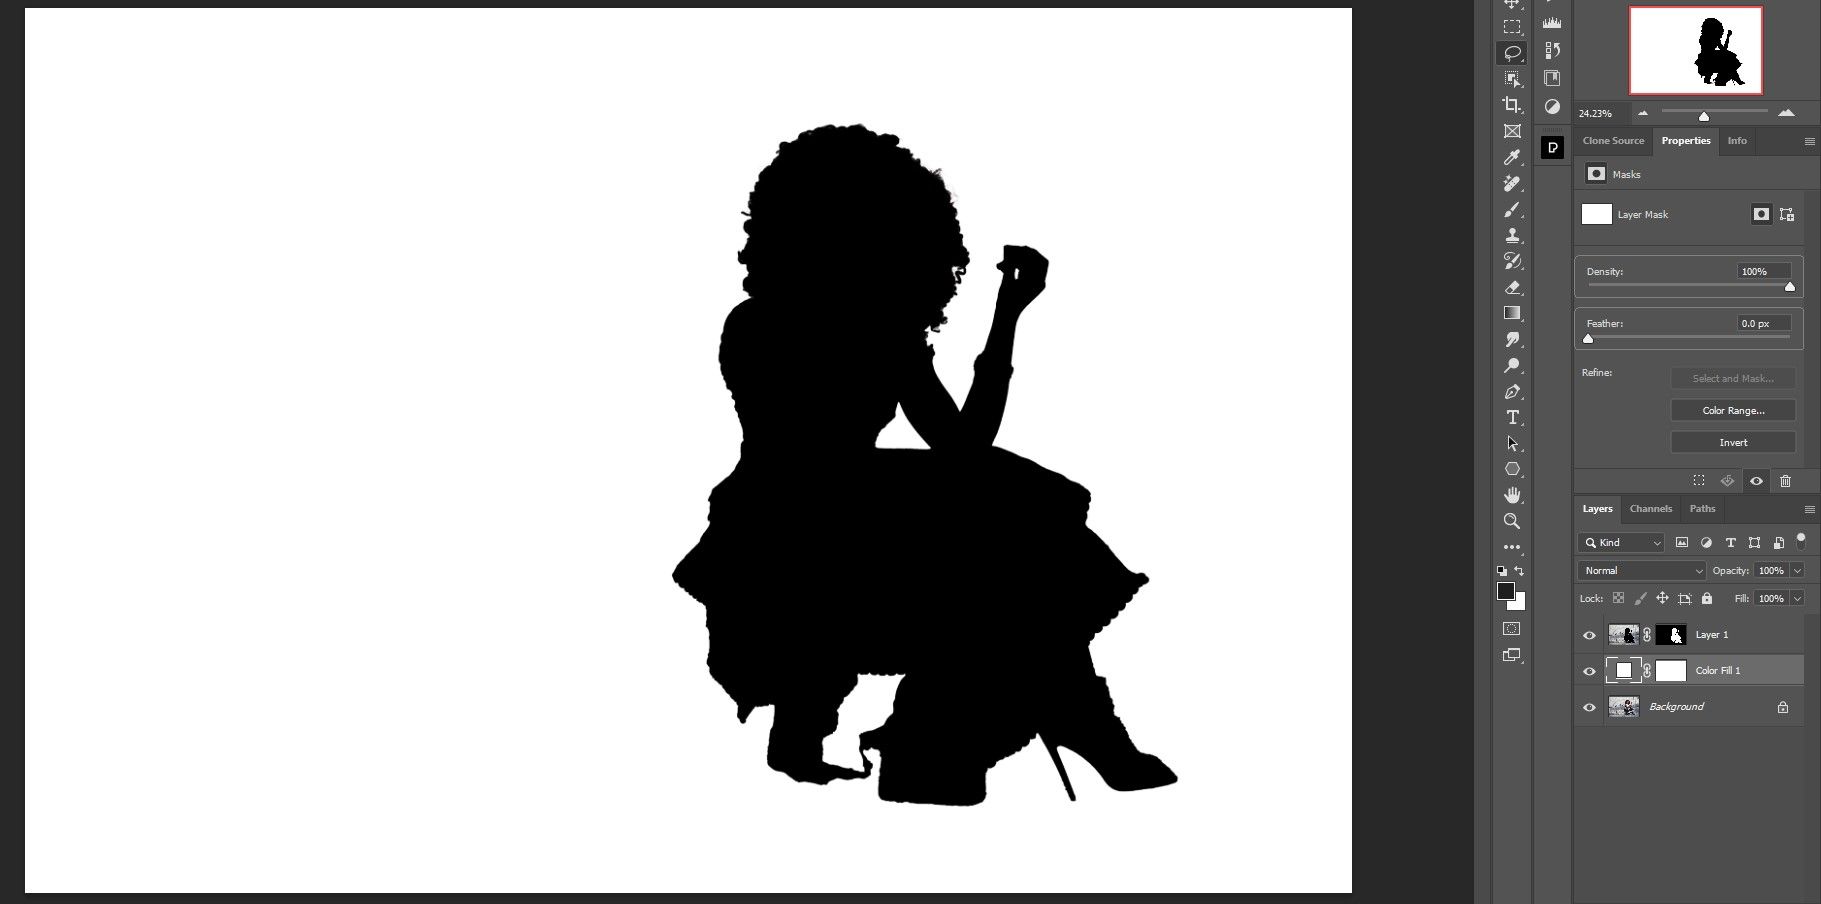


That's it! You've created the classic silhouette with a white background.
It’s Super Easy to Create Silhouettes in Photoshop
Photoshop is always receiving major updates in its features and abilities. With the advent of AI, it's definitely getting easier to perform tasks in Photoshop that used to take a lot more time and include many more steps. If you ever need to create silhouettes, you're going to find the process fast and simple, especially if you've followed along with our tutorial. Try these techniques and create silhouettes of your own!