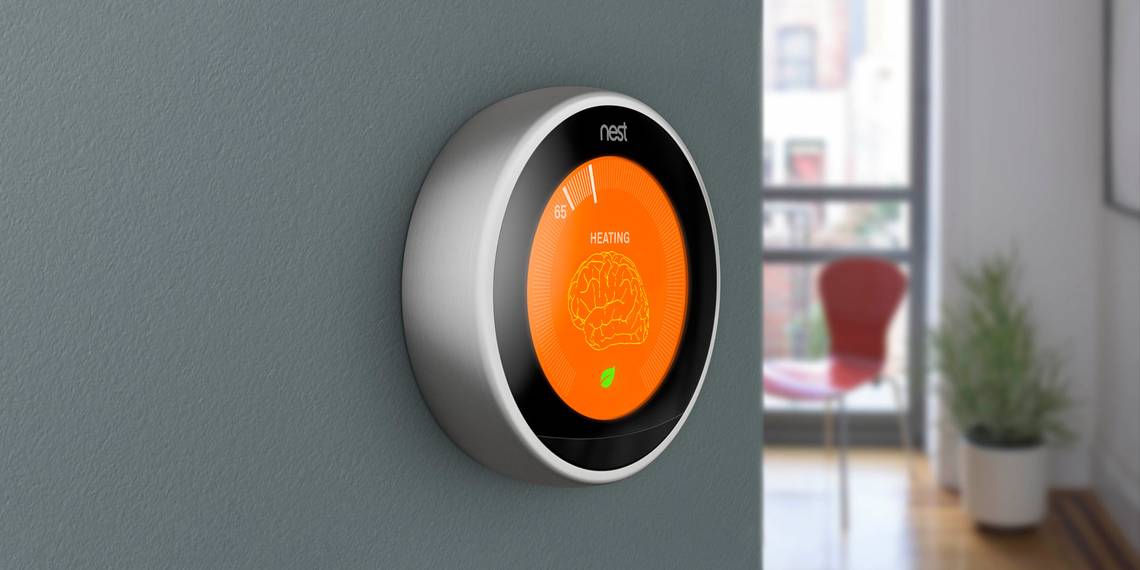
The Nest Learning Thermostat is now a staple of many homes, but you may not be fully aware of just how nifty this little gadget is.
While the Nest thermostat is well known, many are not maximizing the device to its full potential. We’re going to walk you through a few tips and tricks to get the most out of your Nest thermostat.
1. Nest Thermostat Voice Control With Amazon Alexa
Because the Nest Learning Thermostat is a Google product, it’s a given that voice control will work with Google Home. You can program your Google Nest thermostat to work with the native Google Home assistant, but did you know that you can also control your Nest with Amazon Alexa?
Using Alexa with the Nest means that you won’t have to buy new smart assistants just because you’ve changed your thermostat. Additionally, you won’t have to worry about compatibility if you want to buy a Nest but only have Amazon Echo devices dispersed throughout your home.
How to Set Up Alexa With Nest
First, you’ll need both the Google Home app for iOS or Android and the Amazon Alexa app for iOS or Android if you don’t already have them. Once you’ve got those apps installed, open the Alexa app. At the bottom of the screen, tap Devices. In the upper right corner of the screen, tap +. Next, in the search box, type Nest.


You should see a prompt for Google Nest Thermostat on the screen. Tap it. That will bring you to a screen that prompts you to set up your Nest device with the Google Home app. If you’ve already done that, tap the blue Continue button at the bottom of the screen.
This will bring you to the Google Nest skill. Tap Enable To Use. You’ll need to link your Google account and provide a few permissions to the skill. To do this, tap the sliding button on the right side of Turn on access to your home’s information.
Then under Select devices to connect with Amazon Alexa, tap the sliding button that says Allow Amazon Alexa to access, control, and use your thermostat data. Then tap Next.
Sign in with Google, and your account should be linked. Once this process is complete, tap Discover Devices to find the thermostat. Then tap Setup Device. If you’d like to add your Nest to a group, you can do that here. Otherwise, hit Skip.
Hit Continue and you should now see a screen that indicates your thermostat is linked. To change the temp setting, say something like, “Alexa, raise the temperature by two degrees.”
2. The Nest "Fan Wire" Trick
If your Nest thermostat is having power issues but doesn’t have a common wire, you may find this next tip useful. The fan wire in most Nest thermostats is used primarily for recirculation purposes. However, many people don’t use the recirculate feature when using their thermostats. This is because the fan turns on automatically when the heat and AC are on.
If you’re one of those people, then you can change your green “fan” wire to a more practical “common” wire. This will give your Nest a bit more power if you’re having voltage or low battery issues. Keep in mind, relocating the fan wire will remove fan functionality unless the AC or heat is on.
How to Do the Fan Wire Trick
First, turn off the power to your thermostat at the breaker. It's essential to do this because you will be working with a 120V home current. This current can be dangerous if you try and disconnect or connect wires without shutting off the power first.
Once you’re sure this is done, remove the Nest thermostat from the wall plate. Find the wire that attaches to the “G” terminal on the Nest. This wire is usually green, but it might be a different color depending on where you live.
Next, you’ll find the control board on your furnace. Make sure that your HVAC system has been shut off at the breaker here as well. On the control board, you should find a set of screw terminals with similar labels as the wires on the Nest mounting plate. Move the wire that is attached to the ‘G” terminal to the “C” terminal.
Once that is done, turn the power back on, and you can check and see that the trick was successful. Navigate into your Nest thermostat settings, and find the Equipment tab. If you open the Equipment tab, you can see which terminals are connected. If there is a connection indicated at the C terminal, then you are all set.
Now, there are other ways to do this, including adding a common wire transformer if you’d like to maintain fan control. However, our trick is much simpler and doesn’t require buying any additional items.
3. Save Energy (and Money) With Advanced Settings
For Nest Thermostats in Direct Sun Use Sunblock
Sunblock is designed for thermostats that are exposed to direct sunlight during the day. If you have a thermostat near a sun-facing window, then it’s likely that the thermostat is a few degrees warmer than the rest of the house.
This results in the Nest changing your temperature based on an incorrect reading. Enabling the Sunblock feature in your Nest app's settings will automatically adjust for this temperature difference and keep your home at the proper temp. To activate this feature, open your Nest app, and under your thermostat’s settings tap Sunblock, switch the feature on using the slider.
Use Airwave to Recirculate Cool Air From Your Fan
Airwave turns off your AC compressor while leaving your fan running. This mode allows cooler air to circulate through your home without the extra power consumption from the AC compressor.
Out of all the AC components, the compressor is the one that uses the most energy. Less energy consumption means you spend less money. To enable this feature, open settings and tap on Airwave. Then tap the slider to activate the feature.
Use Auto-Schedule to Save Energy
Nest also allows you to automatically schedule actions so that you can save a little extra energy here and there. Auto-Schedule can learn the regular temperature patterns in your home and better adjust the Nest temperature to the surrounding conditions.
Say, for instance, you prefer it cool in the morning and warm in the evening. Using Auto-Schedule can help prevent your home from being heated at unnecessary times, therefore saving you money.
You can access the Auto-Schedule feature in the Google Nest app settings.
4. Use Home/Away Assist
The Home/Away Assist feature is one of the most valuable features of having a Nest thermostat.
Nest has built-in motion-sensing technology and an advanced algorithm that learns when you're away. It even learns what temperature you like to keep your home at during different times of the day. If you live alone, or everyone in the household tends to follow the same daily pattern, this feature will save you a bundle.
To activate this feature, enter the settings menu of your Nest thermostat, and tap on Home/Away Assist. Tap on the slider to activate this feature. Then, set the thermostat's behavior for when you are home, and set the behavior of the Nest for when you’re away. You can also set Eco Temperatures here, which are temperature thresholds that you specify for both heating and cooling.
Enjoy Your Nest Smart Thermostat
The Nest thermostat is a fantastic device filled with unique features. While the most basic features can be helpful for casual users, these advanced features will give you total control of your home’s temperature.
Some of them can even help save you money on your monthly heating and cooling bills. Best of all, these features are easy to use, and you can set most up in just a matter of minutes.