If you're looking to use the terminal more often, learning how to manually mount a hard drive and unmount it again on a Linux system is a simple place to start. Besides, if you ever find yourself in a situation that leaves you away from the traditional desktop, knowing how to do so might save a lot of time and research efforts.
Fortunately, modern Linux distributions make this process much easier and intuitive than before.
What Is Mounting?
In most cases, mounting refers to the process which enables your computer to access files stored on different devices, such as USB drives or hard disk drives. Each drive has its own separate file system or systems that need to be integrated into your PC's ecosystem. Most Linux distributions do a lot of mounting because they're composed of multiple file systems in the form of "partitions."
Usually, modern Linux desktops handle the mounting process automatically. However, it's good to know how to do it manually if all else fails, or if you happen to be stuck with only a terminal and need to back up some data.
Checking Your Available Partitions
After connecting your hard drive or USB, you can see your devices and their separate file systems using this command:
lsblk

As seen above, each physical device follows a naming convention of sd(x), with the first being named sda, the second sdb, the third sdc, and so on. The sd name is short for SCSI device. If you're using an older computer, you might see them named with hd(x) instead.
These individual devices are further split into different partitions: sda1, sda2, sda3, and so on. Simply put, they represent how your hard disk is divided up. It's these specific partitions that we're going to mount, rather than the devices themselves--- as they are where the actual data is stored.
You can usually identify your Linux box by its multiple partitions. The purpose of this is to keep important and unimportant system files separate, such as your swap partition. Another way to tell is to look under the Mountpoint entry. The entries which are part of your Linux box will be already mounted.
How to Mount a Hard Drive in Linux
There are in fact two different command-line interfaces you can use to mount devices in Linux: Udisks and mount/umount. We recommend Udisks in almost all situations, but since everyone's use-case is different, we'll outline the mount method as well.
Mounting With Udisks
Udisks is an important piece of software used in many Linux distributions. It's responsible for managing storage devices such as USB flash storage and hard disk drives. It includes a command-line tool called udisksctl. Under this tool, all of your partitioning commands follow this basic pattern:
udisksctl [command] [options] [location]
Simple isn't it? To mount your desired partition, use this command, substituting sdb1 with the name of your partition:
udisksctl mount -b /dev/sdb1

The -b flag simply denotes that the partition you're mounting is from a device.
You can also mount virtual devices, such as disk images, with Udisks:
udisksctl loop-setup -r -f example.iso
If your image doesn't complete the mounting process on its own, identify the loop name with lsblk and enter this command, substituting loop0 with your loop name.
udisksctl mount -b /dev/loop0

Note that since we're not mounting a physical hard disk drive, it's labeled as loop rather than sd(x).
The first command allows you to recognize your disk image as a virtual (or loop) device. The -r flag, standing for read-only, is optional but makes doubly sure the files you're mounting won't be accidentally overwritten. After that, we can proceed as usual, and mount the now available disk image.
If you check your mounted partitions with the lsblk command again, you'll notice a few changes.
Notice how the devices other than your Linux box now also have specific mount points. This means you can now access the files on them by changing directories to their specified locations.
Unmounting With Udisks
Once you're done with your mounted drive, you need to remove it safely from your Linux box to prevent data loss. You can do this by unmounting and then powering off the foreign file system, decoupling it from your own.
To unmount, you can reuse the previous command but substitute mount with unmount:
udisksctl unmount -b /dev/sdb1

Don't forget to change out the name at the end with the name of your device, and keep in mind that virtual devices, such as disk images, are named differently than hard disk drives and USBs.
If you check your devices using lsblk, you'll notice that your hard drive is still present, even after unmounting it. To remove it completely and safely remove your device, you need to enter in another command which switches it off:
udisksctl power-off -b /dev/sdb1
Note that you should never power-off your Linux PC's partitions, as they're part of your system. The same goes for disk images, as they're not powered in the first place; instead, you'll need a different command to remove them from your list of devices:
udisksctl loop-delete -b /dev/loop0
Mounting With mount
For the most part, Udisks should do the job for you. However, it's good to know how to do alternatively in case the first isn't an option.
The other option is the mount command. The main difference between Udisks and mount is that, with mount, you need to specify where you'd like to mount your partitions. Additionally, you won't be able to turn off your device after you're finished with it using the mount command.
You will also need administrator privileges (hence sudo at the beginning of the following commands). Because sudo privileges are very powerful, we recommend the Udisks method in most cases to prevent your system from breaking accidentally.
If you wish to go ahead and use the mount command, you can do it like so:
sudo mount /dev/sdb1 /mnt
The last part, /mnt, indicates where you'd like to place the mounted hard drive in your PC. Traditionally in Linux, this is the /mnt directory. For multiple devices, you can mount them in sub-folders under /mnt. Just be sure to create these folders with mkdir first.

Like Udisks, the mount tool also supports disk images. Memorizing how it works can be a little more cumbersome though. Unlike Udisks, you only need to enter a single command while mounting disk images with mount:
sudo mount example.iso /mnt -t iso9660 -o loop
If the content of your disk image isn't showing properly, try replacing iso9660 with udf. This option indicates the format of the disk image.
Unmounting With umount
It may seem weird, but the command to unmount a partition is not "unmount", but umount. Unlike mounting, you don't need to specify the location of your mount point; you only need the device name.
sudo umount /dev/sdb1
Beware that if you're working with a physical device, you must still use the Udisks power-off command (explained above) to ensure no data gets lost in disconnection.
For disk images, just name the loop device:
sudo umount /dev/loop0
Again, don't forget to replace loop0 with your device name.
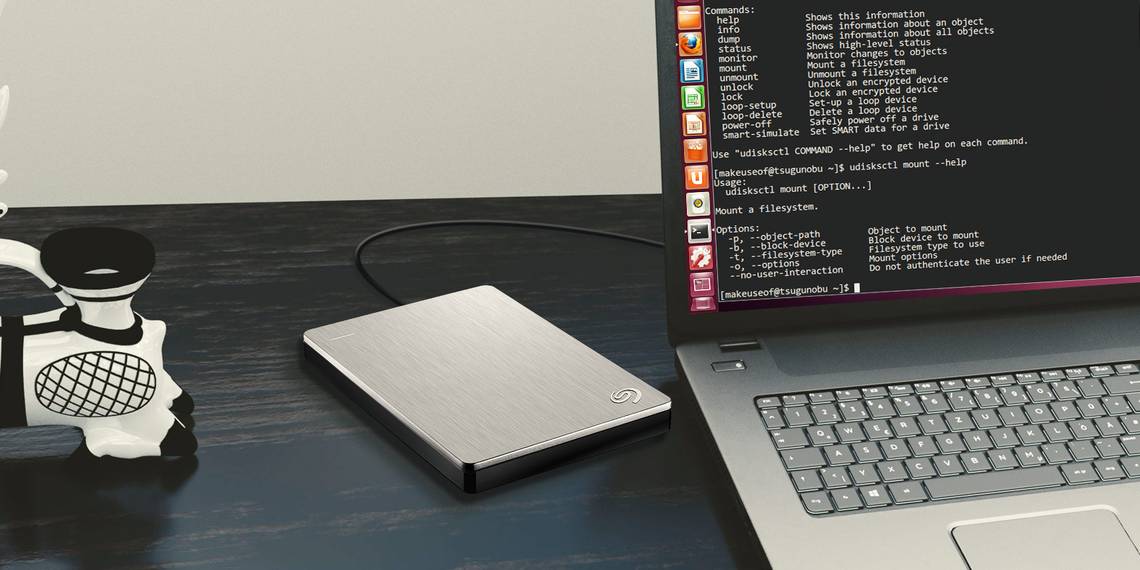
Getting Help While Mounting Hard Drives
Mounting and unmounting drives can get complicated if you're not in the habit of it. If you need to remember the specific steps for these utilities, don't forget you can always enter the help command to get immediate guidance.
udisksctl help
mount help
Fortunately for Linux users, in addition to our guides, there are in fact many ways of getting help for any command.