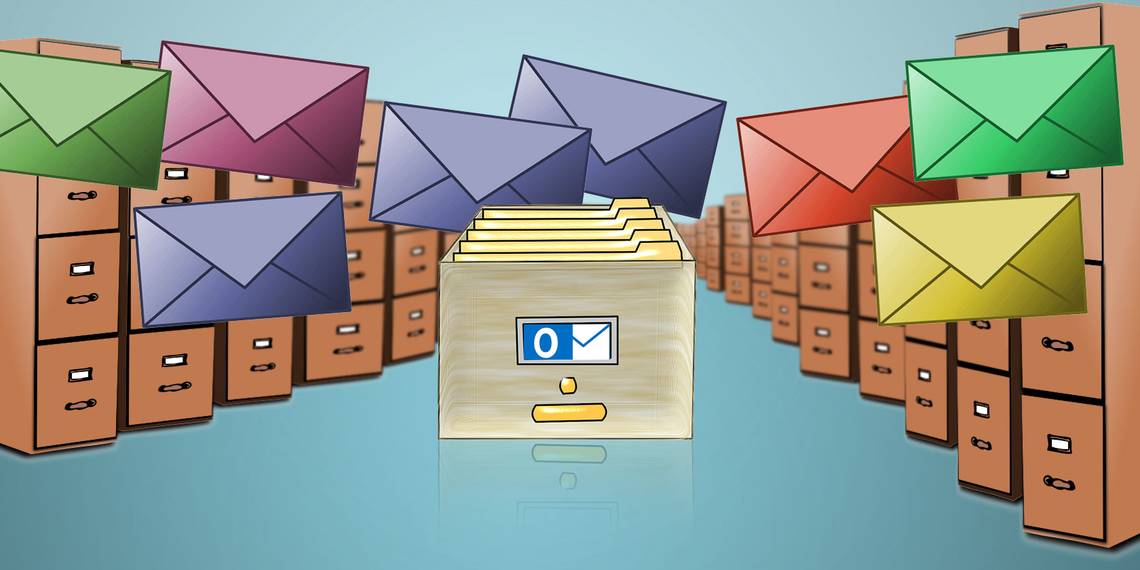
Don't let your email inbox drag you down.
Outlook has a wealth of great features that let you manage your inbox, giving you greater control and saving time. You can automatically filter emails using rules and conditional formatting, speed-find what you need using shortcuts and search, and get rid of all that spam using the junk filters. We'll show you how to best make use of Outlook's productivity tools.
If you have your own tips to share when it comes to managing your Outlook inbox, be sure to let us know in the comments.
Manage With Rules
Rules in Outlook are very powerful and can save you a bunch of time managing your inbox. Any message that arrives in your inbox will obey the rules that you outline. For example, you could mark any message from your manager to be flagged and play a sound. Alternatively, you could move any message containing the keyword "newsletter" into the trash.
To get going, select the Home tab from the top ribbon and select Rules > Create a Rule. If you had an email selected then you'll notice some fields are prefilled, but you can change these as you wish.

To really get customization on your rules you'll want to click Advanced Options... Here you can set any number of conditions that have to be met, along with what happens to messages that match them.
For full guidance on creating and managing rules, peruse our guide to letting Outlook rules manage your inbox.
Master the Shortcuts
If you want to manage your inbox with efficiency, then you'll need to master all the keyboard shortcuts available at your fingertips.

One of the best is to press Alt + H, which then highlights the ribbon with the respective key for you to press. Other examples include Ctrl + E to jump to the search box, Ctrl + 1--6 to move between the different views (like Mail, Calendar, and Contacts), and Insert to flag a message.
Of course, these just scratch the surface. For a more comprehensive list, be sure to browse our guide to Outlook keyboard shortcuts.
Use the Junk Filter and Clutter Folder
Spam is the bane of the inbox. Don't waste your time trying to find emails you want to read; instead, let Outlook take care of it by using the junk filter and the Clutter feature.
The junk filter has different protection levels, depending on how strict you want it to be. To change your settings, go to the Home tab in the ribbon and select Junk > Junk E-Mail Options...

Here you can select Low to filter obvious junk, High to catch the most junk, but with the possibility some normal emails may also be caught, or Safe Lists Only to receive only from senders you've approved.
From the same window, use the Safe Senders and Blocked Senders tab to list the email addresses or domains that you do and don't want to receive from respectively.
Office 365 for Business users can also use a new feature called Clutter. By analyzing the sender, the contents of the message, and your reading habits, Outlook will move certain emails away from your Inbox folder and into Clutter. You can manually move an email to Clutter and help the system learn by right-clicking the message and selecting Move > Move to Clutter.

Clutter is enabled by default, but you can turn it off via the web version of Outlook. Click the cog icon and navigate to Options > Mail > Automatic processing > Clutter and untick Separate items identified as clutter, then click Save.
If you're after more spam filtering tips, read our guide on how to avoid Outlook junk mail.
Search Using Parameters
You could probably get away with not sorting your inbox at all, if you were so inclined, and just use the powerful search within Outlook. Using the instant search box at the top of your email listings, you can search across all your folders and mailboxes by selecting it from the Current Mailbox dropdown.

Within the search box itself you just need to begin typing something and Outlook will try and find it in any field, like the sender name, subject, or message body. You can get more specific by using logical operators like AND, OR, and NOT. You can also use parameters like from, subject, and received, followed by a colon and your term. A full list of these can be viewed on the relevant Outlook support page.
Clicking in the search box will bring up the Search tab on the ribbon, where you can select many of these parameters from the interface.
Flair With Conditional Formatting
Conditional formatting allows you to apply a particular style to messages that match a set of rules. For example, you could change the font color of emails received over a week ago or put emails containing a keyword into a category.
To set conditional formatting, navigate to the View tab in the ribbon and click View Settings > Conditional Formating... Click Add to create a new rule, give it a Name, and set a Font if you wish. When ready, click Condition...

It's from this window that you can hone the finer details of the rule. For example, use From... to specify the senders the rule will apply to or Time to apply based on date. Be sure to check out the other tabs like More Choices and Advanced, the former of which allows you to set color categories.
When done, click OK and OK again. For more information on all this, read our guide on marking up email with conditional formatting.
Recall a Sent Email
Have you ever sent an email that you wish you could reverse? That might be possible. You need to be using an Exchange account and the recipient will need to be on the same server. Also, if the original email has been read or moved to another folder then the recall will fail.
To attempt recall, go to your Sent Items and open the message you want to recall. Select the Message tab on the ribbon at the top, then, in the Move group, click Actions and then Recall This Mesage...

From the new window that opens, decide the action you wish to take. Either Delete unread copies of this message to remove the email from the recipient's inbox or Delete unread copies and replace with a new message to send a new email in place of the original.
Ticking Tell me if recall succeeds or fails for each recipient will send you an email to let you know the result of each recall attempt, a summary of which you can see by clicking the Tracking icon in the ribbon.
Click OK when ready to try and recall the message. For more information on this process, along with all the factors for recall and some other alternatives, check out our email recalling guide.
Boss Your Inbox
It's estimated that 205 billion emails are sent every single day. Thankfully, only a small portion of these will land in your inbox, but it's often a hassle to get through even them. Be sure to use all of our tips to become a pro at inbox management.
Do you still want to know even more awesome Outlook tips? If so, further your knowledge with our 10 quick tips to mastering Outlook and 6 ways to boost your Outlook workflow. You'll be an email wizard in no time.
What methods do you use to keep control over your inbox? Are there any features you'd like to see added to Outlook?