Facebook is the most popular social network by a long mile. While you might use it to connect with friends, share a laugh, or just scroll through the feed in your free time, there’s more you can do with it. If you are a professional who wants to work with others in the industry, connecting with others is the best way to get started.
So, optimizing your Facebook profile in a sophisticated way could attract some interest from other professionals. While it’s not a job-hunting site, you never know who you might end up talking to or working with. So, here are some tips on building a professional Facebook profile.
1. Add a Professional Profile Picture and Header
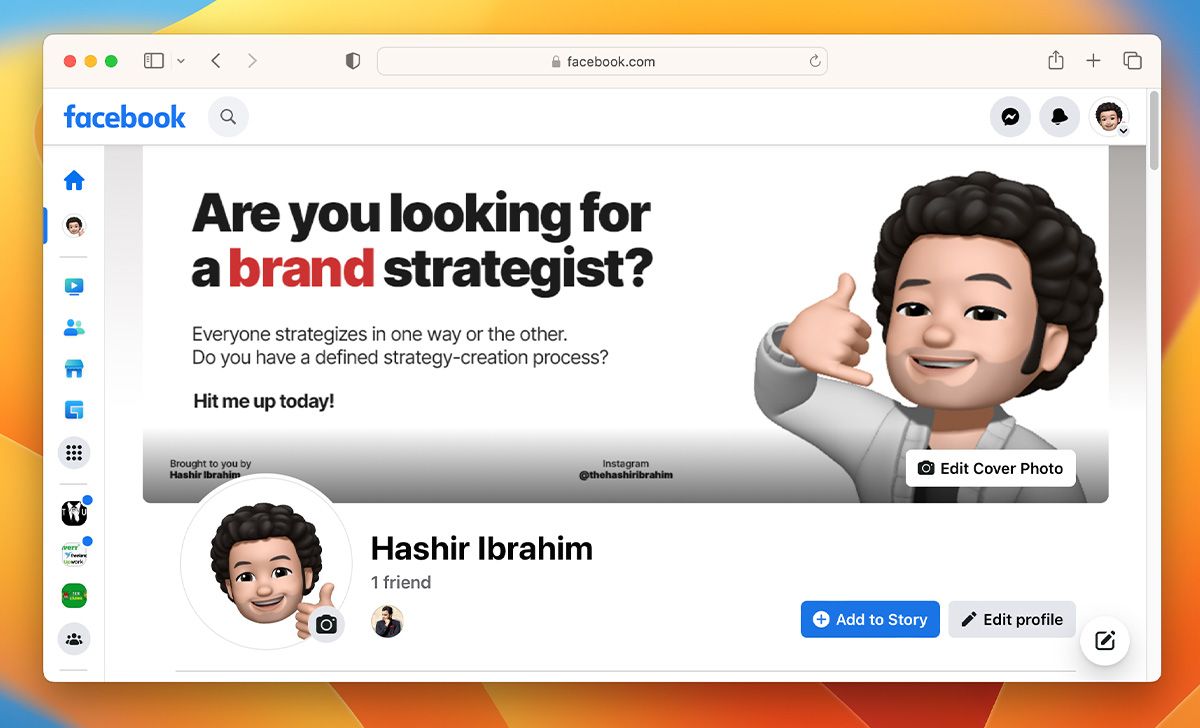
Whenever you like, comment, or post something on Facebook, your profile picture is always visible. It’s what makes the first impression, so you want to choose the best Facebook profile picture possible. There’s no need to be in a suit, just make sure that you don’t look unprofessional. Your face should be clearly visible, so avoid wearing sunglasses or a mask in the photo.
The same is true for your cover photo or header. A good header should showcase your passion, services, or even hobbies related to your professional life. You could also add links to your professional profiles in the description of the header.
2. Make Your Bio Reflect Your Profession
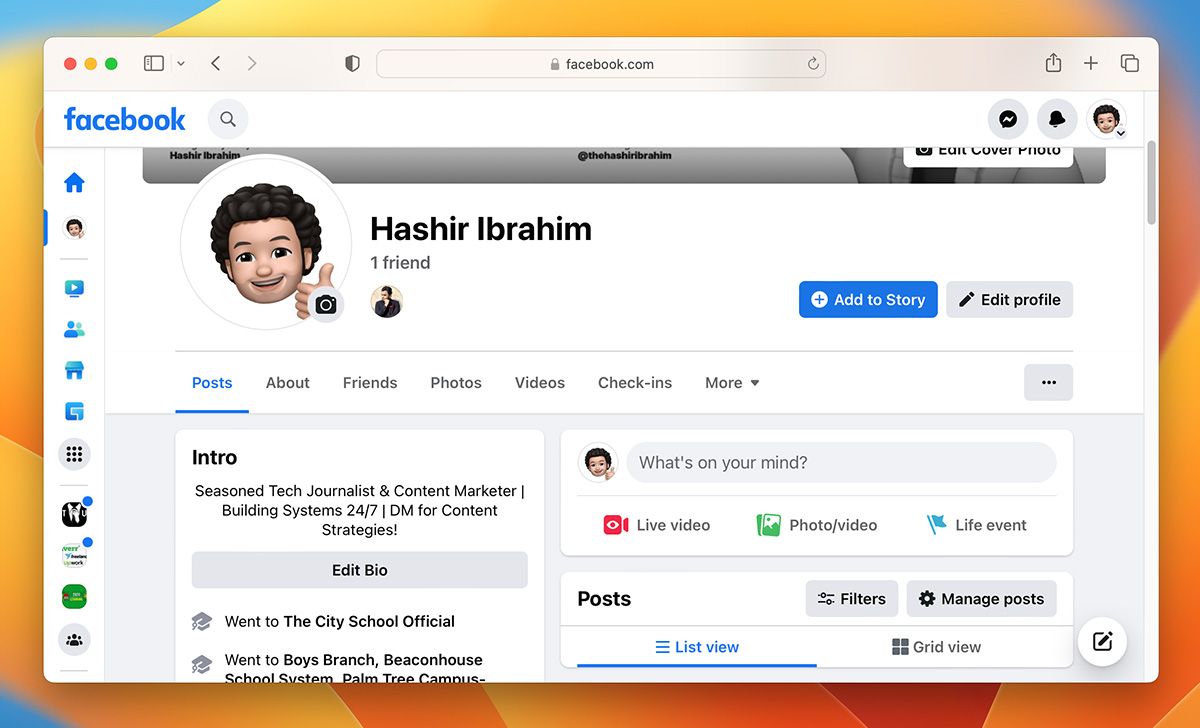
Whenever someone clicks on your profile, the bio is likely the second thing they’ll notice after your profile picture and header. So, make sure that your bio accurately reflects you and your profession.
You want to keep things simple rather than adding random quotes. However, you can add a quote if it reflects you or your personality, but don’t add one just for the sake of it. The main focus should be on your profession, so make sure your bio is clear and concise. Less is more in this case.
3. Update the About Section With Accurate Info
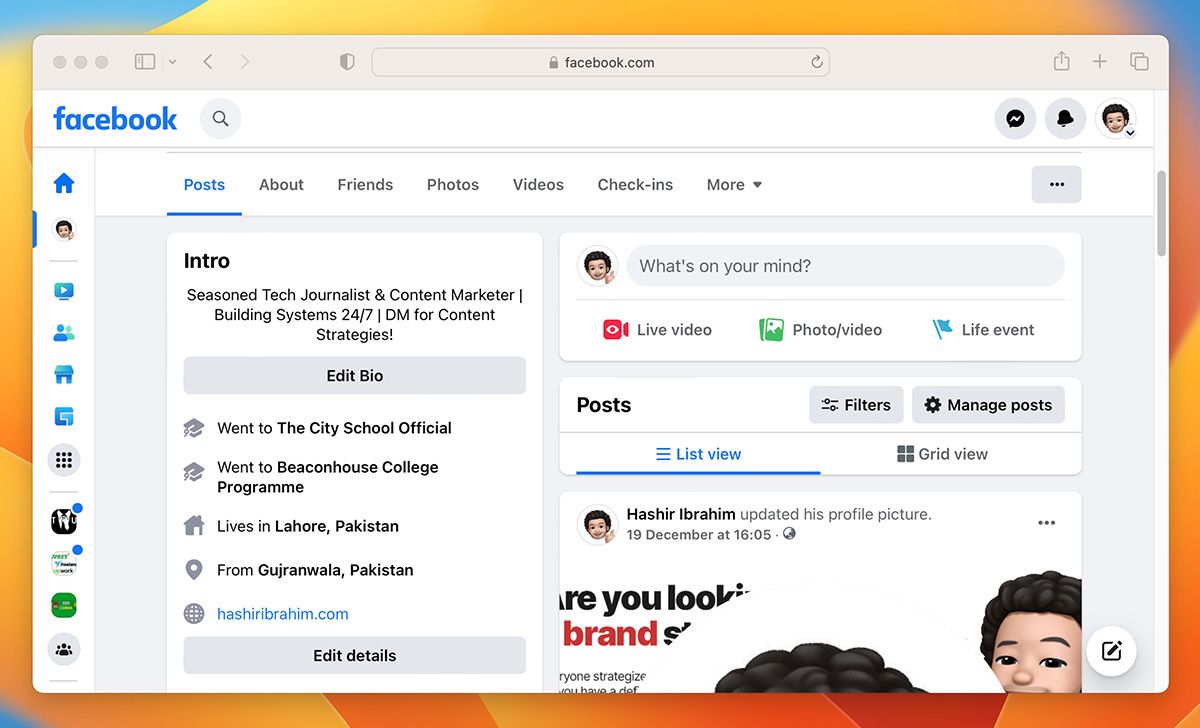
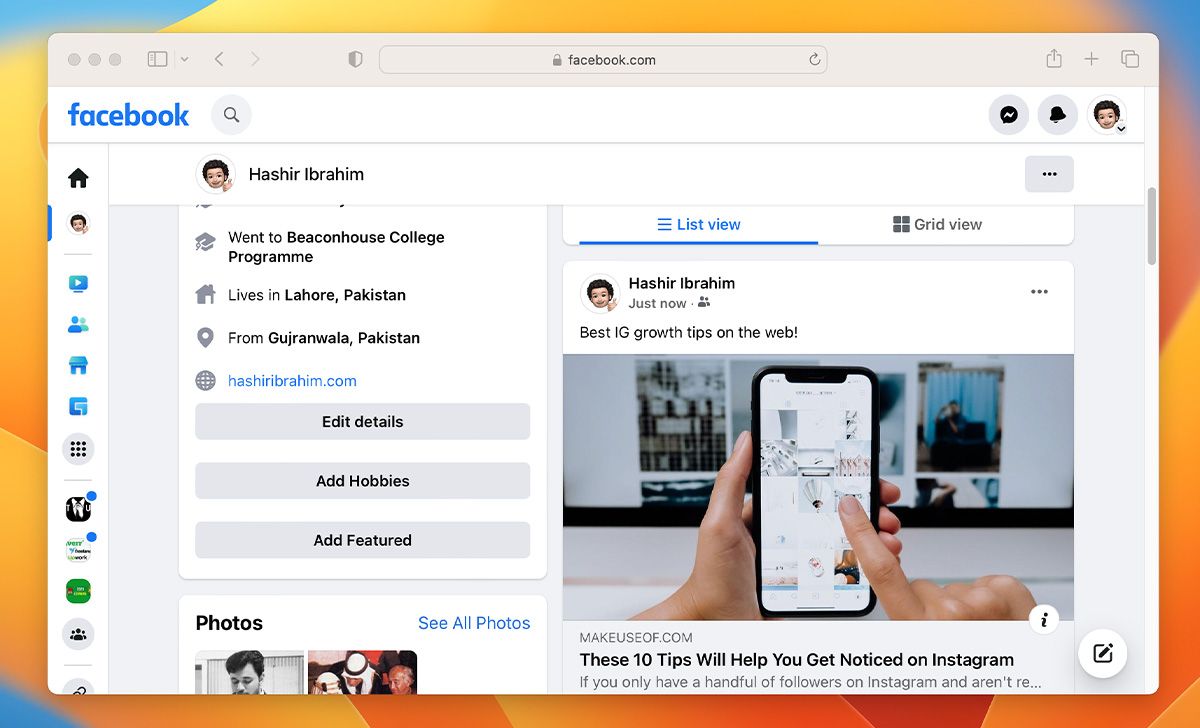
Most people rarely update their About section for their profile. This section of your profile highlights where you are from, where you are currently working, and when you joined Facebook. You could also add your educational background and any websites that you run.
A good rule of thumb is to add three important details, then links to your website or other professional profile. Facebook added a new feature that also allows you to add hobbies, but you would want to avoid that as that can add a lot of clutter to the About section.
4. Link to Your Other Professional Profiles
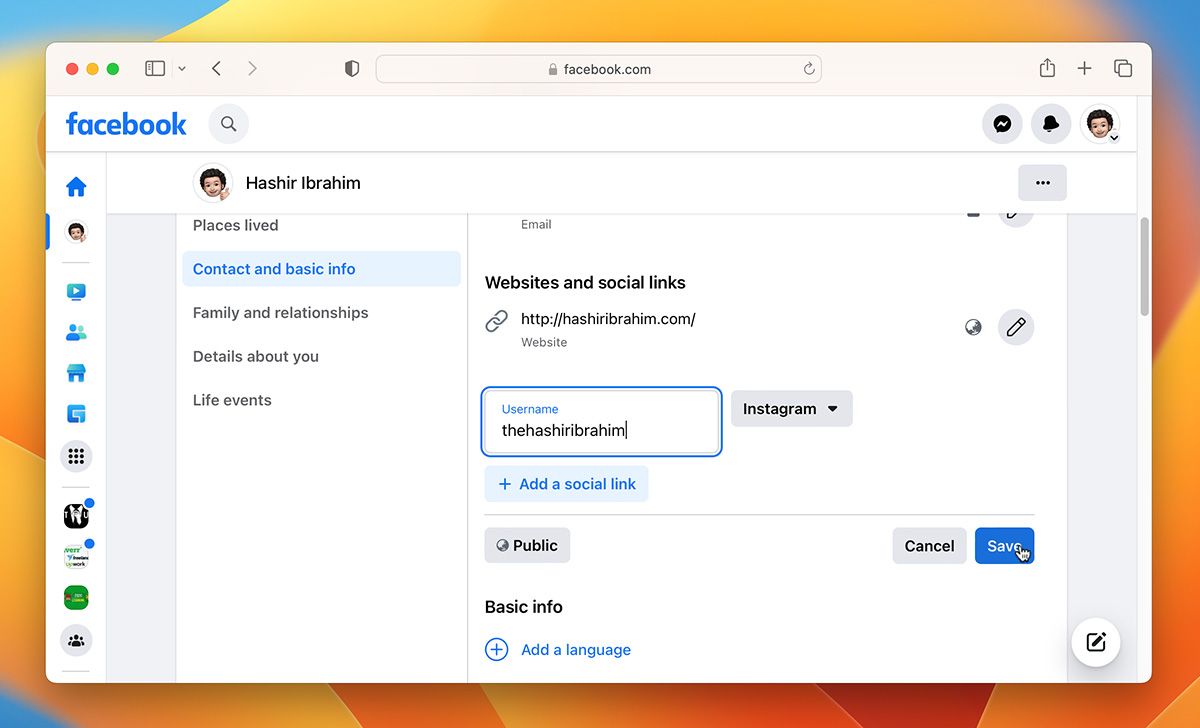
Facebook is more of a casual site for most people, as very few people are looking to hire someone from the site. So, linking to your other professional profiles is a good idea to draw attention to those platforms.
You can add these links in your About section for easier access. If you haven’t already, create a portfolio website and add a link to that on your profile. You should definitely add a link to your LinkedIn profile as well, and even Instagram if that is relevant to your profession.
5. Post Work-Related Content
If you have been on Facebook for a while, you are likely used to posting and sharing stuff that is all over the place. This likely includes memes, comics, tweets, and random threads. While there’s nothing wrong with that, it sends the wrong message if you want to appear as a professional.
Instead, posting work-related content shows that you are passionate about your industry. If you are a designer, share posts that focus on photography, design elements, and maybe even infographics. Similarly, if you are a programmer, try sharing posts from pages such as StackOverflow, FreeCodeCamp, etc.
6. Tweak Privacy Settings
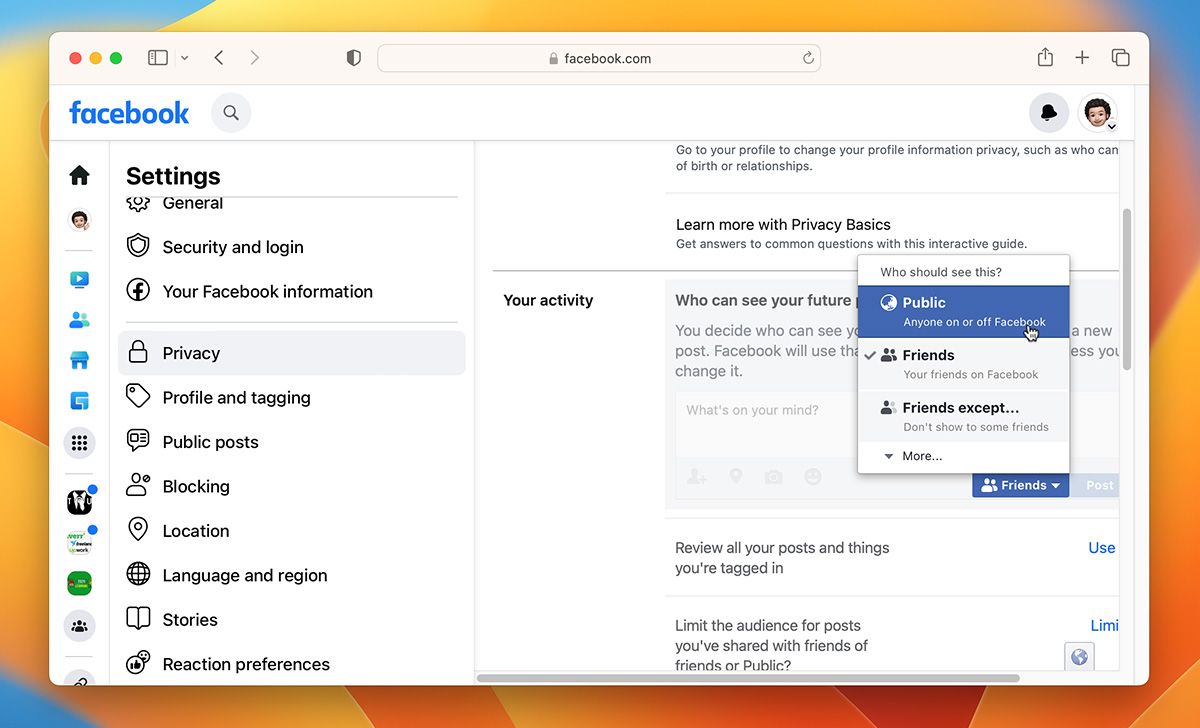
Anything you post on Facebook is usually available to see for Friends—which means that only your friends can view the content you share. You can change this by tweaking your Facebook privacy settings.
As for your professional profile, you'd ideally want everyone to see the professional content you share. This practice would tell your prospects that you're not only a professional who keeps their profile updated, but also someone who has an impact and a following.
If you have content you only want your friends to see, you can set the audience to Friends from the Audience button when you're sharing a post.
7. Review Posts That You Are Tagged In
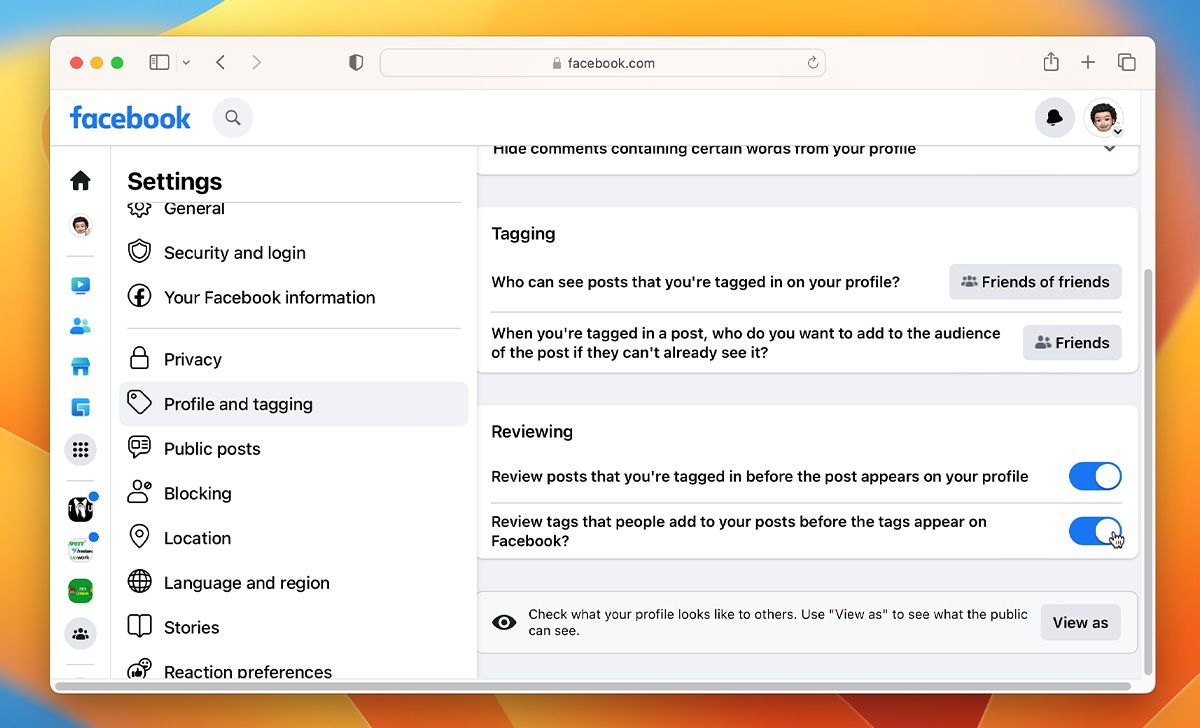
Getting tagged in random posts can be quite annoying. What’s worse is the fact that when you are tagged in a post, it appears on your profile and everyone can see it. Luckily, Facebook added a setting that allows you to review posts you are tagged in before they show up on your profile.
You can turn this on by going to Settings & Privacy > Settings > Privacy > Profile and Tagging. From here, make sure the setting to Review posts you are tagged in is enabled. Once done, every time you're tagged in a post, Facebook will ask you if you want to be tagged in this post or not. Only the posts that you approve will appear on your timeline.
8. Review Old Posts
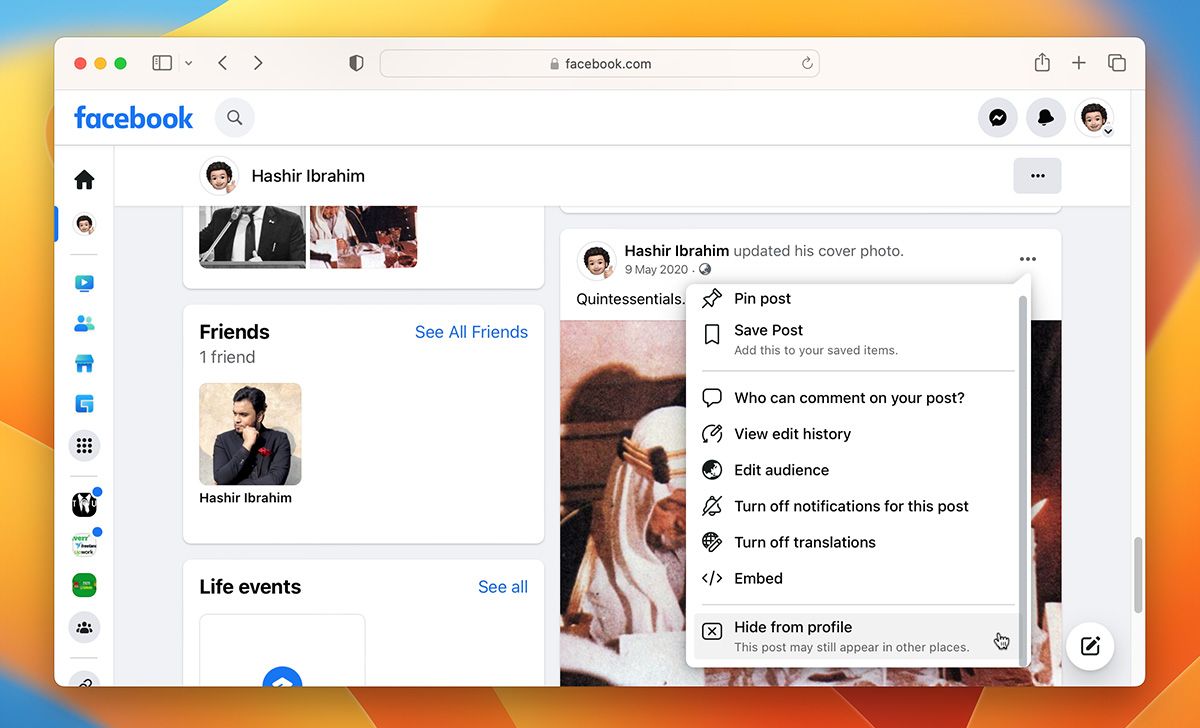
It’s also a good idea to review some of your old Facebook posts. People might end up skimming through your profile to see your interests, and you don’t want them to see something that will turn them away.
So, go through both your recent and old posts and delete anything that might push people away. You might also want to avoid posting political stuff for good measure.
9. Review Your Likes and Groups
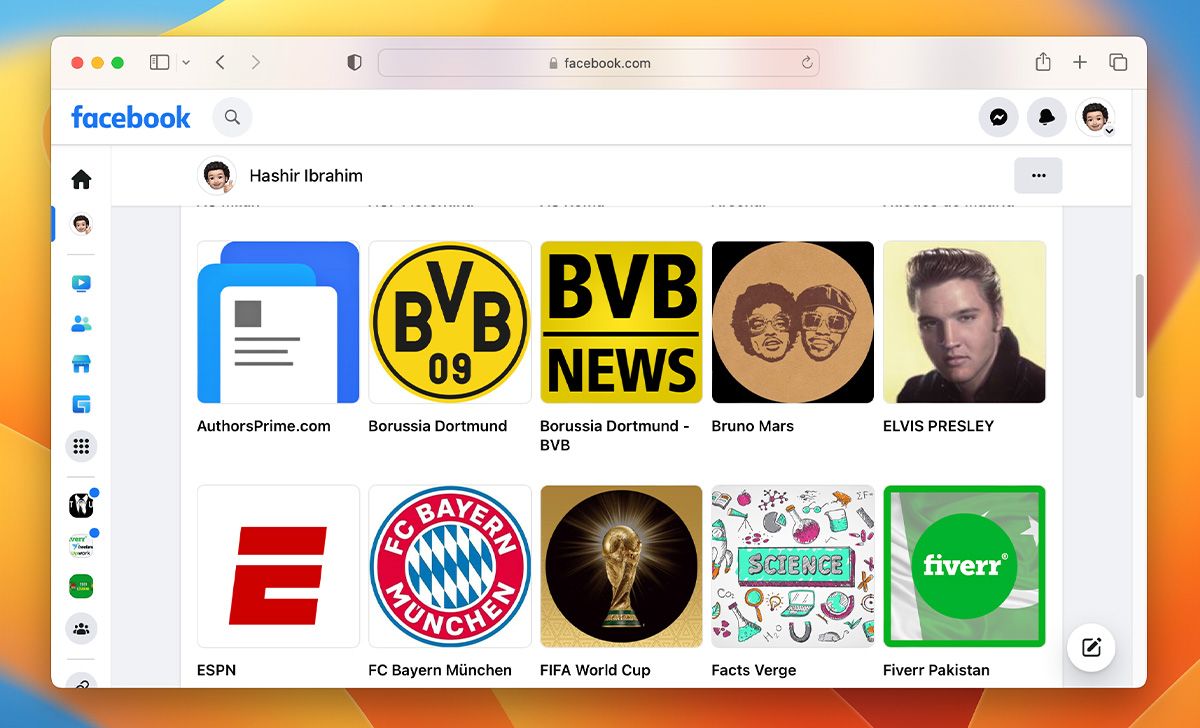
People that visit your profile can also see what pages you like and what groups you are a part of. Incorporate the same strategy here as you would for older posts. Unfollow any pages or groups that are controversial, misleading, or problematic. You can also set pages’ visibility from privacy settings so that only you can see the pages you follow.
10. Customize Profile URL
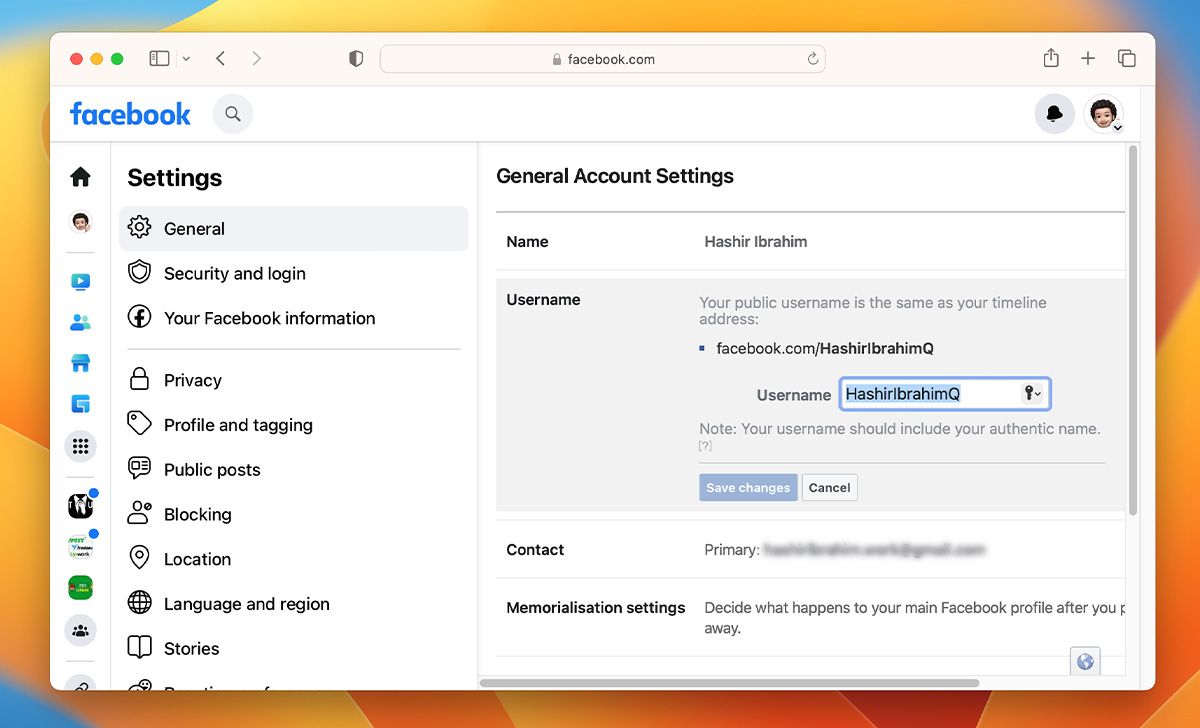
A custom URL for your Facebook profile is more professional than any random username given by Facebook. To change your Facebook profile's URL:
- From any Facebook page, click your profile picture and click Settings & Privacy.
- Then, from the panel on the left, click Settings.
- Now, you’ll be on the General Account Settings page. Here, click the Edit button just beside the Username section.
- Set your new username, preferably your full name without any symbol, and click Save Changes.
Now, when you visit your profile, Facebook will show your name (or set username) in the URL box, instead of the generic code which is hard to remember and unsightly.
Make Your Online Presence Professional for Better Opportunities
Most of the tips here are specific to Facebook, but if you’re on the hunt for better opportunities, you’ll need to build professional profiles on other platforms as well. If you’re on the hunt for new clients, you should optimize your LinkedIn profile as well.
There’s a lot more you can do to improve your chances of finding better work. You should build a strong portfolio, connect with as many people as you can in your industry, and try to create a professional email address while you’re at it.


