Movie Trailers are a great little creative project that makes putting together a professional looking video really easy. Jeffery wrote a tutorial before on how to make one using iMovie on the Mac, but I've been meaning to show you how to do the same using just your iPad (or iPhone). Today I'll be using my iPad to make a trailer featuring myself and the mischievous little ferret that wandered into my house last week and decided to stay.
Unfortunately, this isn't possible on the original iPad - you'll need an iPad 2 or the newest generation one; an iPhone 4 or later can also be used, but I'll demonstrate with an iPad as it's easier to work with the larger screen.
Getting Started - Movie clips
There are two ways to get the source video to be used in your project. The first is to just use clips already stored on your device, or to use the basic camera (or any other video app) to shoot before editing. You needn't have the iMovie app open to shoot video of course, but when it's time to choose your clips, all videos currently on your device will be available to you.
The second method is to take the videos directly from within iMovie; the advantage being that you have directions right there as to what type of clip is needed, and can tailor your footage around that - assuming you have willing subjects.
Create your trailer
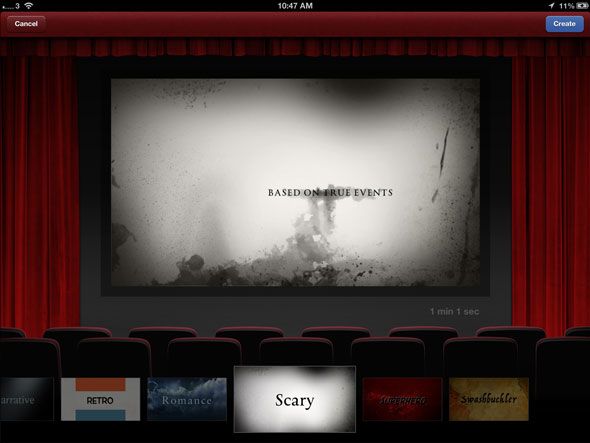
Use the + button on the main screen, and then choose the type/theme of trailer to create. The selection is limited to 9, but you can choose from:
- Scary
- Superhero
- Swashbuckler
- Romantic
- Retro
- Narrative
- Fairytale
- Expedition
- Bollywood
Editing
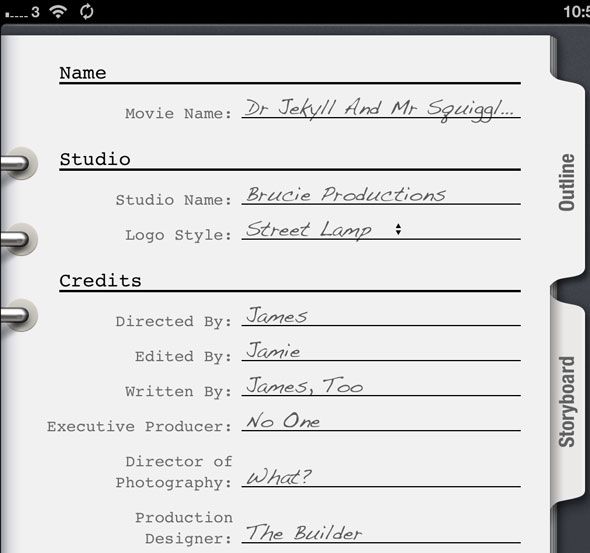
The first screen will allow you to edit who the movie is made by and such. Click storyboard if you just want to just get on with making the trailer.
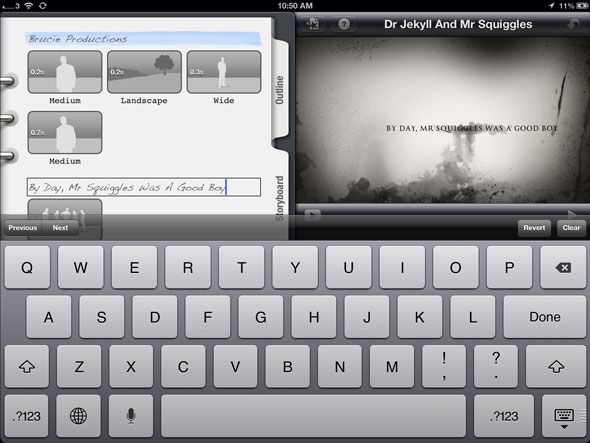
Blue areas are text that can be edited. Click to replace the default text.
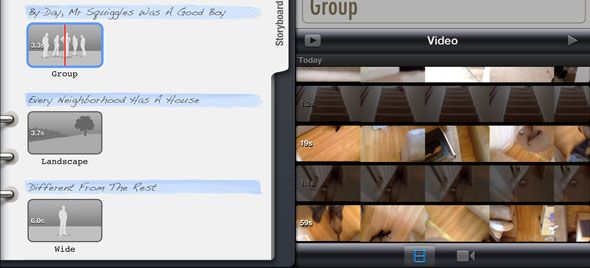
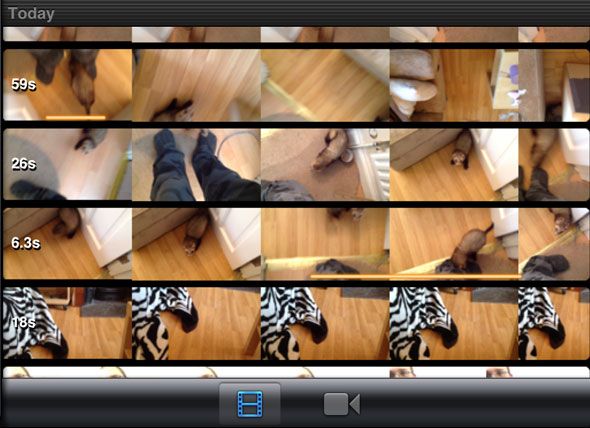
They grey storyboard items are those for which you need video. You're told the length of clip needed, as well as the type of shot that would do best in that instance, though these should only be considered directions. Click on a storyboard item to choose a video clip. Videos already stored on your devices will be shown in the bottom left - note that clips which aren't long enough will be greyed out, but still shown. Choose one thats at least the length you require.
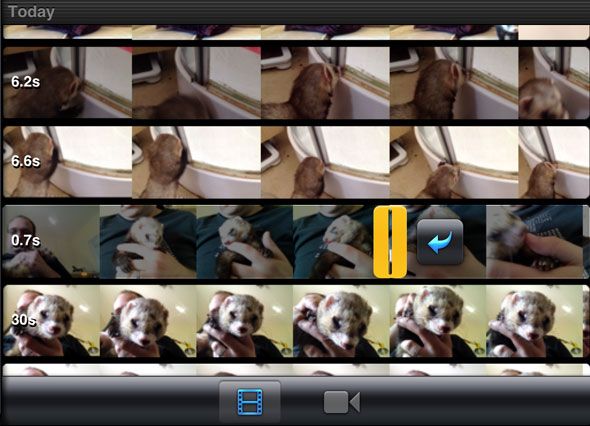
Dragging your finger along the clip will preview the video in the top right. When you reach the bit that you want to use, click the blue arrow next to your highlighted section. It'll fly over to the storyboard.
If you find your device is lagging a little making choosing difficult, just throw the clip you think you want onto the storyboard, then click it again to open up the fine detail editor.
Notice that as you add more clips to the storyboard, sections you've already used will be indicated with a luminous orange line.
Alternatively, use the camera button to open up an embedded recording feature. When using the built-in record function, you're given a 3 second lead-in before the actual clip is shot. Although you can move that around in fine editing, I find it's easier to just take longer clips with the regular camera app and then be able to pick and choose which sections you want to use.
Preview
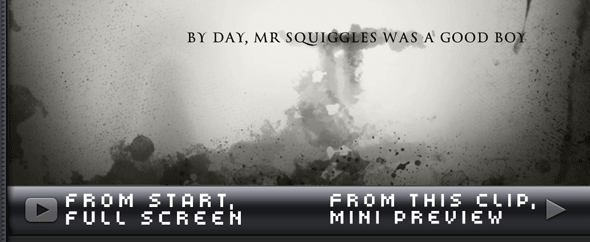
To preview how the movie looks so far with effects etc. applied, there are two play buttons. The left most one - a small play triangle enclosed in a grey rectangle means preview the whole movie full screen, from the start. The right-most play button is more useful, allowing you to view starting from just the clip you've selected quickly in the preview area.
Save and Share
To export your masterpiece, save it to the camera roll, and head back to the main project screen. Select the share icon to be presented with these choices:
Save to Camera Roll is probably all you'll need - it'll just flatten out the project and save the compiled movie file. You get a choice of resolutions, all the up to full 1080p (at least I do on my iPad 3 - your device may differ depending on the hardware). Although there is an option to export directly to YouTube, I received a generic "cannot connect to YouTube" error, but this could be a bug in iOS6 beta. If you do have problems, you can always share directly from the Camera Roll, or sync and upload from your desktop.
Send Project to iTunes allows you to export the file as a special iMovieTrailer format; if you choose to export this way, you'll be able to find it under iTunes - (your device) - Apps - Filesharing (at the bottom of the screen) - iMovie. Note that the file can't actually be opened with the desktop version of iMovie, but you can import onto another user's iOS device if you want them to be able to edit the trailer too. In that case, after using their Filesharing tab to put the file into their device, click the "download" icon on the main screen to scan for files to import.
Without further ado, here's my finished product. Be sure to watch right to the end!
http://www.youtube.com/watch?v=jTQe_RbNQbU
What do you think? If you enjoyed making a trailer too, check out these other 3 creative projects you can do on a Mac. Do you have any more great ideas for creative projects, or have you made a masterpiece with your iPad? Feel free to share some ideas and links in the comments!

