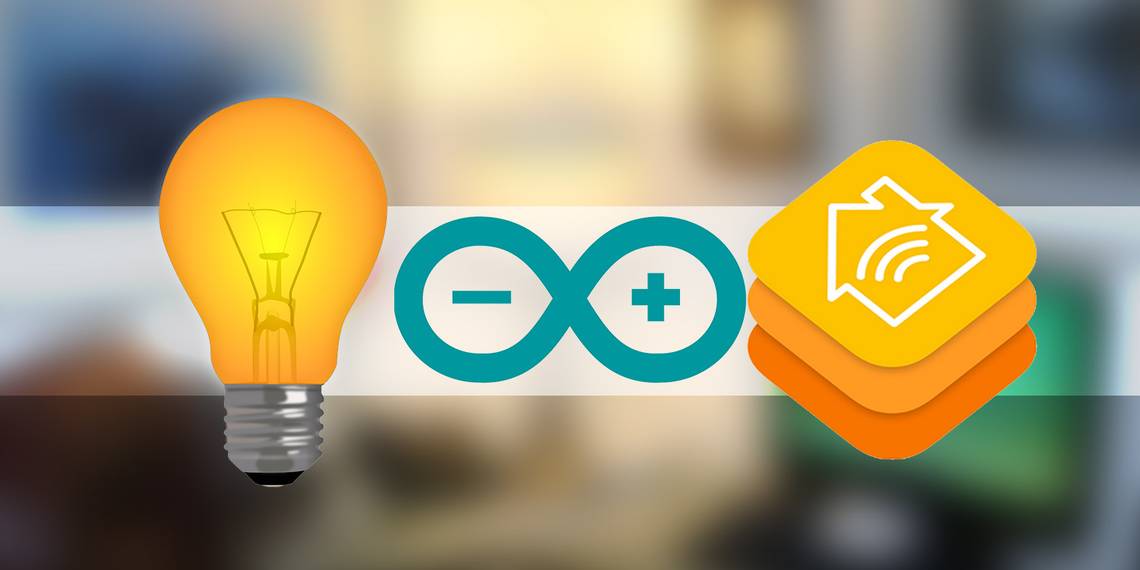
HomeKit is finally out in the wild, enabling voice control through Siri for a handful of consumer smart home devices.
Sadly, I mean a literal handful – anything you've already bought probably isn't compatible. However, the protocol has already been reverse engineered and an open source emulator for the HomeKit API is availble: or in plain English, you can now create "fake" HomeKit devices, and Siri will control them just like any other official HomeKit accessory.
Today, we're going to create a Wi-Fi controllable light, and control it with Siri. Here's a demo.
Here's what you'll need:
- Raspberry Pi (I've used an RPi2, there is a small difference in Node versions to install given the upgraded ARM architecture - see notes later).
- An MQTT broker installed on the Raspberry Pi. See the section "Install Mosquitto on Your Pi" in my OpenHAB Guide part 2. It doesn't need to be installed specifically on the Pi - you can even use a cloud based MQTT server, but since we need a Pi for this tutorial anyway, it's convenient.
- NodeMCU v2 (Arduino compatible)
- Neopixel LEDs (I'd recommend 4 pixels for testing, then you can add an external power supply and add as many as you like)
Installing the HomeKit Bridge
We're going to install a NodeJS application called HAP-NodeJS to the Raspberry Pi: this will form a bridge between HomeKit requests and the Wi-Fi devices. We'll configure this bridge with one accessory for now, but you can add as many as you like.
I'm actually installing this onto my existing home server running OpenHAB – I hope to connect the two together at a later date, but for now, know that they can co-exist on the same Raspberry Pi. If you're doing the same, just in case, make a clone backup of your current Pi SD card. If everything goes wrong, you can restore to that.
Begin by doing a full upgrade from the Terminal or an SSH session.
sudo apt-get update

            sudo apt-get upgrade
You may need to do those twice if it's been a while.
Now install a few core packages we're going to need:
sudo apt-get install npm git-core libnss-mdns libavahi-compat-libdnssd-dev
Next, we're going to install the latest version of NodeJS. You might be tempted to do this with apt-get, but don't - that version is really old now and will not work. Instead, visit nodejs.org, browse to the download/release/latest-v5.x.0/ directory, and check what the link for the latest version is. You're looking for linux-armv7l for Raspberry Pi 2, or linuxarmv6l for the original RPi models. Then, adjusting the URLs and directory names as needed, download and install using the following commands.
wget https://nodejs.org/download/release/latest-v5.x.0/node-v5.5.0-linux-armv7l.tar.gz

            tar -xvf node-v5.5.0-linux-armv7l.tar.gz

            cd node-v5.5.0-linux-armv7l

            sudo cp -R * /usr/local
Confirm by typing
node version
And you should see v5.5 (or whatever the latest was that you downloaded).
Next, we have some Node modules to install.
sudo npm install -g npm

            sudo npm install -g node-gyp
In that first command, we're actually using the Node Package Manager (npm) to install a newer version of itself. Clever!
Now, to download the HomeKit emulator called HAP-NodeJS:
git clone https://github.com/KhaosT/HAP-NodeJS.git

            cd HAP-NodeJS

            npm rebuild

            sudo npm install node-persist

            sudo npm install srp
At this point, I ran this error: "#error This version of node/NAN/v8 requires a C++11 compiler". If that happens to you, install a more recent C++ compiler with the commands:
sudo apt-get install gcc-4.8 g++-4.8

            sudo update-alternatives --install/usr/bin/gccgcc/usr/bin/gcc-4.6 20

            sudo update-alternatives --install /usr/bin/gcc gcc /usr/bin/gcc-4.8 50

            sudo update-alternatives --install /usr/bin/g++ g++ /usr/bin/g++-4.6 20

            sudo update-alternatives --install /usr/bin/g++ g++ /usr/bin/g++-4.8 50
Now you shouldn't have a problem. Continue running these commands, one by one:
sudo npm install srp

            sudo npm install mdns --unsafe-perm

            sudo npm install debug

            sudo npm install ed25519 --unsafe-perm

            sudo npm install curve25519 --unsafe-perm
That should be everything. Try running the emulator with:
node Core.js
If you get errors saying it can't find such and such module, just use the sudo npm install command again, and affix the name of whatever module was missing. Assuming all is well, you should see a few warnings, and your HomeKit bridge will be running. This is what success looks like:

You can see immediately that it's already created a set of 6 fake devices. We'll use those as a starting point for our own Wi-Fi light later, but we'll just use those for now to test. You can also see more debug information if you start the server with:
DEBUG=* node Core.js
Now jump over to an Apple device capable of running Siri. Apple curiously doesn't provide a stock HomeKit app except to registered developers, so download the free Elgato Eve app, a HomeKit management app which enables you to add (even non-Elgato) devices to your HomeKit network.
The first time you launch the app you'll need to name your home, go ahead and walk through that. Then select "Add Accessory". Ignore the message about being close to it!

It'll tell you to look for a unique "HomeKit Setup Code" next. Ignore that, and hit "Add to [name of your home]".
It'll also tell you the device isn't certified. Indeed it isn't. Go ahead anyway. When you get to the screen asking for an accessory code...

Choose to enter the code manually, and type in the following:
031-45-154
This can be found/changed in the Light_accessory.js file, but more on that later. Add this accessory to your default room, call it Fake Light, and keep walking through the dialogs to choose icon etc.
Finally, jump back to the SSH session where you have HAP-NodeJS running. You might already have seen a message saying "Are we on?" – that's the Elgato app polling for the light status. Open Siri and tell her to "Turn on fake light", then try turning it off again. Hopefully, you'll see some debug messages from HAP-NodeJS to show it received the commands.
Are we on? No.

            Turning the light on!

            Turning the light off!
Fantastic, that's step one finished. Now we'll need an actual light, before coming back to configure the bridge again.
Building a Wi-Fi Light
The hardware side of this step is surprisingly simple if we start with just four Neopixels, as we can power those directly from the NodeMCU dev board and its USB connection. If you have a longer strip, don't worry - we've defined this in software, so the rest just won't turn on.
Connect the red power cable from a Neopixel strand to the VIN pin, blue ground to GND, and the green signal cable to the pin marked D2 on the NodeMCU. Be very careful about polarity: if you mix up the ground and VIN, you'll send a surge of power through your board, and destroy it in the process.
If your Arduino environment isn't yet setup to work with ESP8266, go ahead and follow the guide in my ESP8266: Arduino Killer guide then come back after you've confirmed that's working. Install these additional libraries:
The code we're using is a modification of Github user Aditya Tannu's - I've removed the unnecessary over-the-air update functionality, added in some HSV functions that were missing, and made it easier to create more lights by only changing a single variable. If you can't see the code embedded below, you'll find it at this Gist.
Update the following lines with your own network information, and a unique name for each fixture you create (host).
const char* ssid = "....";

            const char* password = "...";

            const char* host = "officelight";

            IPAddress MQTTserver(192, 168, 1, 99);
The IP address of this fixture is automatically obtained through DHCP - it doesn't matter if it changes, since we're connecting to the same MQTT server each time.
For now we're only using 4 Neopixels, but you can increase the number later if you power them from an external source. Upload the code, and let's test - use your favorite MQTT client to send commands (adjust the host name in the following instructions if you've changed it).
- You can send on to the root officelight channel to turn it on. Send any other value to that channel to turn it off.
- You can send a number from 0-360 to the officelight/hue to change the color. We're using the HSV color space, so 0 and 360 are red, 120 is green, and 240 is blue.
- You send a percentage value for brightness (0-100, don't include the % symbol).
- Same for saturation. A value of 100 will be fully saturated (ie, a solid color), and zero will be pure white, regardless of the Hue specified.
Once you've confirmed your MQTT-driven lighting fixture is working, move on.
Configuring a New HomeKit Accessory
Switch back to the Raspberry Pi and terminate the HAP-NodeJS app if you haven't already. Navigate to the /accessories directory. To make this easy, you can directly download code that's already been paired to the "officelight" fixture by typing in the following:
wget https://gist.githubusercontent.com/jamesabruce/a6607fa9d93e41042fee/raw/12e4fd1d1c2624e7540ba5e17c3e79bc6bdec5fd/Officelight_accessory.js
Essentially, this is a duplicate of the default light accessory, with some variable names changed (again, adapted from Adysan's work, simplified for ease of use). Here's what you should know for creating your own custom accessories based on this.
- All accessories must be named *_accessory.js
- Change the IP address in the options variable at the top to your MQTT server
- If you've got a different fixture name, search/replace all instances of "officelight" with your unique fixture name. You can do a search/replace in Nano by pressing CTRL and \, typing the term to find, the term to replace, then hit A (meaning all instances). Step through each of these to learn precisely which variables are being updated.
- Create a unique hexadecimal username for the accessory (light.username = "1B:2B:3C:5D:6E:FF";)
- Don't change the PIN code. It follows a specific format, and unless you know what you're doing, it won't be able to pair. There's no issue with keeping them the same between lights.
- You can give your fixture a different "Siri name" when adding them to the Elgato Eve app, and edit those at any time so you're not stuck with your initial choice. There's no need to edit the configuration files or restart the server.
- Once you've got multiple fixtures, you can use the Elgato Eve app to group them by room, or to create specific scenes consisting of multiple complex actions. Scenes can consist of multiple actions, such as: turn on the office light, dim it to to 25%, make it red, and activate the coffee machine.
You'll need to add your new accessory through your HomeKit app of choice again.
Finally, we want to run our HAP-NodeJS app whenever the Pi is restarted. Add the following to your etc/rc.local file, right before the exit 0.
sudo node /home/pi/HAP-NodeJS/Core.js < /dev/null &
You can see I've combined this with some other commands I already have set to start on boot.

If this is the first time you're using rc.local, you may need to set it as executable:
sudo chmod 755 /etc/rc.local
If for some reason you need to run it in debug mode again, you can kill the running Node app with:
killall node
One final step: navigate to the accessories directory, and delete the GarageDoorOpener_accessory.js. At the time of writing this is buggy, and will cause the server to break after a while.
What Will You Control With Siri?
Now that you've got the basics down, there's really no limit to what you can control – if you can code it in Javascript, you can make your own accessory file. There's so much potential here, I think you're going to have a lot of fun. Let me know in the comments what you come up with!