
Your Raspberry Pi doesn't come with an operating system pre-installed.
Rather than being a disadvantage, this means you can choose from a wide selection of operating systems (OSs). Any of these can be flashed to your Raspberry Pi's SD card. Here's how to get a new OS installed and running on your Raspberry Pi, using Windows, macOS, or Linux.
Use the Right SD Card
Before you even think about downloading an operating system for your Raspberry Pi, you need to make sure you have the right storage media. Raspberry Pis boot from microSD cards (except for the first generation, which used standard SD cards). You'll need to ensure you have a microSD card with the right capacity for the operating system, plus extra for storage.
As a rule, given the size of most operating systems, a 16GB microSD card should be the minimum you should consider. However, when choosing an SD card to buy you may find that a 32GB card is almost as affordable.
Choosing Your Raspberry Pi Operating System
Many operating systems are available to run on your Raspberry Pi. These include the recommended Raspberry Pi OS (and its Lite alternative), Ubuntu, along with OSs for Kodi, RetroPie, and many other projects. Our list of operating systems for the Raspberry Pi will give you a flavor of what is available – the choice is huge.
Raspberry Pi operating systems are available as a disk image, either ISO or IMG format. Writing the file is straightforward. Several tools are available that can write a Raspberry Pi operating system to an SD card. The best options are:
- Raspberry Pi Imager
- Etcher
- Command Line (Linux and macOS)
Below we'll look at these three methods in turn.
Install an OS With Raspberry Pi Imager

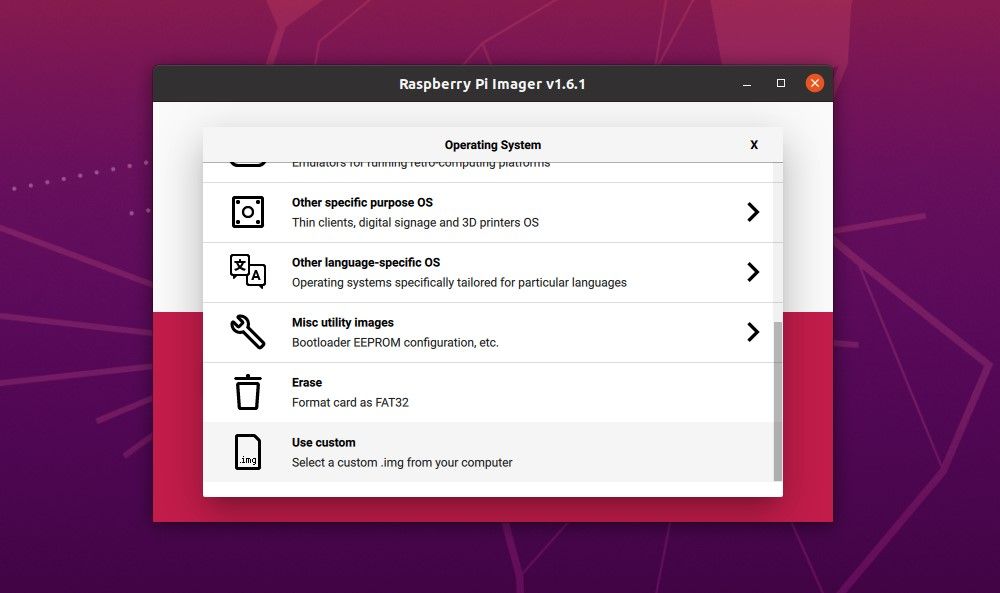
Available from the official Raspberry Pi website, Raspberry Pi Imager is a utility that writes an operating system to your Pi's SD card. A list of operating systems is included in the app, such as Raspberry Pi OS and other desktops, media players, and emulation and gaming OSs.
Download: Raspberry Pi Imager
Raspberry Pi Imager is available for Windows, macOS, and Ubuntu. Once installed on your computer, the process is simple:
- Under Operating System click Choose OS
-
Browse the list for your preferred OSs and select the one you want
- Click Ctrl+Shift+X to preconfigure advanced options (see below)
- Next, click Choose Storage to select the SD card
- Click Write

Wait while the data is written and verified. When done, click Continue, then close the imager tool.
Advanced Options in Raspberry Pi OS
The Raspberry Pi Imager features some handy time saving advanced options. These can be preconfigured to save you messing around after booting the Pi for the first time.
For example, you can set a hostname for the device and enable SSH, complete with user credentials. Wi-Fi - with details copied from your the PC running Raspberry Pi Imager - can also be configured in advance.

These options can be set for the first session, or can be used permanently, using the dropdown at the top of the Advanced options window.
Use Etcher to Flash an Operating System to Your Raspberry Pi
To use Etcher, you'll need to download the chosen operating system image to your PC in advance. This provides you with the flexibility to install any suitable OS without being restricted to a curated list. (While Raspberry Pi Imager permits the use of a downloaded image file, it is not the default option.)
Once you've downloaded your preferred disk image, download Etcher. This is a tool for writing disk images from your computer to flash storage, whether an SD card or a USB thumb drive. It's a simple mouse-driven app, available for Windows, Linux, and macOS.
Download: Etcher (Free)
With Etcher installed and running, you'll notice three buttons: Select Image, Select Drive, and Flash. To flash an image with Etcher:
- Click Select Image
- Browse to the downloaded ISO or IMG file
- Next, click Select Drive
- Confirm the correct SD card is selected
-
Finally, click Flash to begin writing the data


Wait while the data is written to the SD card and verified, then click OK to finish and exit Etcher. Eject the SD card, and insert it into your powered-off Raspberry Pi. Connect the power cable and wait as the computer boots the operating system.
Install an Operating System Using the Linux Terminal
If you prefer to set up your Raspberry Pi's SD card in the command line, this is straightforward in Linux. Before proceeding, ensure you have downloaded the appropriate ISO disk image of the operating system you plan to use.
This method uses the dd command, which should be used with care. Confirm you've entered the command correctly before proceeding, as misuse of dd can be destructive.
Start by inserting the SD card in the reader, then search for it in the /dev directory with
sudo ls -ltr /dev/*
You should spot the SD card as mmcblk0. Watch out for reference to the partitions on the card (mmcblk0p1, mmcblk0p2, etc.) which you should ignore. The entire disk – mmcblk0 – is used for this method.
When you're ready, enter the command:
sudo dd bs=1M if=/path/to/raspberrypi/image of=/dev/sdcardname status=progress conv=fsync
The if= section of the command is the file path to the ISO file; the of= portion is the destination. Be sure to edit the command above to reflect your system.
When you hit Enter, the command will run. This isn't a quick process, so take the opportunity to enjoy a hot drink while it completes.
Other Tools for Installing Raspberry Pi Operating Systems
Some other, slightly more complicated tools are available for installing an OS on your Raspberry Pi's SD card.
NOOBS

This precursor to the Raspberry Pi Imager is an acronym for New Out Of Box Software installation system. It features Arch Linux, OpenELEC Kodi, RISC OS, Raspberry Pi OS, and several others.
Download: NOOBS
To use NOOBS, unzip the download file and copy the contents to a microSD card inserted in your computer. Once you've done this, eject the SD card, insert it into your Raspberry Pi, and power it up.
A keyboard and/or mouse and HDMI display are needed to access the menu to install an OS with NOOBS, and an internet connection. You can then select and install an operating system.
If using Etcher or Raspberry Pi Imager seems difficult, you can purchase an SD card with NOOBS pre-installed.
Berryboot

An alternative to NOOBS, Berryboot is more suited to installing multiple operating systems to a single microSD card. Capable of installing your preferred OSs to the SD card, a USB drive, or even networked storage, Berryboot is ideal if you have a limited supply of microSD cards.
Download: Berryboot
PINN Lite
An enhanced version of NOOBS, PINN Lite is another single or multiboot installation tool. The developer has provided a web-based configuration tool to simplify the setup.
Just head to the website, use the web tool to specify your media (SD card, USB, or both), the capacity, and which Raspberry Pi you're using. You can then select the operating systems you wish to use, then follow the instructions to download PINN and the configuration file.
Booting Your Raspberry Pi OS for the First Time
With Raspberry Pi OS installed, you'll need to login with the following credentials:
Username: pi
Password: raspberry
For other operating systems, check the documentation to find the default login credentials.
Remember that the password will not be displayed as you type it; there are no Windows-style * symbols representing the letters. Instead, it will appear that you haven't entered a password. This is a security feature in Linux to prevent people guessing the length of your passphrase. Just type the password regardless.
Once Raspberry Pi OS has booted, change your password. You should be prompted to do this in the Change Password window.
Alternatively, open Menu > Preferences > Raspberry Pi Configuration and in the System Tab click Change Password.
You can also change the password in the command line using the passwd command.
Installing an OS on a Raspberry Pi Is Easy
Options for installing one or more operating systems on Raspberry Pi are plentiful. You can either install single operating systems with Raspberry Pi Imager, Etcher, or a simple command line instruction, or use tools like NOOBS, Berryboot, and PINN for dual booting.
With so many tools available, you're all set. The only question now is: what are you going to use your Raspberry Pi for?