If you've ever considered getting started with home automation, purchasing a Nest thermostat is the perfect way to start. This is the reason I decided to buy one, and once you see what the Nest is capable of, you'll want one too.
The Nest isn't cheap. Most people balk at the idea of paying over $200 for a single zone thermostat, but the Nest is a bit more than just a thermostat - it's an energy saving home automation unit that you can use to run more than just your home temperature.
We'll get to the creative automation side of things further down in this article, but first let's take a look at how insanely simple it is to install a new Nest thermostat in your home.
How to Install a Nest Thermostat
Before you buy a Nest either for yourself or as a gift for a friend, you'll want to use the compatibility widget to verify that the Nest will work in your home. You will need to remove your old thermostat and take a look at the labels that your current wiring goes to.
If it's too complicated and you're uncomfortable doing this yourself, then by all means hire an HVAC professional to wire the thermostat for you. However, if you have wiring that looks more like this:
You're probably all set. The image above is the sample "before" wiring image provided on the Nest website - it shows the typical three-colored system that comes from most home heating boilers.
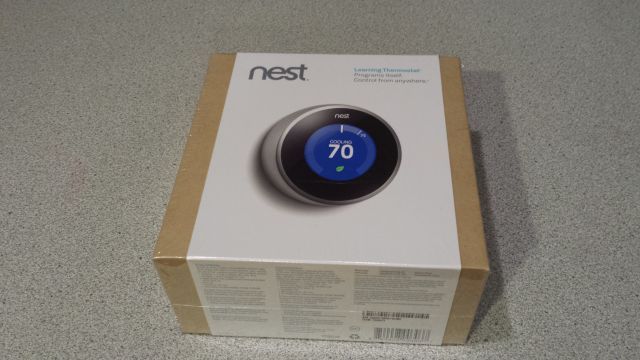
When the Nest arrives, it'll come in a simple, compact box filled with everything you need to install the unit yourself.
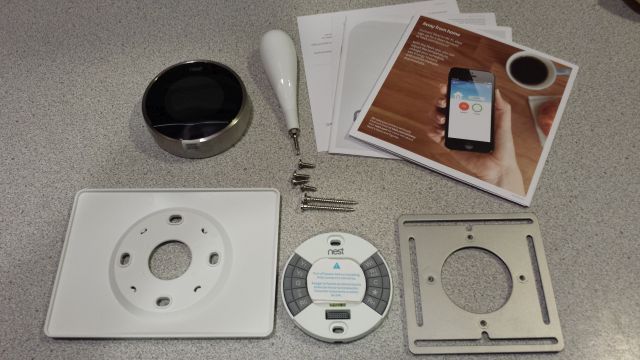
Everything being: A wall plate, an adapter plate if you need it, the Nest base, the Nest unit itself, a convertible screwdriver with a heavy branded handle, necessary screws, the manual and installation instructions.
Before you get started, turn off all power to your boiler or any other units controlled by your thermostat, and turn off that circuit at your circuit breaker box.
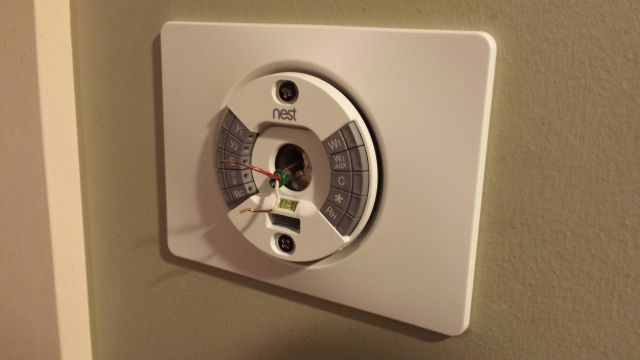
I have to admit I was wary about installing the unit myself, but after seeing the simplicity of the wiring behind my original thermostat, I simply mounted the white wallplate and Nest base using the two wood-screws that came with the unit. Luckily, the original screw holes were right on the wall stud, so the new screws went in nicely by hand.
If you're making new holes, a cordless screwdriver might be handy.
The wiring was insanely simple. I have a forced hot-water boiler with no fan, so the green wire was already unused. I just had the red and white wires to deal with. The fact that the Nest base had labels identical to my original thermostat labels made sliding the wires into the right terminals very easy (just press your finger down on the edge-button to open the wire-gripper to slide the wire in).
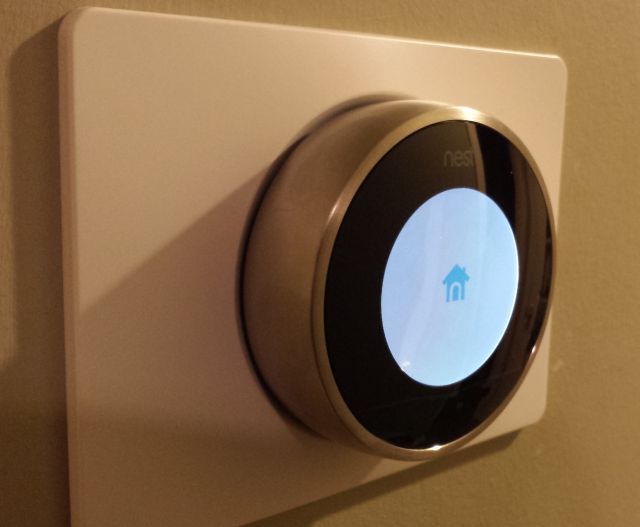
Once that was done, I snapped the Nest itself in place over the base, turned on all of the power again, and just like that, the thermostat came to life, featuring the picture of a house on the screen.
It took a few moments for me to realize how to navigate the screens. You need to turn the metal edge of the Nest to make selections, and press on the bottom edge of the unit to make your choice.
The first thing you'll need to do is select your Wi-Fi network and enter in your security passcode for the network.
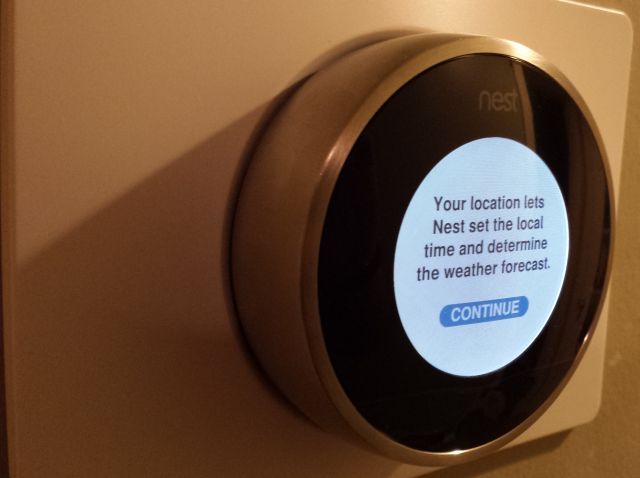
Your next order of business is to set your location to city and state.
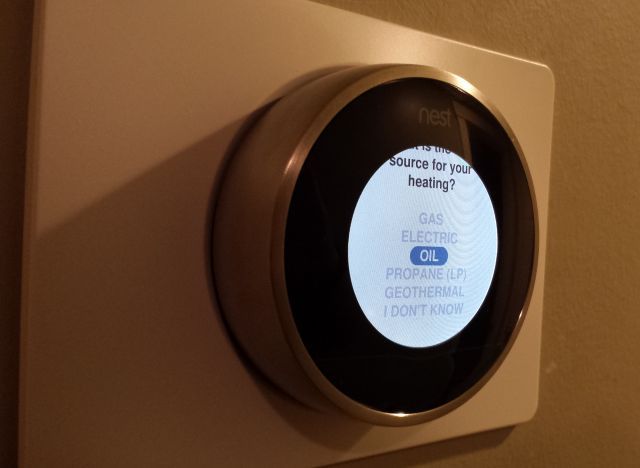
Then, you'll need to let the Nest know what your heating fuel is. The Nest is capable of optimizing your gas, electric, oil or propane or even geothermal heating system.
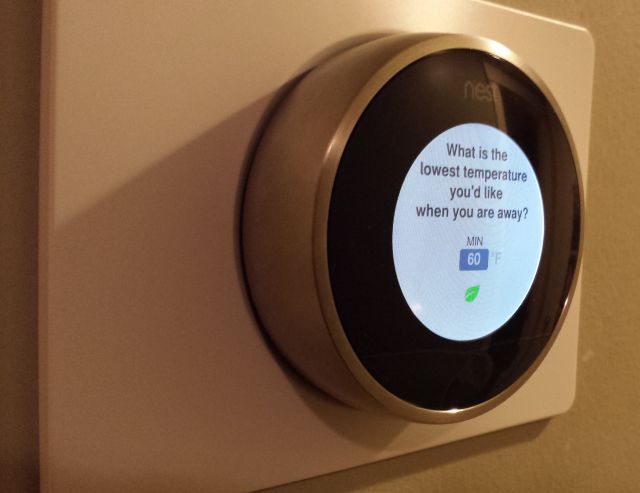
Finally, you'll need to set the energy-saving temperature you'd like the Nest to use whenever it determines that you're currently away from home.
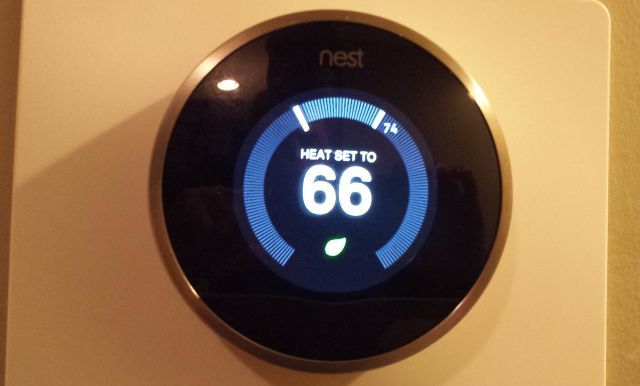
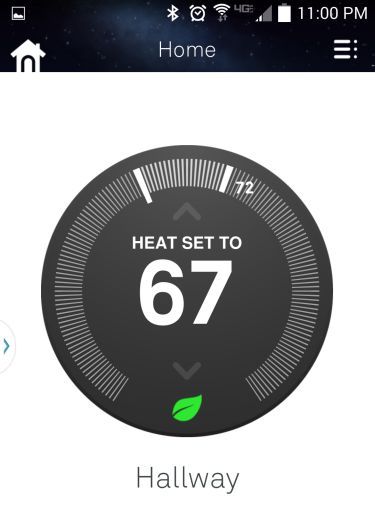
Finally, the main screen appears, with the current temperature setpoint in the middle of the screen, and your home's current temperature displayed in the graph above. Turn the dial to adjust the temperature, and you'll see the difference between the two appear in light-blue.
That's all there is to it! Now that your new Nest thermostat is set and communicating with the Internet, it's time to have some real fun.
Monitoring from the Web
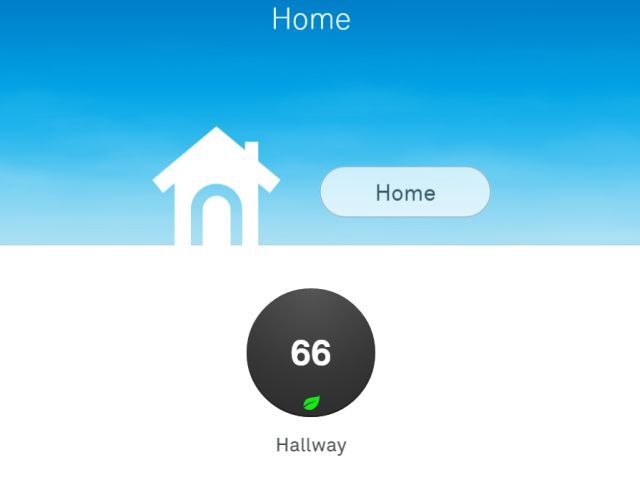
Once you set up your account with Nest, you can just go to the Nest website to get access to your thermostat. Keep in mind that you can access this dashboard from anywhere in the world.
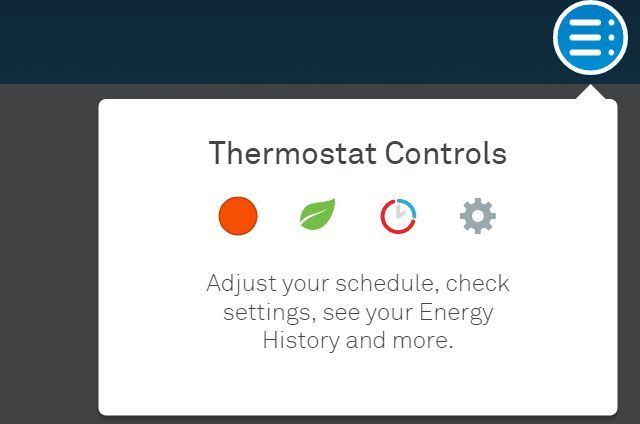
You'll see the device as a small icon. If you own any other Nest devices, you'll also see them listed on this dashboard. Click on the icon to see the Unit's main screen, with the control menu to the right.
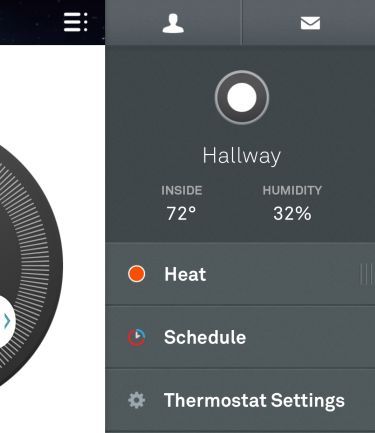
The control menu on this web page looks identical to the mobile app, and it shows you the current temperature and humidity in your home, as well as options to adjust the thermostat's heating schedule, check current settings in the unit, or look through how much energy you've been using over time.
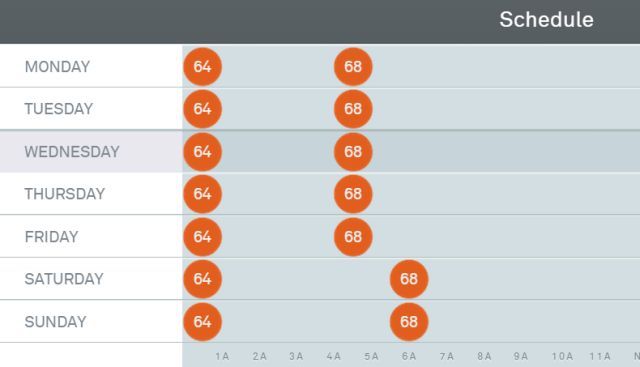
The heating schedule was what I got most excited about from day one. Finally, I could configure my thermostat to turn way down late at night when everyone was asleep, and then turn back up to room temperature about an hour before everyone typically starts getting out of bed.
The cool thing here is that you can configure this schedule both from the web page as well as from the mobile app.
Nest Mobile App
You can download the Nest Home app at Google Play or iTunes Store.
Honestly, there is something a bit surreal about being able to look at your phone and see the current temperature inside your home, and being able to adjust that temperature whenever.
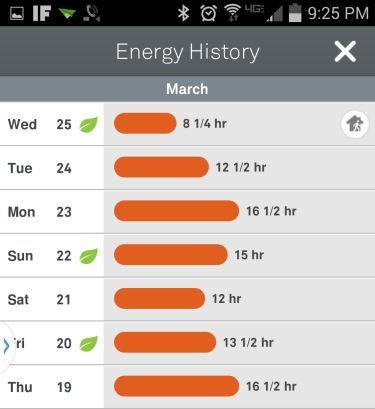
The mobile app is just about as functional as the web page, you can even review your energy usage history to make sure that you're on track with the energy savings you wanted to accomplish with the Nest.
One thing the energy history showed me is just how much less energy was used when the unit adjusted - either through "away" mode or manually from my phone - while no one was at home during the day. In many cases, we used nearly half the energy than we used to, which will surely translate to some very big dollars over time.
Cool Nest Automations
It's cool enough that you can set a schedule for your thermostat, and that it's smart enough to learn your patterns and start automatically adjusting your home temperature when you're away, but what's even cooler is what you can accomplish with the third-party automation service known as IFTTT.
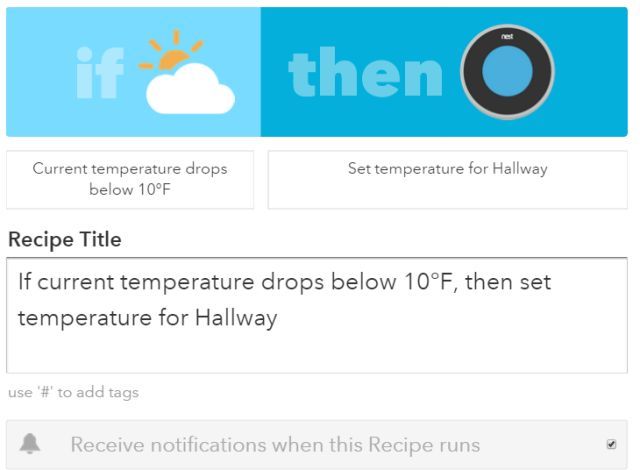
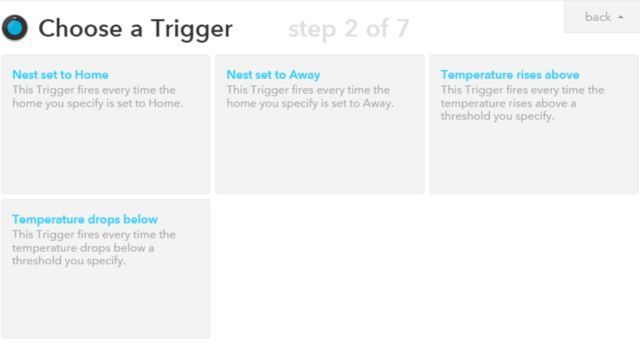
The Nest thermostat is available in IFTTT, with both triggers and actions. For example, using IFTTT, I was able to tell it that if the outside temperature (delivered by IFTTT's whether channel) goes below 10 degrees F, it should just crank the heat slightly above room temperature to make sure the house doesn't get dangerously cold.
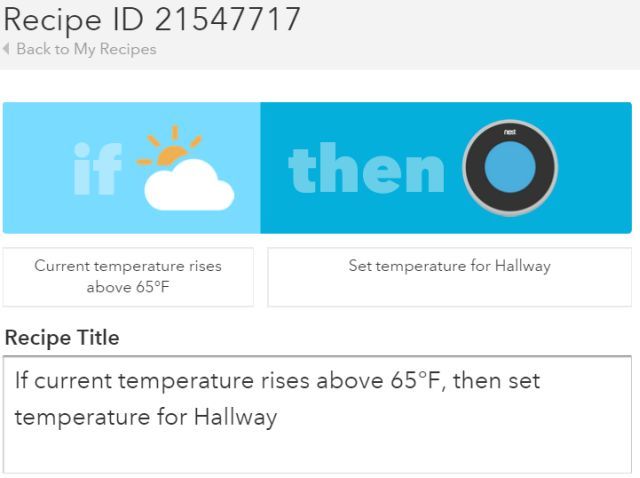
At the same time, when spring comes and we start having days where the temps reach into the high 60s, I don't want to have to remember to keep turning down my thermostat. Instead, you can have IFTTT remember for you.
You can also use the Nest's measurement of your current home temperature to trigger other IFTTT automation, which is an automation that is only limited by your imagination.
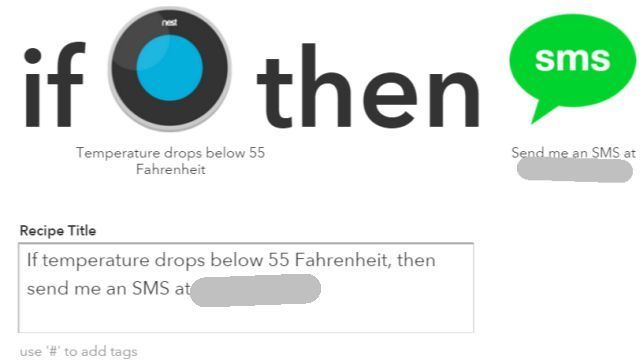
For example, why not send yourself an SMS when the house temperature drops below a dangerous level, signaling that there's either something wrong with your boiler, or you've run out of fuel?
And just imagine all of the cool stuff you could do with the Home and Away triggers, using your Nest as a trigger for some really fun automation that has nothing at all to do with temperature. You could even use it to control other smart devices in your home!
We'll get to some more cool home automation you can do with your Nest thermostat in later articles, but for now you should have enough information to make the smart decision and buy yourself or someone else a smart thermostat (which is why it was featured on our 2014 smart home gift guide). In just a week of using it, we cut our energy consumption in half. At that rate, the unit will more than pay for itself in a short time.
Do you own a Nest thermostat? What has your experience been with it? Are you thinking of getting one but have some concerns? Share your thoughts and opinions in the comments section below!
Image Credits: Heating thermostat Via Shutterstock

