Kodi is probably the world's most flexible and customizable media center. Once known as XBMC (and the copyright-infringing Xbox Media Center before that), the project has matured gracefully over the years to reach version 17.
Unfortunately, Kodi is so expansive and open that Apple won't allow it on the tvOS App Store. That means if you want Kodi on your Apple TV, you'll have to put in some effort installing and maintaining it. Today we'll look at how to do that and whether it's really worth it.
What Is Kodi?
We've covered Kodi extensively in the past, including an A-to-Z of Kodi, how to stay on the right side of the law while streaming with Kodi, and which device is best to use when picking a streaming box. If you're brand new to the world of Kodi then be sure to check out our guide for newbies.

Assuming you've read all that (of course you did), you'll know that Kodi is a free and open source media center for the playback of local, networked, and online media. The app itself is content-less but provides the ability to index content by type (or you can opt for plain old file tree access if databases aren't your thing).
You can map network shares, install official and unofficial add-ons, listen to radio, and even get the weather if you want. Nestled among the features are things Apple isn't too pleased about (notably third party addons, many of which violate App Store terms and conditions). This is why you'll need to take matters into your own hands if you want to install it on your Apple TV.
The Problem With Kodi on tvOS
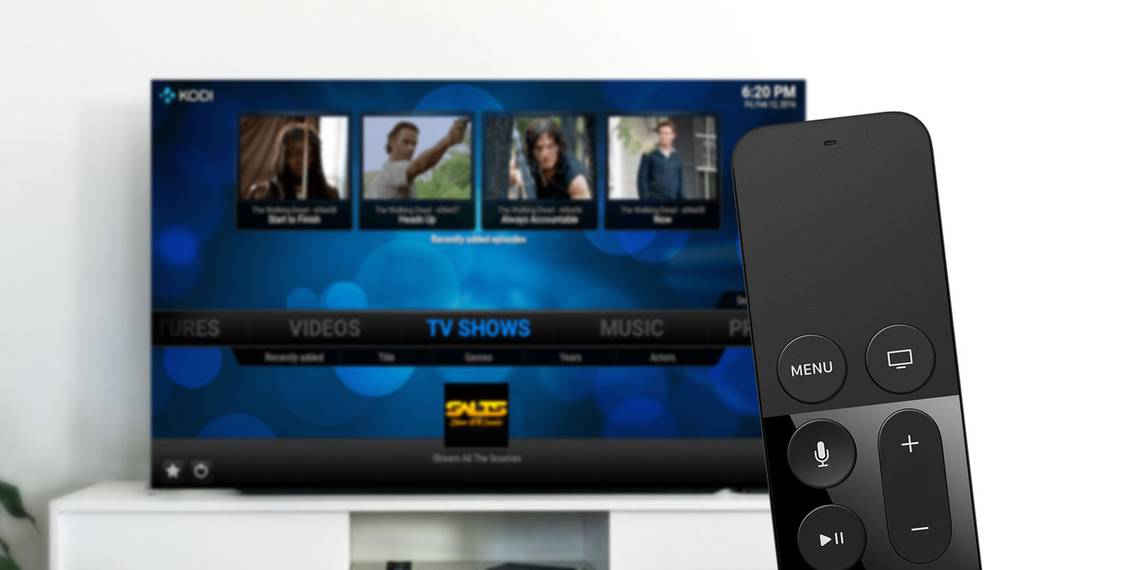
For the most part, Kodi on tvOS functions perfectly. You can add media locations of your choice, including local storage, networked (NFS) drives, UPnP shares, SMB shares (from Windows), or compatible network locations. Due to the way disk space is handled (files are purged when space is required), you'll be limited in terms of what you can do with local storage

Add-ons work, and you can add third-party repositories to install any manner of legally dubious extensions (you have been warned). You can install custom skins, and change the look and behavior of Kodi to suit your personal preferences. You may have some issues with the PVR section, but others have reported success. I encountered crashes and stability problems when I tried.
The biggest drawback (and it's pretty big) is that you'll likely have to reinstall Kodi every seven days unless you have a paid Apple Developer account and you're competent with Xcode. If you create iOS apps for a living then you probably don't need this guide -- just sign the app yourself, install locally, and you're good to go. For the rest of us, Kodi requires constant work to keep running.

The biggest issue here is having to set up Kodi each time you reinstall, since your settings are not saved. I couldn't find any option to export Kodi's settings, network sources, addons and skins in one easy-to-deploy package. You can at least use your iOS device for typing, which makes inputting URLs and IP addresses a little easier.
If you're using Kodi to access a specific add-on, or your chosen streaming solution is incompatible with tvOS natively. You might find this reason enough to keep Kodi around. Once you've created a package the installation is pretty straightforward, whether you're using Mac or Windows.

Another consideration is that the user base for Kodi on the Apple TV is so small that future versions may not be ported. It's very unlikely we'll ever see "official" releases on the Download page either. This isn't a huge issue since the currently-supported version is both current and stable, but it's worth keeping in mind if you're thinking about a long-term media center solution.
Installing Kodi on an Apple TV
There are two ways to install Kodi. One involves using Xcode to sign the app yourself and the other uses a third-party app called Cydia Impactor. I spent a long while studying various guides and support threads for the Xcode method, but had no success.
Many others reported similar problems, internal API errors, and most of the guides don't mention the seven-day rule. For that reason, we'll be installing with Cydia Impactor since it was straightforward and successful.
A Word About Security and Warranty
Cydia Impactor isn't an official Apple product. Impactor was developed by Saurik, who is also responsible for the Cydia app store for jailbroken devices. As such, there's a degree of risk involved when installing any apps using Impactor.
While these risks are minimal, this process will likely affect your warranty if Apple finds out about it. It's best to delete the Kodi app before taking your device back for warranty purposes, put it that way. There's also one other security concern: the handling of your Apple ID credentials.

Impactor needs to talk to Apple in order to sign the app you are installing, which requires valid Apple ID credentials. Since you'll be handing the keys to your account over to a very unofficial app, you might want to use a dummy account to be on the safe side (I did).
Fortunately, it's pretty easy to create an alternative Apple ID for this purpose. Head to the Apple ID website, register, then on your Apple TV head to Settings > Accounts > iTunes and App Store > Add New Apple ID and sign in. Since tvOS has support for multiple Apple IDs, you won't even need to log out of your main account.
Note: You'll need a USB-C cable you can use on your Mac or Windows computer, most likely a USB-C-to-USB-A cable like this one. The latest Apple TV only has a USB-C input, just like the new MacBook Pro.
- Download Kodi for tvOS (pick the latest release) and Cydia Impactor for Mac or Windows.
- Extract the DEB file you just downloaded (Mac users can grab The Unarchiver, Windows users can grab 7-Zip).
- You'll now have a "data.tar" file, which you'll also need to extract using the same tools.
- Once you've done that open the "data" folder, then "Applications" where you'll find a file called Kodi.app.
- Create a new folder called "Payload" (with capitalization) and place the Kodi.app file inside it.
-
Now you'll need to archive that "Payload" folder to create an IPA file that Apple TV can use:
- On Mac: Right-click (or two-finger click) the "Payload" folder and choose Compress "Payload". You'll get a ZIP file -- select it, hit Enter and change the .ZIP extension to .IPA. Give it a relevant name like Kodi.IPA.
- On Windows: Right-click the folder and choose 7-Zip > Add to archive... and in the window that appears make sure "Archive format" is set to ZIP and name the resulting file Kodi.IPA.
- Now it's time to connect your Apple TV to your computer using a USB-C cable, and make sure it's turned on.
- Launch Cydia Impactor and you should see your Apple TV listed in the drop-down menu -- if you don't, check you're connected and that your Apple TV is switched on. You could also try a different USB port, or restart your computer if you're having trouble.
- With the Apple TV selected, click and drag the Kodi.IPA file you created into the Cydia Impactor window.
- When prompted, input your Apple ID credentials (see our security note above).
- Wait for the installation to complete, and keep an eye on your Apple TV dashboard for the Kodi app to show up.

You might receive an error when Impactor has finished the installation, like I did, but it didn't stop Kodi from installing or working perfectly on the Apple TV.
Same Time Next Week?
Remember, you'll need to repeat the installation procedure every seven days since the app will stop working. Fortunately you'll only need to repeat steps 7 through 11 (assuming there's no new version of Kodi you want to upgrade to).
Check out our extensive Apple TV setup and user guide to learn what else tvOS can do. We've also shown how to use your Apple TV without a remote if you lost yours.