If you're not using IFTTT, you're seriously missing out. If This Then That allows you to combine different services with your own custom logic. You define what should happen when a condition is met. For example: if an RSS feed updates, send an email. If the traffic is bad, wake you up early.
The potential uses for IFTTT are endless. But until now, it's been difficult to interface it with your own hardware projects. Today, that's all changed.
Meet Your Maker (Channel)
Channels are the fundamental building blocks of IFTTT. They represent web services that provide data sources or even physical devices like fitness wearables.
There are well over 200 channels available, and they're a diverse bunch, ranging from Android battery statuses, to RSS feeds, as well as content from publishers like BuzzFeed and the New York Times. Now, they've added the Maker Channel.
This allows you to build recipes that use data from projects you've personally built, which can then be used to trigger actions elsewhere. Whether that's from your Arduino-based alarm system, or from your Raspberry Pi powered motion tracker – or your own web project. Anything, really.
It's also bi-directional too. You can send messages to your projects straight from IFTTT.
So, for example, you could have an LED companion cube that flashes when you receive an email, or an automated laser turret that shoots a beam of light whenever BuzzFeed posts a new article.
The possibilities are endless.
One of my favorite things about IFTTT is the fact that many people choose to share their recipes with the public, for free. There are thousands of IFTTT recipes, ripe for the taking. This is ideal if you're looking for some inspiration for a project. At the time of writing, there are hundreds of example recipes available for your perusal at hackster.io.
Getting Started
There are some key differences with how recipes are built with the Maker Channel compared to other channels. But that shouldn't deter you.
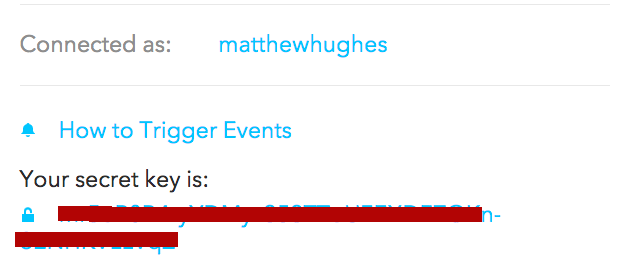
First, when you sign up for the makers channel, you're given a secret key. This string of characters is what identifies you to the IFTTT servers. Given that you're going to be using this with real-world IoT (Internet of Things) devices in your home, you should take good care of this. Don't share it, and keep it in a safe place.
Once you're all signed-up, you're going to want to start incorporating it into your projects. Using it is simply a matter of using GET and POST requests. These are an open web technology, meaning you're not just limited to using it with Arduino and Raspberry Pi. You can also use it with anything that supports HTTP, like the Tessel board, the .Net Gadgeteer, and even standard web applications.
If you're using Arduino, the official documentation will tell you everything you need to know about making HTTP requests. But if you're using Raspberry Pi, you've got a lot of choices when it comes to how you use it. You could use Curl, but if you're using Python, you can use the delightfully simple to use Requests library.
Creating Your Recipe
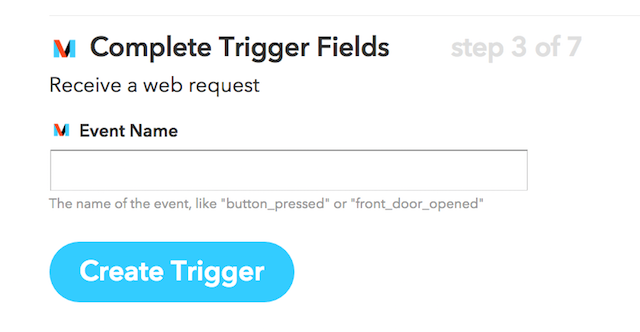
So, let's start off by making our recipe. This is actually surprisingly simple. First, create a new recipe using the Maker channel. Then, you'll be prompted to define an event name that triggers this recipe (like "button_pressed", or "motion_made"). If you plan on having lots of custom events, make sure they aren't too generic.
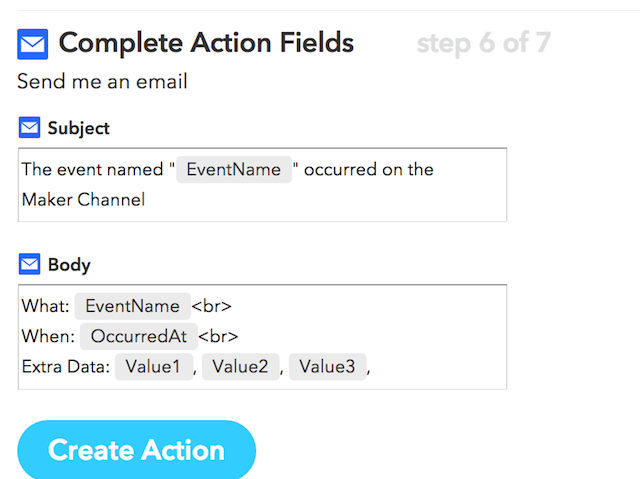
Then, move on to defining what you want to happen when an event happens.
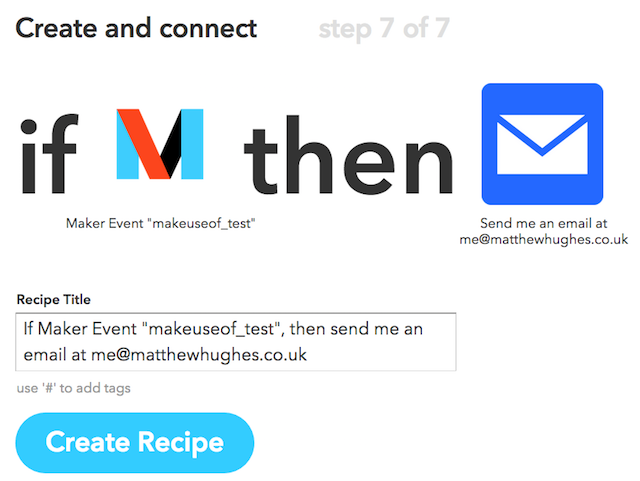
I decided to send myself an email alert.
If it all looks good, press "Create Recipe". Then you're ready to start using the IFTTT Makers Channel.
Triggering Events
Communicating with your recipe is easy. You simply need send a special POST or GET request to the following URL.
https://maker.ifttt.com/trigger/{event}/with/key/{secret_key}
Here, we've got a couple of variables in curly braces. Event is simply the event name, and secret_key is your secret key. If you were to call this in Curl, you'd be looking at something like this.
$ curl -X POST https://maker.ifttt.com/trigger/MakeUseOf_IFTTT_Test/with/key/{secret_key}
With Python's Requests Library, this is even simpler.
        import requests
requests.post("https://maker.ifttt.com/trigger/MakeUseOf_Test/with/key/{secret_key}")
Including Payloads
When triggering IFTTT, you can also include include up to three variables, which can then be used in your recipes. These are stored as a JSON object (What is JSON?). Here's how you'd include three variables in Curl:
curl -X POST -H "Content-Type: application/json" -d '{"value1":"test","value2":"test","value3":"test"}' https://maker.ifttt.com/trigger/{event}/with/key/{secret_key}
And in Python:
        import requests
payload = "{ 'value1' : 'hello', 'value2' : 'hello', 'value3' : 'hello'}" requests.post("https://maker.ifttt.com/trigger/MakeUseOf_Test/with/key/{secret_key}", data=payload)
Note that the variable names ("value1", "value2", "value3") are fixed; you can only include up to three variables, and they must be named like that.
Inbound Traffic
As previously mentioned, IFTTT's Makers Channel is bi-directional. Not only can it receive messages and triggers, but it can also send them.
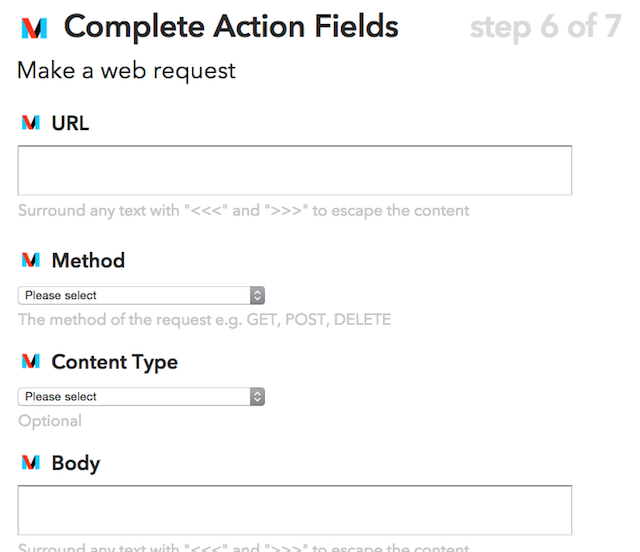
This shouldn't be too difficult. You just need to set up an endpoint, and provide IFTTT with the URL for it. You can also specify the body of the content sent to that URL, as well as the type of request sent.
This means that you can use the Makers Channel with an application you've hosted on the cloud (for example, on a Virtual Private Server). If you're fortunate enough to have a static IP, or have a dynamic DNS service like DynDNS, you could feasibly use it at home with your own creations.
If you go down the path of using a VPS, both Digital Ocean and Linode come highly recommended.
IFTTT Your Smart Home
It's probably worth noting that this isn't IFTTT's first foray into the Internet of Things. They already support an expansive range of Smart Home devices, ranging from the Nest Protect, to the Philips Hue lightbulb, and everything in between.
But this marks the first time where developers can easily integrate their own creations with IFTTT. And that, to me, is really damn cool.
Do more with IFTTT and your mobile device. Here's how to automate your Android phone with IFTTT and use IFTTT applets with advanced filters.

