A few weeks ago, I installed Ubuntu 10.04 on a spare partition. I'd dabbled with Linux before, mainly through a Knoppix Live CD many moons ago but working at MakeUseOf, it's often hard to ignore some of the great articles aimed at Linux users and these ultimately made Ubuntu quite an attractive proposition. That, and I could install it through Windows, reboot and enjoy!
One thing I that constantly had me rebooting into Windows was the lack of Photoshop. As a photographer and MakeUseOf staff writer I use this program pretty much daily, and I can tell you now I'm not much of a fan of The GIMP - or GIMPShop. We just don't get on.
So imagine my delight when I found out the popular WINE compatibility layer that supports Windows applications in Linux works very well with the latest and greatest edition of Adobe's image editing suite!
Prepare Wine for Ubuntu
Just so we're clear this is a tutorial to install the stand-alone version of Photoshop (rather than the full CS5 Master Collection). You're going to need either a trial version which you can get straight from Adobe, or the version you've already purchased. It is worth mentioning that a non-Adobe approved "portable" version of Photoshop exists and works on Linux, though I'm not going to tell you any more about it.
This install should work on derivatives of Ubuntu, so if you're running Kubuntu or Xubuntu proceed as normal.
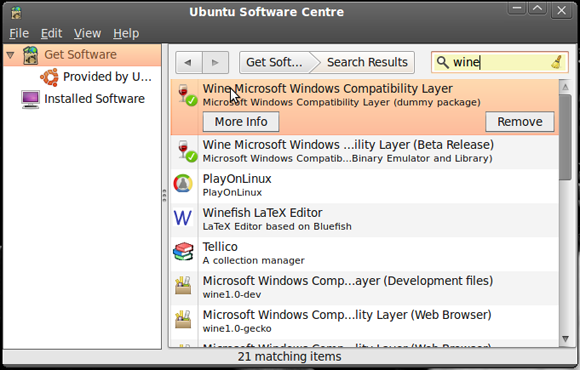
Armed with your chosen copy of Photoshop, head over to the Ubuntu Software Centre and search for "wine". The top result is usually "Wine Microsoft Windows Compatability Layer" and it's that one you'll want to install.
Once you've done that you're going to need to get winetricks, and the easiest way to do this is via the Terminal. Open a new Terminal window (Applications, Accessories then Terminal) and type in:
wget http://www.kegel.com/wine/winetricks
If you are briefed for a password at any point whilst using the Terminal, simply enter your user password (it won't show up when you type) and hit Enter. Once you've downloaded winetricks, install it with the following command:
sh winetricks msxml6 gdiplus gecko vcrun2005
Lastly, you'll need some core Microsoft fonts to get Photoshop working -- so in the Terminal window you still have open, enter the following:
sudo apt-get install msttcorefonts
Good, now you can close the window as you won't need the Terminal any more.
Installing Photoshop
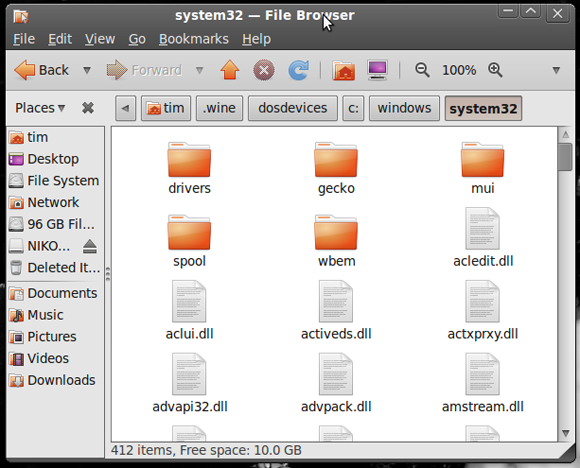
It's best to familiarise yourself with Wine a bit, so go to Applications then Wine and notice you have your very own virtual C: drive. Open her up (Browse C: Drive) and navigate your way to C:\Windows\System32. You're going to need to place two DLL files into this folder: msvcr80.dll and atmlib.dll.
Once this is done, you simply need to run the Photoshop executable installer, sit back and install much in exactly the same way you would on Windows. You may need to specify the directory in which to install the program (something like C:\Program Files\Photoshop will do).
If you check the "Run Photoshop CS5" box at the end of the installer, you will hopefully see Adobe's premier image editing suite spring into action.
One final thing you'll want to do is create a shortcut (or "launcher" as they're known on Ubuntu). Right-click on your desktop and choose Create Launcher. In the command box, enter: wine "<path>" (with quotes) where "<path>" is the location of your Photoshop installation. You should end up with something like: wine "C:\\Program Files\\Photoshop\\PhotoshopCS5.exe" - call it what you want, add a fancy icon and use it in future to launch Photoshop.
Congratulations, you can now spend hours editing and tweaking photos in Photoshop within Linux. Smart huh?
Do you use Ubuntu? Do you find The GIMP to be a worthy replacement for Photoshop? Is official support for Photoshop within Linux your wildest dream? Get it all off your chest in the comments below.


