If you're serious about music and above a certain age, chances are you have a sizable library of CDs. The problem is these take up a considerable amount of space. They also mean you need a CD player in order to play them.
Since music on CDs is digital anyway, there's no reason not to back them up to your computer and store the physical discs away.
If you're not sure how to rip a CD to MP3 with track names and other info, it's easy to do and won't cost you a dime.
Getting Set Up to Rip CDs With Metadata
You'll find plenty of software to rip CDs with track names included. These range from simple software like Windows Media Player to power user apps like Exact Audio Copy.
For this tutorial, we're going to use CDex, a CD ripper with album info support. This app is free and offers a nice balance of power and features.
To get started, download CDex from the project website. When you run the installer, you need to be careful to uncheck the box that opts you into installing additional software.
This also communicates information about your system to these companies, so you really want to avoid this.

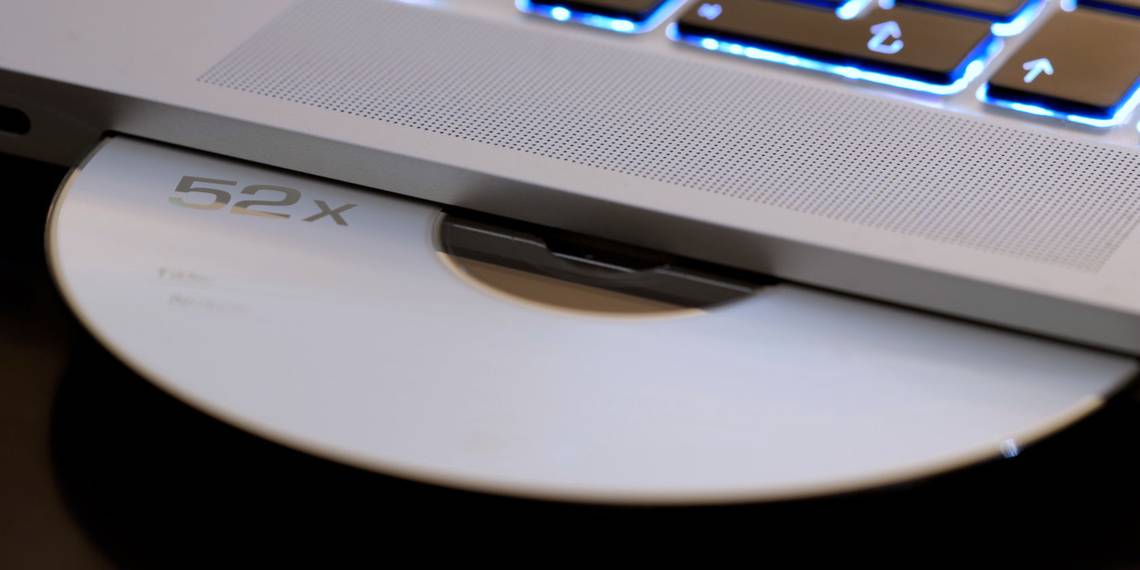
Insert your CD into the CD drive of your computer and within seconds, you'll see the music files appear. In most cases, they won't have any song titles or other metadata.
To get this, you'll need to use Freedb, which CDex supports. All you need to do is go to the Options menu, then go to the Remote freedb section and enter your email address.
You don't need an account, nor will you ever need to verify this email. Use a fake email address if you're concerned about your privacy. This won't interfere with the ability of the app to retrieve artist-related metadata.

While you are in the settings, go to the Directories & Files section. Here you can specify where you would like the ripped music files to go in your computer.
By default, ripped files will go to
C:\Users\YOUUSERNAME\Music
. You can select somewhere else if you prefer. In addition, you can also tweak how the filenames are generated if you're particular.
How to Rip CDs to MP3 With Track Names Included
Now that CDex is set up to get CD track names from Freedb, you're ready to get started.
Go to CDDB in the top toolbar and in the dropdown menu choose "Read Remote CDDB". After a few seconds or so, after the app connects to the database and looks up the names, you should now see all your files renamed properly.

Now all that's left to do is rip the files. The various options are listed on the right-hand side of the app. The first option rips your music to WAV files and the second option rips to MP3 files.
Choose the MP3 option and it will begin ripping to the directory you specified in settings.

Once the process is finished, you can check the files in whichever music app for Windows you prefer.
Fixing Your Metadata
Most of the time, CDex will rip your CD with metadata without any errors. However, there are times when some of this won't be quite right.
Have you ever seen a single album displayed as multiple albums with just a few songs each in your music player of choice?
This is the sort of problem you may run into. Fortunately, you don't have to live with this.
MusicBrainz Picard is a free, open-source app that can fix your metadata for you. If your newly ripped CDs have a typo in the artist name, Picard can fix that. Similarly, if a recording is labeled "blues" instead of "blues rock," it can fix that for you as well.
Head to the MusicBrainz Picard website to download the installer. Once the app is installed, launch it, and you'll see a two-pane interface. Drag your files into the left pane. After the files have loaded, you have a few options.
Click the Lookup button at the top of the screen to attempt to use the MusicBrainz service to identify the songs.
If this doesn't work, try the Scan button, which uses AcoustID to use the track audio to fingerprint the file. You should see the songs start to move from the left pane to the right.

Picard often gets the CD track names and other metadata just right, but you might need to manually intervene.
For example, if a CD is displayed as multiple albums, you might need to right click and select the right edition. When in doubt, double check the back of the CD to see if it matches.
You may never even need to use Picard, but if you like to micromanage your music library, it can be your best friend.
What About Playing Your Music Back?
There are countless music apps available for Windows. To determine which is best for you, think about everything you might ever want to play. For example, if you have hi-res files in addition to MP3s, opt for a Windows music player that supports hi-res files. Any of these will still play your MP3 files, but they'll also play a wide range of other files.
You also need to think about where you want to listen to your music. If you use your phone, make sure you have a big enough SD card to fit all your files. That said, you may want to hear your music from a variety of devices without copying files to all of them.
Numerous music servers are available that can help you do this, but Plex is a great option. The Plex Media Server will serve up your music but it can handle video as well. Even better, you probably don't need to buy new hardware, since you might already own a device perfect for making into a Plex server.