Unlike with past consoles, you can remap the buttons on your Xbox One controller, giving you further control over your gaming experience.
However, changing the buttons on the controller isn't as easy as going to the Settings app. Nope, Microsoft decided to make things a little more difficult. Don't worry, though, because the process isn't too painful.
Change the Button Mappings on Your Xbox One Controller
Changing the button mappings on your Xbox One controller is really simple and can be done in just a few steps.
- Launch the Xbox Accessories app. If you can't find it, go to Settings > Devices & connections > Accessories and press A to open it.
- Press Configure.
- Press New profile, give it a name then press Menu.
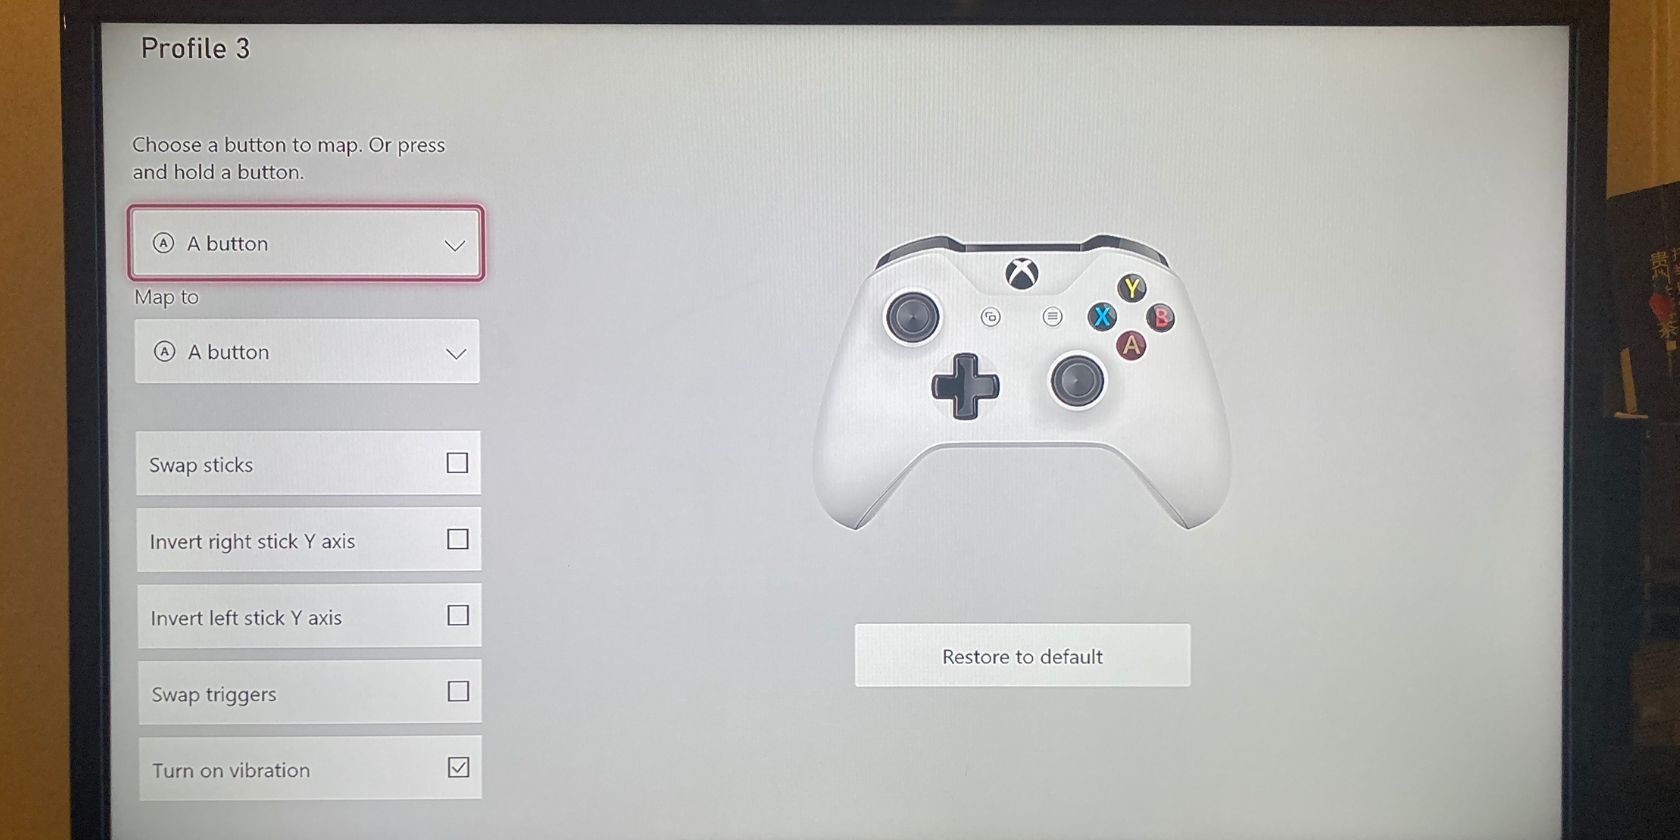
- You can now map any of the buttons in any way you see fit. When you are done, press B and it'll autosave. Make sure you're using the new profile you created so that the button mappings work correctly.
You should now have mapped your controller to the way that you want. On that same page, you can also swap sticks and triggers, invert the right/left stick Y axis, and turn vibration on/off.
There are further customizations you can make if you are using an Elite controller due to the additional triggers it has on the back. Make sure you check out how to connect and sync an Xbox One controller if you're having trouble connecting one to your console.
Game Your Way With Customized Button Mappings
Having customizable button mappings is a great way to ensure that you're in control of the way you play. Being forced into playing in a standardized way is unlikely to give you much success when playing online, which could put you off.
Luckily, Xbox is really liberal when it comes to Xbox One customizability and functionality with other platforms.

.jpg)
