Mac OS X isn't the hotbed of gaming and emulator action many of us wish it was, but the hardware inside your iMac or MacBook is more than capable of running classic coin-op games. It's not necessarily an easy process, in fact it's rather fiddly to tell the truth, but with the right software and some patience you can enjoy the classics on OS X.
You can even bring your gamepad or joystick along for the ride too!
Download & Install Everything
This shouldn't come as a surprise to you, but your Mac needs a few extra bits of software in order to play classic arcade games. The software we'll be primarily focusing on here is MAME (Multiple Arcade Machine Emulator), but the technique works for MESS (Multiple Emulator Super System) and UME (Universal Machine Emulator) too.
MAME is software without an interface, so in order to use MAME comfortably in a way that doesn't require you type lines of code into Terminal you'll need to get a front-end. After an exhaustive look at what's on offer, I've decided that QMC2 is one of the best front ends available (it works for a starter, which is more than can be said for many others I tried). It's not perfect (as you'll discover) but it does work, albeit with little grace and some stop-start action.

We'll be using a variant of MAME called SDLMAME which uses a framework called Simple DirectMedia Layer. For this reason in order to use SDLMAME, you'll first need to install SDL. QMC2 only requires you install version 1.21 which you can find and download here. For modern Mac OS X (think 10.5 or later), you'll only want the runtime libraries in a file called SDL-1.2.15.dmg.
Once you've downloaded the runtime, open Finder, navigate to Library > Frameworks and drag the SDL.Framework folder into your Mac's Frameworks folder. You'll know you've done it right when OS X asks you to authenticate the transfer by inputting your password.

Next, head over to the SDLMAME homepage and download a version that's relevant to your Mac (if it's a relatively new Mac built in the last few years, it'll be a 64bit download you need). If you want, grab SDLMESS while you're there for additional emulator support should you want it. Finally you can head to the QMC2 download page and download the Mac OS X binary for Intel machines.
The download weighs in at around 100MB, and once complete you can launch and mount the .DMG and run QMC2.mkpg which will install the front-end to your Mac's applications folder. In total this will take around 300MB of space, and once complete you will find several applications under "QMC2" in your Mac's Applications folder. Now might be a good time to extract that version of SDLMAME (and SDLMESS, if using) you downloaded and place it in the same folder as QMC2, for ease.
Setup, Preferences & ROMs
To begin setting up MAME, run the qmc2-sdlmame.app application in your QMC2 folder. You will see a screen like the one below, asking you for a few credentials. The only things you need to enter here are the path to the SDLMAME executable you downloaded earlier (which is why putting it in your QMC2 folder is so useful) and a path to your ROMs.

A word about ROMs: Aside from the obvious "no I won't tell you where to get them, don't you know piracy is illegal?" spiel, you should know that all your ROMs need to be in the same folder. After scratching my head for 15 minutes I realised that QMC2 couldn't see ROMs that aren't in one single "flat" folder.

Once you've added this information hit OK and the front-end will launch. Marvel at its odd ellipses and higgledy-piggledy elements! You might need to make the window larger to read much of the text, at least that was the case when I first launched it. To the left you will see a list of games that you (probably) don't yet have, so you'll need to use Tools > Check ROMs to scan the folder you assigned earlier.

One additional step you might want to take is to turn off the catalogue entries that you don't have, which QMC2 bizarrely doesn't do by default. Once you've scanned for ROMs (and only once this process has finished) head to Tools > Options > Front End > Game List and under ROM State Filter deselect the grey and blue dots.

This will hide unknown or missing ROMs from your collection, leaving only green, yellow and red ticks to denote present or incomplete ROM sets. It's also recommended that you turn off the Show Device Sets option, which will then hide non-playable ROMs too.
If you'd like to use MESS to emulate home consoles and portables, simply follow these instructions except run the qmc2-sdlmess.app application and select the MESS executable and ROM path when prompted.
Things I Have Noticed
I've noticed a few quirks to SDLMAME and QMC2, and spent quite a while trying to work out where I was going wrong with certain elements. One thing's for sure – this is not particularly stable or intuitive software to use. Things went wrong all the time while I was working much of this out.
I couldn't find a field for changing the ROM path, so if you happen to choose the wrong ROM path then it presents a bit of a problem. The only workaround I could find was to go to Tools > Options > Emulator > Files/Directories and click the Default button at the bottom to reset all paths. This will break the emulator and its front end, requiring a restart when you'll be asked to specify ROM and SDLMAME locations again.

Full screen display mode was not working as intended on my Retina MacBook Pro, cutting off half of the screen. As much as I played around, I couldn't get full screen working and so I found a solution in disabling the fullscreen variable and enabling the windowed variable under Tools > Options > Emulator > Global configuration > Video. I'm still not sure if this has anything to do with the Retina display, but this made the games playable.
Most games require you insert coin using the 5 key (for player 1) or 6 key (for player 2). You can then press 1 to start player 1, 2 to start player 2 and so on. MAME itself uses a menu system which can be toggled using the Tab key, use the arrow keys and Enter/Esc to navigate.

Joysticks are supported, but remapping can be hit and miss. I'd recommend a Logitech Dual Action gamepad (which works great with a Mac), but I also had joy getting an old Microsoft SideWinder joystick working too. You can configure this under Tools > Options > Front End > Enable Joystick Control.
Worth It?
Following these instructions, with the right amount of time and effort and (quite possibly above all else) a decent ROM collection, you should be able to comfortably play games using your Mac. I don't think I'd recommend it as an arcade build – there are better Windows solutions, and even Linux has a few purpose-built tools for the job – but it definitely works.
Let us know if you've found any better solutions for playing classic coin-op arcade games on your Mac. Is QMC2 the best front-end?
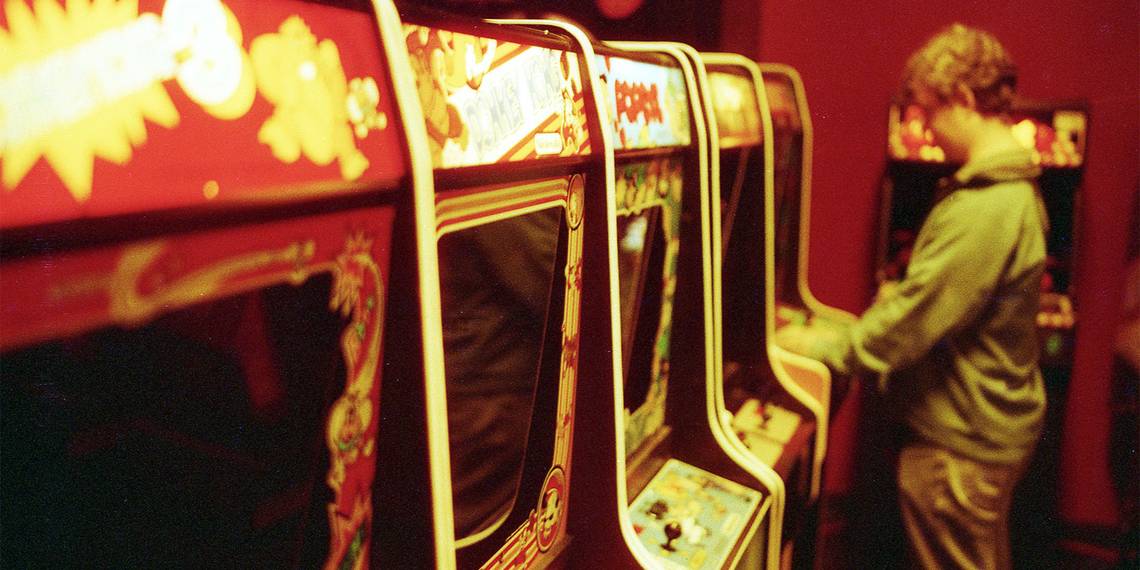
Image credit: Day 007/365 - Mike vs. Mario (Great Beyond)