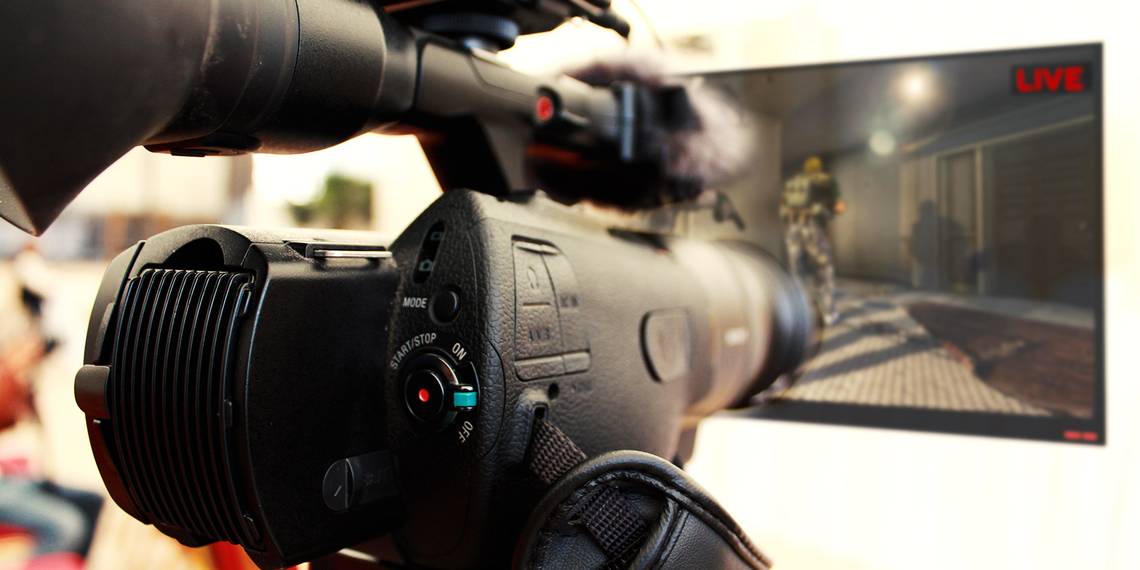
Live streams have become all the rage these days in the world of gaming, and with Open Broadcaster Software you can join in with your own streaming sessions for the world to watch. For traditional sports, you usually have to catch them at the proper time on whatever TV or radio station has the broadcasting rights, but for video games, you can watch them on demand. Twitch is the largest game broadcasting network in the world right now; wouldn't you like to get in on the action?
While there are plenty of alternative applications for streaming games, they all have their downsides. FFSplit can be somewhat complicated. XSplit costs money. Roxio ($99) and Wirecast ($495) cost LOTS of money (. OBS, on the other hand, is the latest streamer program to hit the scene and it’s powerful, easy to use, open source, and completely free. After 30 minutes of using it, OBS became my #1 recommended free game broadcaster software. Here’s how to get started with it.
Create A Twitch Account
First of all, before you can stream, you’re going to need to create an account with a streaming service. For gaming, I highly recommend Twitch, because it’s the most developed service (at the time of writing this article) and offers the widest audience. If for some reason you don’t want to use Twitch, you can try Livestream, Ustream, Hashd, or GameCreds.

Creating a Twitch account is extremely easy. On the top right section of their website, you’ll see a Sign Up button. Click it and a registration form will pop up. All you need to enter is a Twitch username (which will be the URL of your channel and the name that shows up whenever you participate in Twitch chat), a password, a birthday (for age-restricted channels), and your email address.

Now log into your account and visit your account’s broadcast page. Along the right, you’ll see a button labeled Show Key. Click it and you’ll see a long string of characters. You’ll need this key for later. Do NOT share this with ANYONE unless you trust them 100% because this is the key used to stream to your channel. If someone knows it, they can stream on your channel whenever they want. (I reset my key shortly after taking this screenshot. Do as I say, not as I do!)
Set Up Scenes and Sources

Now that you have Twitch set up, you need to download and install OBS. It’s the same process as downloading and installing any other program, so it should be straightforward. Once it’s installed, run it and you should see something similar to the screenshot above. Here’s a quick rundown of the interface elements:
- Scenes: At the bottom left, you’ll see a box titled Scenes. This is where you can manage all of the different Scenes that you want to have. A Scene is what gets transmitted as your video feed. Each is made up of different Sources and you can quickly switch between them using hotkeys.
- Sources: Under each Scene, you can have a bunch of different Sources. At the time of writing this article, there are 7 distinct options you can use: Window Capture, Game Capture, Monitor Capture, Video Capture Device, Image, Image Slideshow, and Text. You can freely place and resize Sources in the current Scene and they will layer according to their ordering.
- Controls: In the bottom right, you’ll see a few different buttons and controls for greater degree of control over your stream. The layout is simple and extremely newbie-friendly. I think it’s genius.
- Preview: Most of the screen estate for OBS is taken up by the preview. It automatically turns on when you begin streaming, but you can disable this feature in the options.
- Status: At the very bottom of the window, there is a status bar that shows how long your stream has been running, how many frames have been dropped since starting the stream (indicative of suboptimal settings), the stream’s framerate, and the upload rate.

To get started, right click in the Scenes box and select Add Scene. Name it whatever you want (for example, Dota 2 720p). Now right click in the Sources box and select Add, then Game Capture. A Game Capture source will take a direct feed from a game window. In this case, since I want to stream Dota 2, I’d select the Dota 2 game in the application dropdown menu.
Note: The game needs to be running before you can select it as a Source. If you don’t see it in the menu, run the game you want to stream and restart OBS.
Optimize Broadcast Settings
Once you have your Scene(s) set up, the last thing you need to do is optimize your stream settings. This is the hardest part because you need to find the right balance between quality and performance. There’s no point in having a beautiful stream if it lags, or on the flipside, there’s no point in having a fast stream if you can’t see what’s going on.

But before we go on, remember your stream key from Twitch? We’re going to set that up so your stream actually reaches the Twitch servers. Go to Settings in OBS, select the Broadcast Settings page, and look for the option labeled Streaming Service. Set it to Twitch / Justin.tv. And then look for Play Path/Stream Key and enter it key there. Done!
Now, let’s get around to optimizing your stream quality and performance. Here are the most important factors that you need to play around with:
- Resolution Capture: This is the resolution for your game. The higher your game resolution, the more data needs to be churned and broadcasted by your stream. Even if you can normally run a game flawlessly at 1080p, that DOES NOT mean you can stream at 1080p. The other factors in this list matter as well.
- Resolution Downscale: The downscale is the difference between your game resolution and that of the stream. If you play at 1080p, you can downscale the resolution to 720p and OBS will handle that conversion for you on the fly. In general, downscaling will help with stream lag.
- Framerate: This is the framerate of your stream, not your game. The optimal stream framerate is 60, but most gamers choose to stream at 30 because it’s less intensive on the CPU and network. Lower end computers should stream at a framerate of 24 or 20.
- Quality: This is a qualitative option that ranges from 1 to 10. You should play around with this setting as much as you can since it’s hard to say which one is best for you, but just remember that higher does not always mean better. My stream actually looks better with a quality of 6 than 8, for example.
- Bitrate: Bitrate is the amount of data that you can send per second through your network. The higher your bitrate, the more data is transmitted, thus resulting in clearer and smoother images. However, bitrate is limited by your actual Internet upload speed. Use Speedtest to find out your maximum. In general, you shouldn’t stream if your upload is below 1000 Kbps / 1 Mbps.
- Bitrate Buffer: All streams rely on a data buffer to prevent skipping and lagging. The general rule of thumb is that the buffer size should be anywhere between 1x and 2x the bitrate setting.

Fortunately, the OBS website actually has a tool called the Estimator. All you have to do is enter your computer’s processor, graphics card, the type of game you’re streaming, your upload speed, and game resolution. The Estimator will take that information and give you a good gauge of the optimal settings your computer can handle for streaming.
Conclusion
And there you go! If you’ve followed the steps outlined above, you should be able to click Start Streaming and everything in your current Scene will be broadcasted to whichever stream service you’re using (preferably Twitch). If you find that your stream quality isn’t good enough, feel free to play around with the various settings. Each computer is unique and only you can really figure out the best settings for yourself.
Are you streaming with OBS? Did this guide help you get everything up and running? Hit the comments section and let us know!