You’d have thought the world was coming to an end when James discovered that Windows Home Server – Microsoft’s $50 set-and-forget network storage solution – was being axed in favour of a far more expensive successor. Thankfully he soon discovered that all hope was not lost thanks to Amahi, a free Linux-based home server.
James’ original guide is getting on a bit now, having being written at the start of 2011. It focused entirely on using Fedora 12, but Amahi has now been ported to Ubuntu. Unlike James I don’t have any spare tower PCs lying around, and so I’m going to be resourceful and use whatever’s available to me - an old Dell laptop.
If you’ve been thinking about doing a spot of home improvement recently then why not start with your very own home server?
The Setup
Rather than Fedora 12 (or Fedora 14, or 16 which is the current supported version for Amahi) I’m going to be using Ubuntu. As an ex-Ubuntu user, I’m already familiar with the operating system’s UI, layout and some terminal commands. If you’re not at all versed in Linux then don’t worry too much, Ubuntu is a great choice for beginners as it aims to be as simple and easy to use as Linux gets. I’m going to be using version 12.04 LTS, which will be supported until at least April 2017 (LTS stands for long-term support).
The hardware I’ll be using is an old Dell laptop, a Studio 1537 to be exact, though I concede that it’s not necessarily the ideal machine for a server. Laptop storage isn’t very expandable, most people prefer old tower PCs as they provide plenty of space for extra hard drives. One benefit the laptop does have, however, is a battery which will act as an uninterruptible power supply (UPS) should the power fail.
Limitations and USB transfer speeds aside, the laptop is not being used for anything at all at the moment and so some use is better than no use at all. Ubuntu is also a good choice for this laptop, as if I ever need to “do” anything with it then there’s a usable Linux distro installed, ready to go. If you’re eyeing up your old PC as a potential Amahi home server, then make sure you’ve got the following specifications covered:
- 512MB or more of RAM
- A 1GHz 32-bit or 64-bit processor
- 4GB disk space (though you’ll want more for storage purposes)
Note: Amahi requires a clean Ubuntu install, and will not necessarily work with an existing Ubuntu install. It comes highly recommended that you format and reinstall the OS even if you have an existing Ubuntu machine you would like to use.
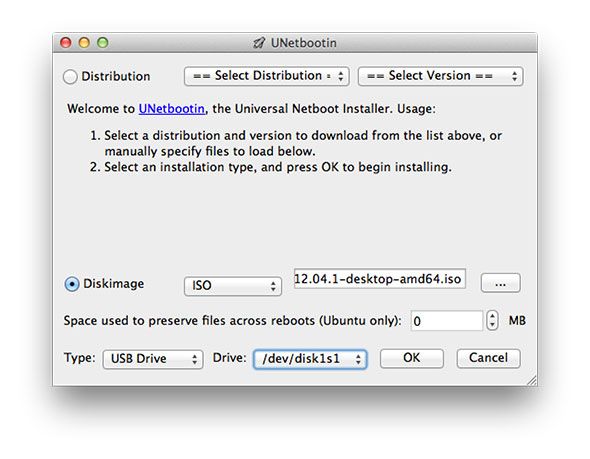
As I’m a Mac user, I downloaded an Ubuntu .ISO on my main OS X machine, then used UNetbootin to “burn” the image to a spare, 2GB USB stick. The program notified me that the disk would not be bootable on a Mac, which is something to bare in mind if you’re using an old Mac as a server (though not too old, Amahi doesn’t support PowerPC architecture). If you need to make a USB drive that will boot on a Mac, check out the Ubuntu documentation.
Once you’ve got your copy of Ubuntu ready you’re good to go, turn on your soon-to-be server and ensure that USB boot is enabled in your BIOS (see here for newer UEFI Windows 8 machine instructions).
Installing Ubuntu & Amahi
The first thing you see when you boot the USB stick is the UNetbootin bootloader, which gives you the choice of trying-out or installing Ubuntu as well as checking your disk for errors and a few other options. Choose Install Ubuntu and wait for the installation procedure to load. First choose your language and when prompted don’t worry about connecting to the Internet for updates as Amahi works best using the default install.
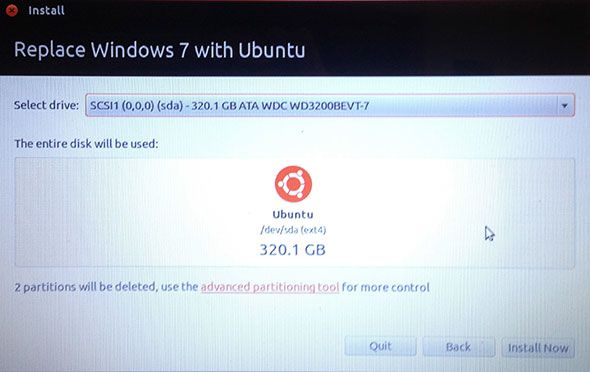
When asked how you’d like to install Ubuntu (either alongside an existing operating system, replacing the existing operating system or custom) choose either replace or custom. As your server will be left to its own devices for most of the time, dual-booting is pointless. I chose to use the whole available 320GB for my server, and for simplicity’s sake created just the one partition. Ubuntu will by default format this partition to EXT4, a Linux-native file system. Don’t worry about this, Amahi loves EXT4.
Add your timezone, keyboard layout and configure the default user account with a computer name, username and password you’re going to recognise and remember. Hit Continue and watch Ubuntu install, remembering to take the USB stick out when it’s finished and booting into the OS for the first time. Next it’s time to install Amahi, which we will be doing using the terminal.
Note: Amahi cannot be uninstalled, which means in order to get back to a clean Ubuntu you will need to format and install the OS again. As previously mentioned, a fresh install of Ubuntu before installing Amahi is required.
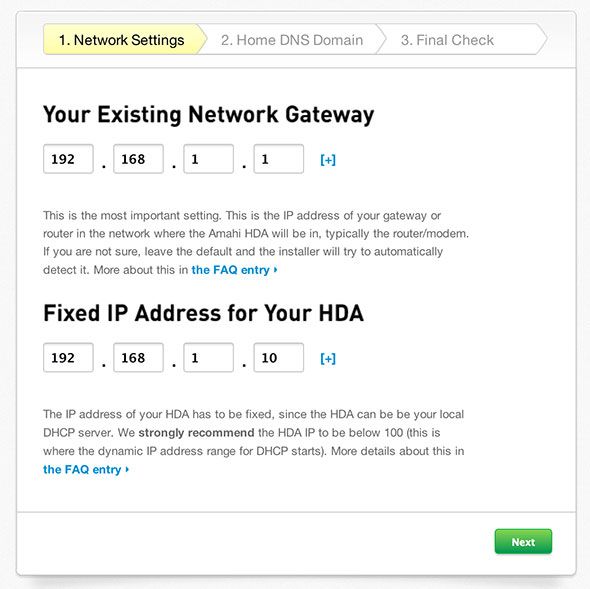
At some point you will be prompted for your “install code”. To get an install code go to Amahi.org and register an account. You will be asked for your network gateway IP (your router’s address, commonly 192.168.0.1) and the fixed internal IP address of your HDA (that’s the server you’re installing Amahi on). You should setup a fixed address within your router, the process will differ depending on the manufacturer but a simple search should help you out. Amahi recommends you turn off DHCP (automatic IP assignment) on your router, but it’s not always necessary and in my case I left it on with no problems.
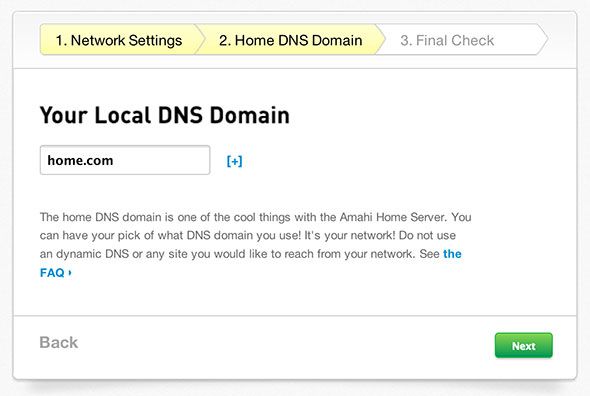
Next you will be asked to set up your local DNS domain, which is a domain that you can use internally within your network to access the server. Choose something short, unique and not the same as any site you wish to access. I chose “server.hda” but feel free to make up your own.
Finally click on the Create your HDA profile button, and make a note of your install code.
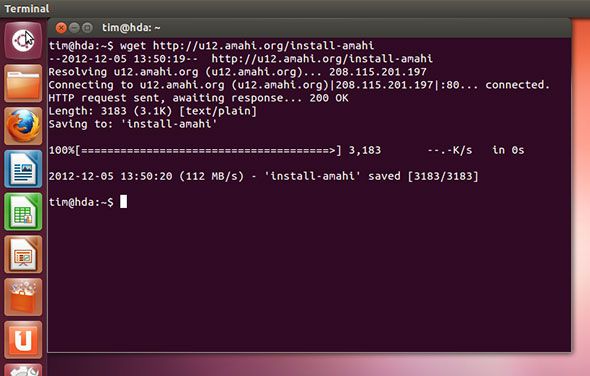
Before installing Amahi you will need to connect Ubuntu to your network, either using an Ethernet cable or good old Wi-Fi. Resist the urge to download your favourite browsers, codecs and other add-ons or updating Ubuntu just yet. Once connected, click the Ubuntu logo or hit your Windows key and type “terminal” followed by enter to launch the command line interface then type the following:
wget http://u12.amahi.org/install-amahi
This will download the Amahi setup files, then start the install by typing:
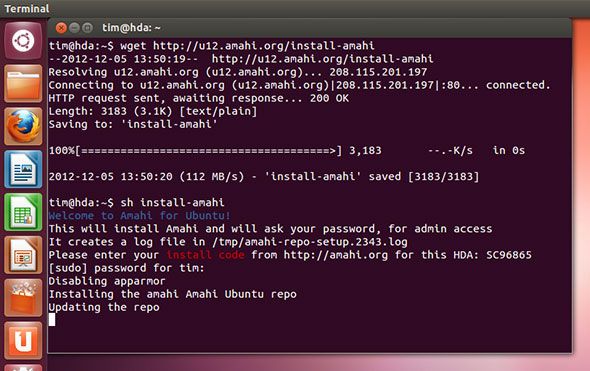
sh install-amahi
At this point you will need to enter your install code, which you created earlier, followed by your server’s admin password.
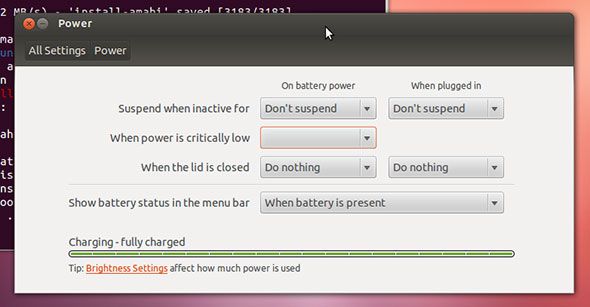
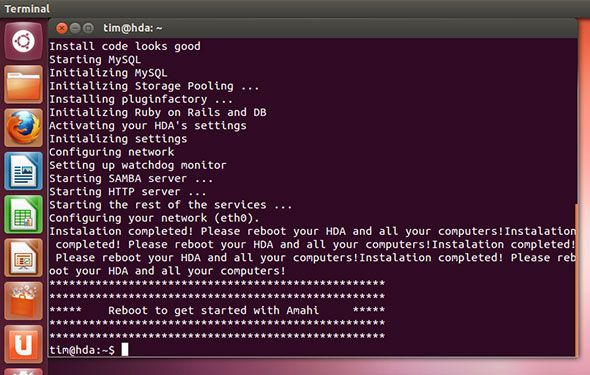
Now you can sit back and watch Amahi install, which can take a while. There’s lots to install including the server software, MySQL, storage pooling, Samba and HTTP servers and more. Now might be a good time to adjust my power preferences so my new server didn’t switch itself off when left unattended or (if you’re using a laptop) when you close the lid.
Once your installation has finished, you will need to reboot as per the instructions in the Terminal window (that’s the button in the upper right corner, in case you haven’t used Ubuntu before).
Make sure you’re connecting using your default network device, “eth0” which is likely to be your Ethernet port. Disable all wireless settings and double check your network settings to ensure the static IP, MAC address and so on match up. I spent a long time troubleshooting my server only to find out it was down to the fact that wireless was still enabled and causing issues.
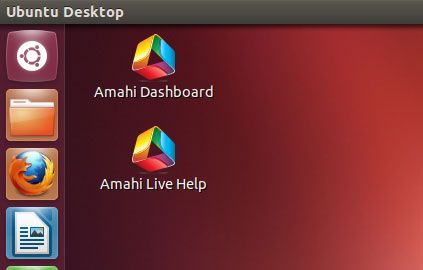
Upon restarting you will notice two new icons on your desktop. Double click Amahi Dashboard to launch the web-based setup within Firefox. Login using the username and password you created when you installed Ubuntu, no other password or user combination will work. From here on out you’re free to manage Amahi, set up users, shares and install apps.
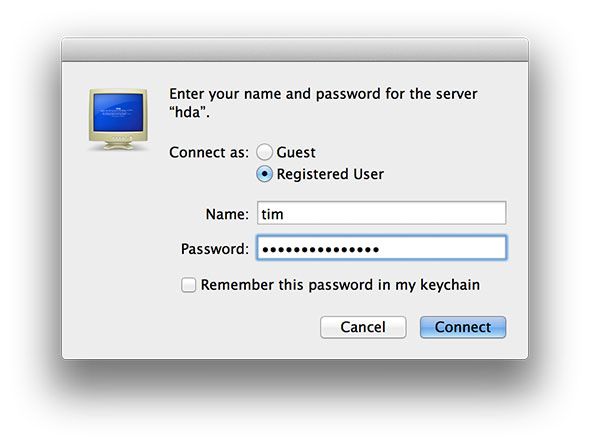
Your server should be visible on the network already, if not consult the following resources for further help:
Also be sure to check out these articles about adding apps, shares and other actions with Amahi:
- Adding a Hard Drive To Your Amahi Home Server (Fedora)
- Setting Up File Duplications, Greyhole & Apps
Have you got a home server? Did you use Amahi? Any favourite apps? Add your thoughts in the comments, below.


