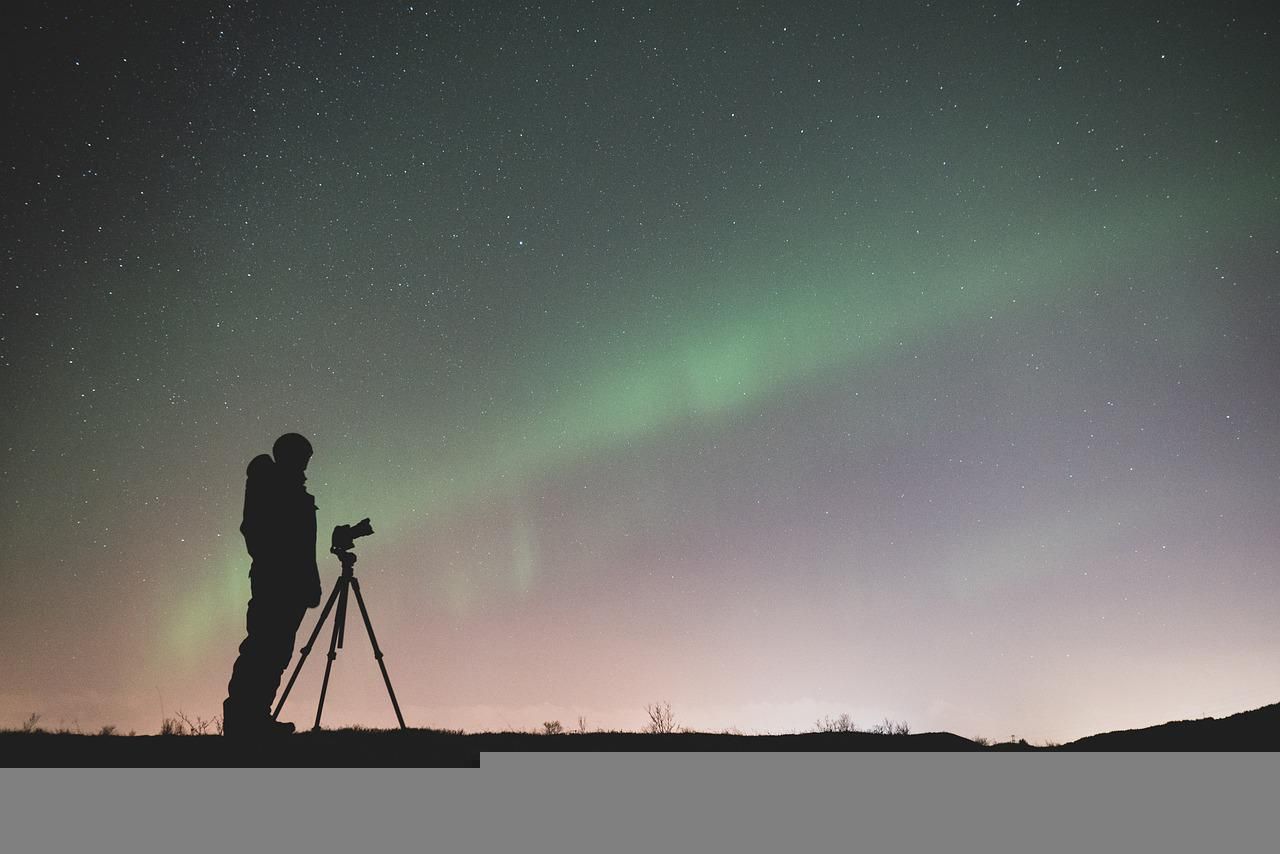
If you’re serious about sticking with photography for the long run, you’ll probably want to think about purchasing a tripod. Getting one will enable you to take better pictures when you need to use a longer shutter speed, such as taking pictures at night.
But when choosing a tripod, you must remember that these products aren’t created equally. Some will withstand years of regular use, whereas others won’t last longer than a couple of outings.
To help you make a better purchasing decision, we’ve outlined the top things to consider when buying a tripod.
1. Material
When choosing a tripod, the material is one of the first factors you should consider. Most modern ones are either carbon fiber or aluminum.
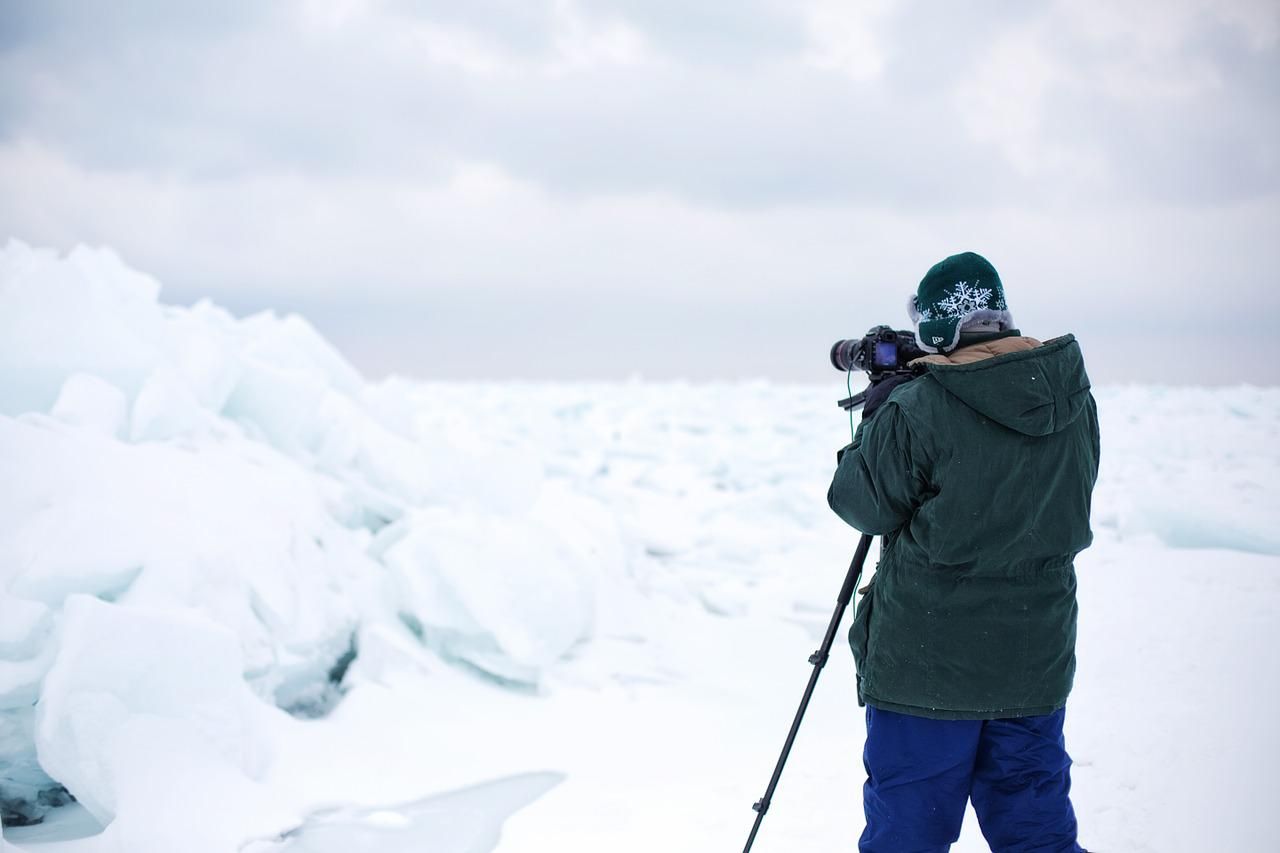
Aluminum tripods are heavier than their carbon fiber counterparts, and you often won’t need to spend as much money on them. But the additional cost of a carbon fiber tripod is worth it in several instances; it’s also easier to use when photographing in extreme weather, such as winter, because the material doesn’t get as cold.
Unless you’re shooting in weather cold enough to permit a weather-sealed camera, you shouldn’t run into issues when using an aluminum tripod.
2. Height
When choosing a tripod for photography, you’ll also need to think carefully about the height as not all of them are equal. If you’re going to spend a lot of time taking pictures at face height, you’ll want to ensure that your tripod can reach this high when extended.
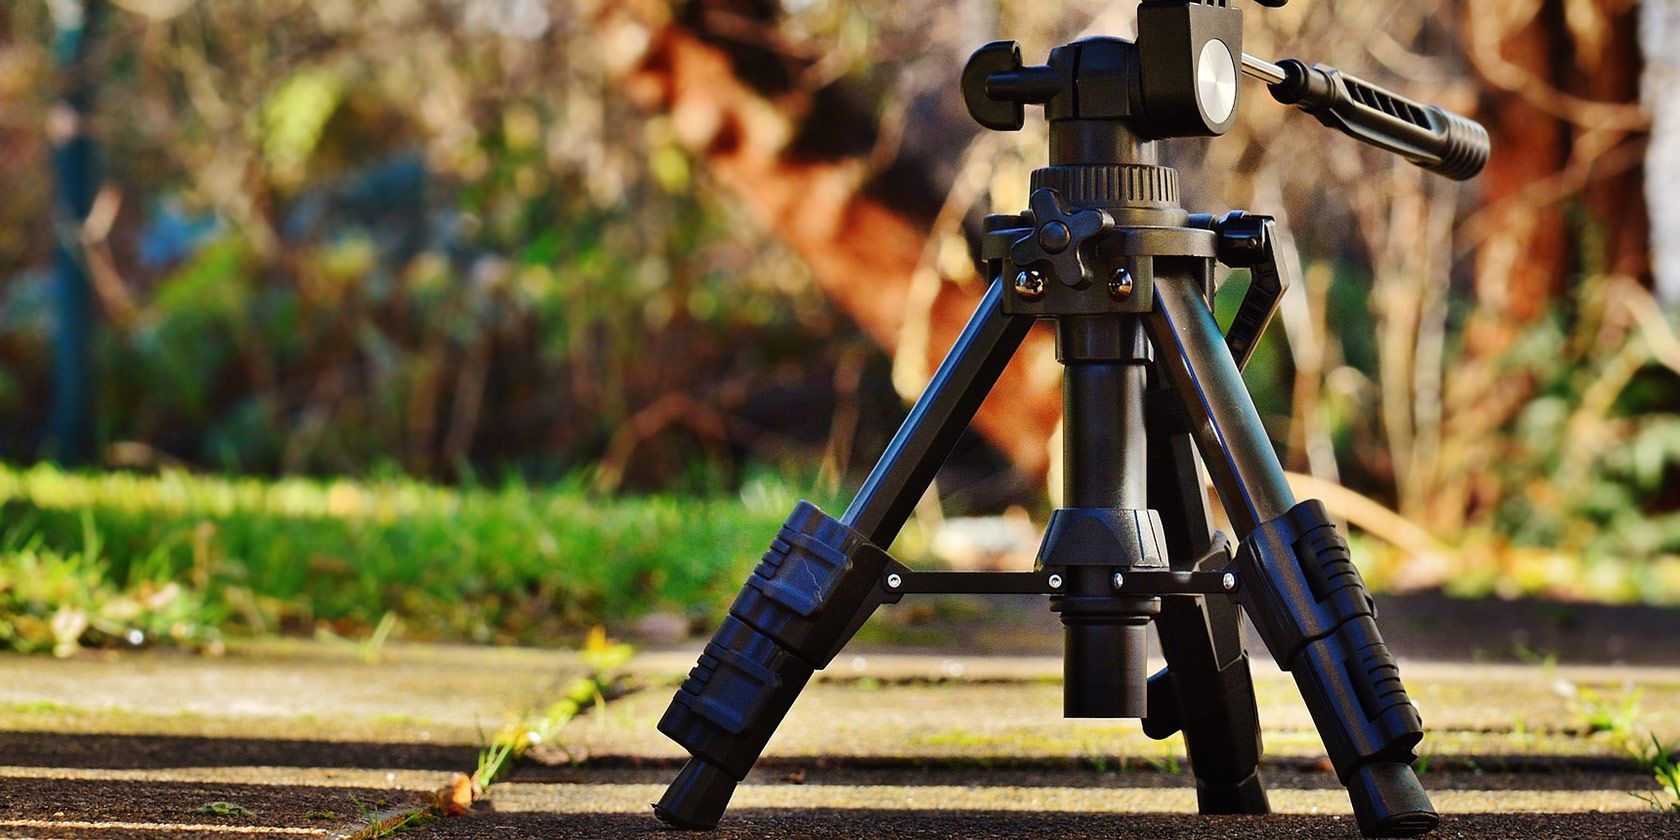
In some instances, you can buy smaller tripods that are good enough for stabilizing your camera on a table. If you decide to transfer some of your photography skills to filmmaking and become a YouTuber, you might prefer one of these.
3. Price
When you begin researching different tripods, you’ll notice that prices vary significantly.
While you can buy tripods for $30 and below, we don’t recommend doing so unless you’re only looking for something to stabilize your camera indoors. You often get what you pay for, and these tripods seldom last very long—especially when photographing in difficult climates and terrains.
On the flip side, you don’t need to pay $300 and above if you can’t yet afford to do so. Look for something in the middle, so you don’t sacrifice quality, but you also don’t purchase something that you can’t afford. You might also want to check out second-hand photography websites to see if you can find some of the more expensive ones for cheaper.
4. Portability
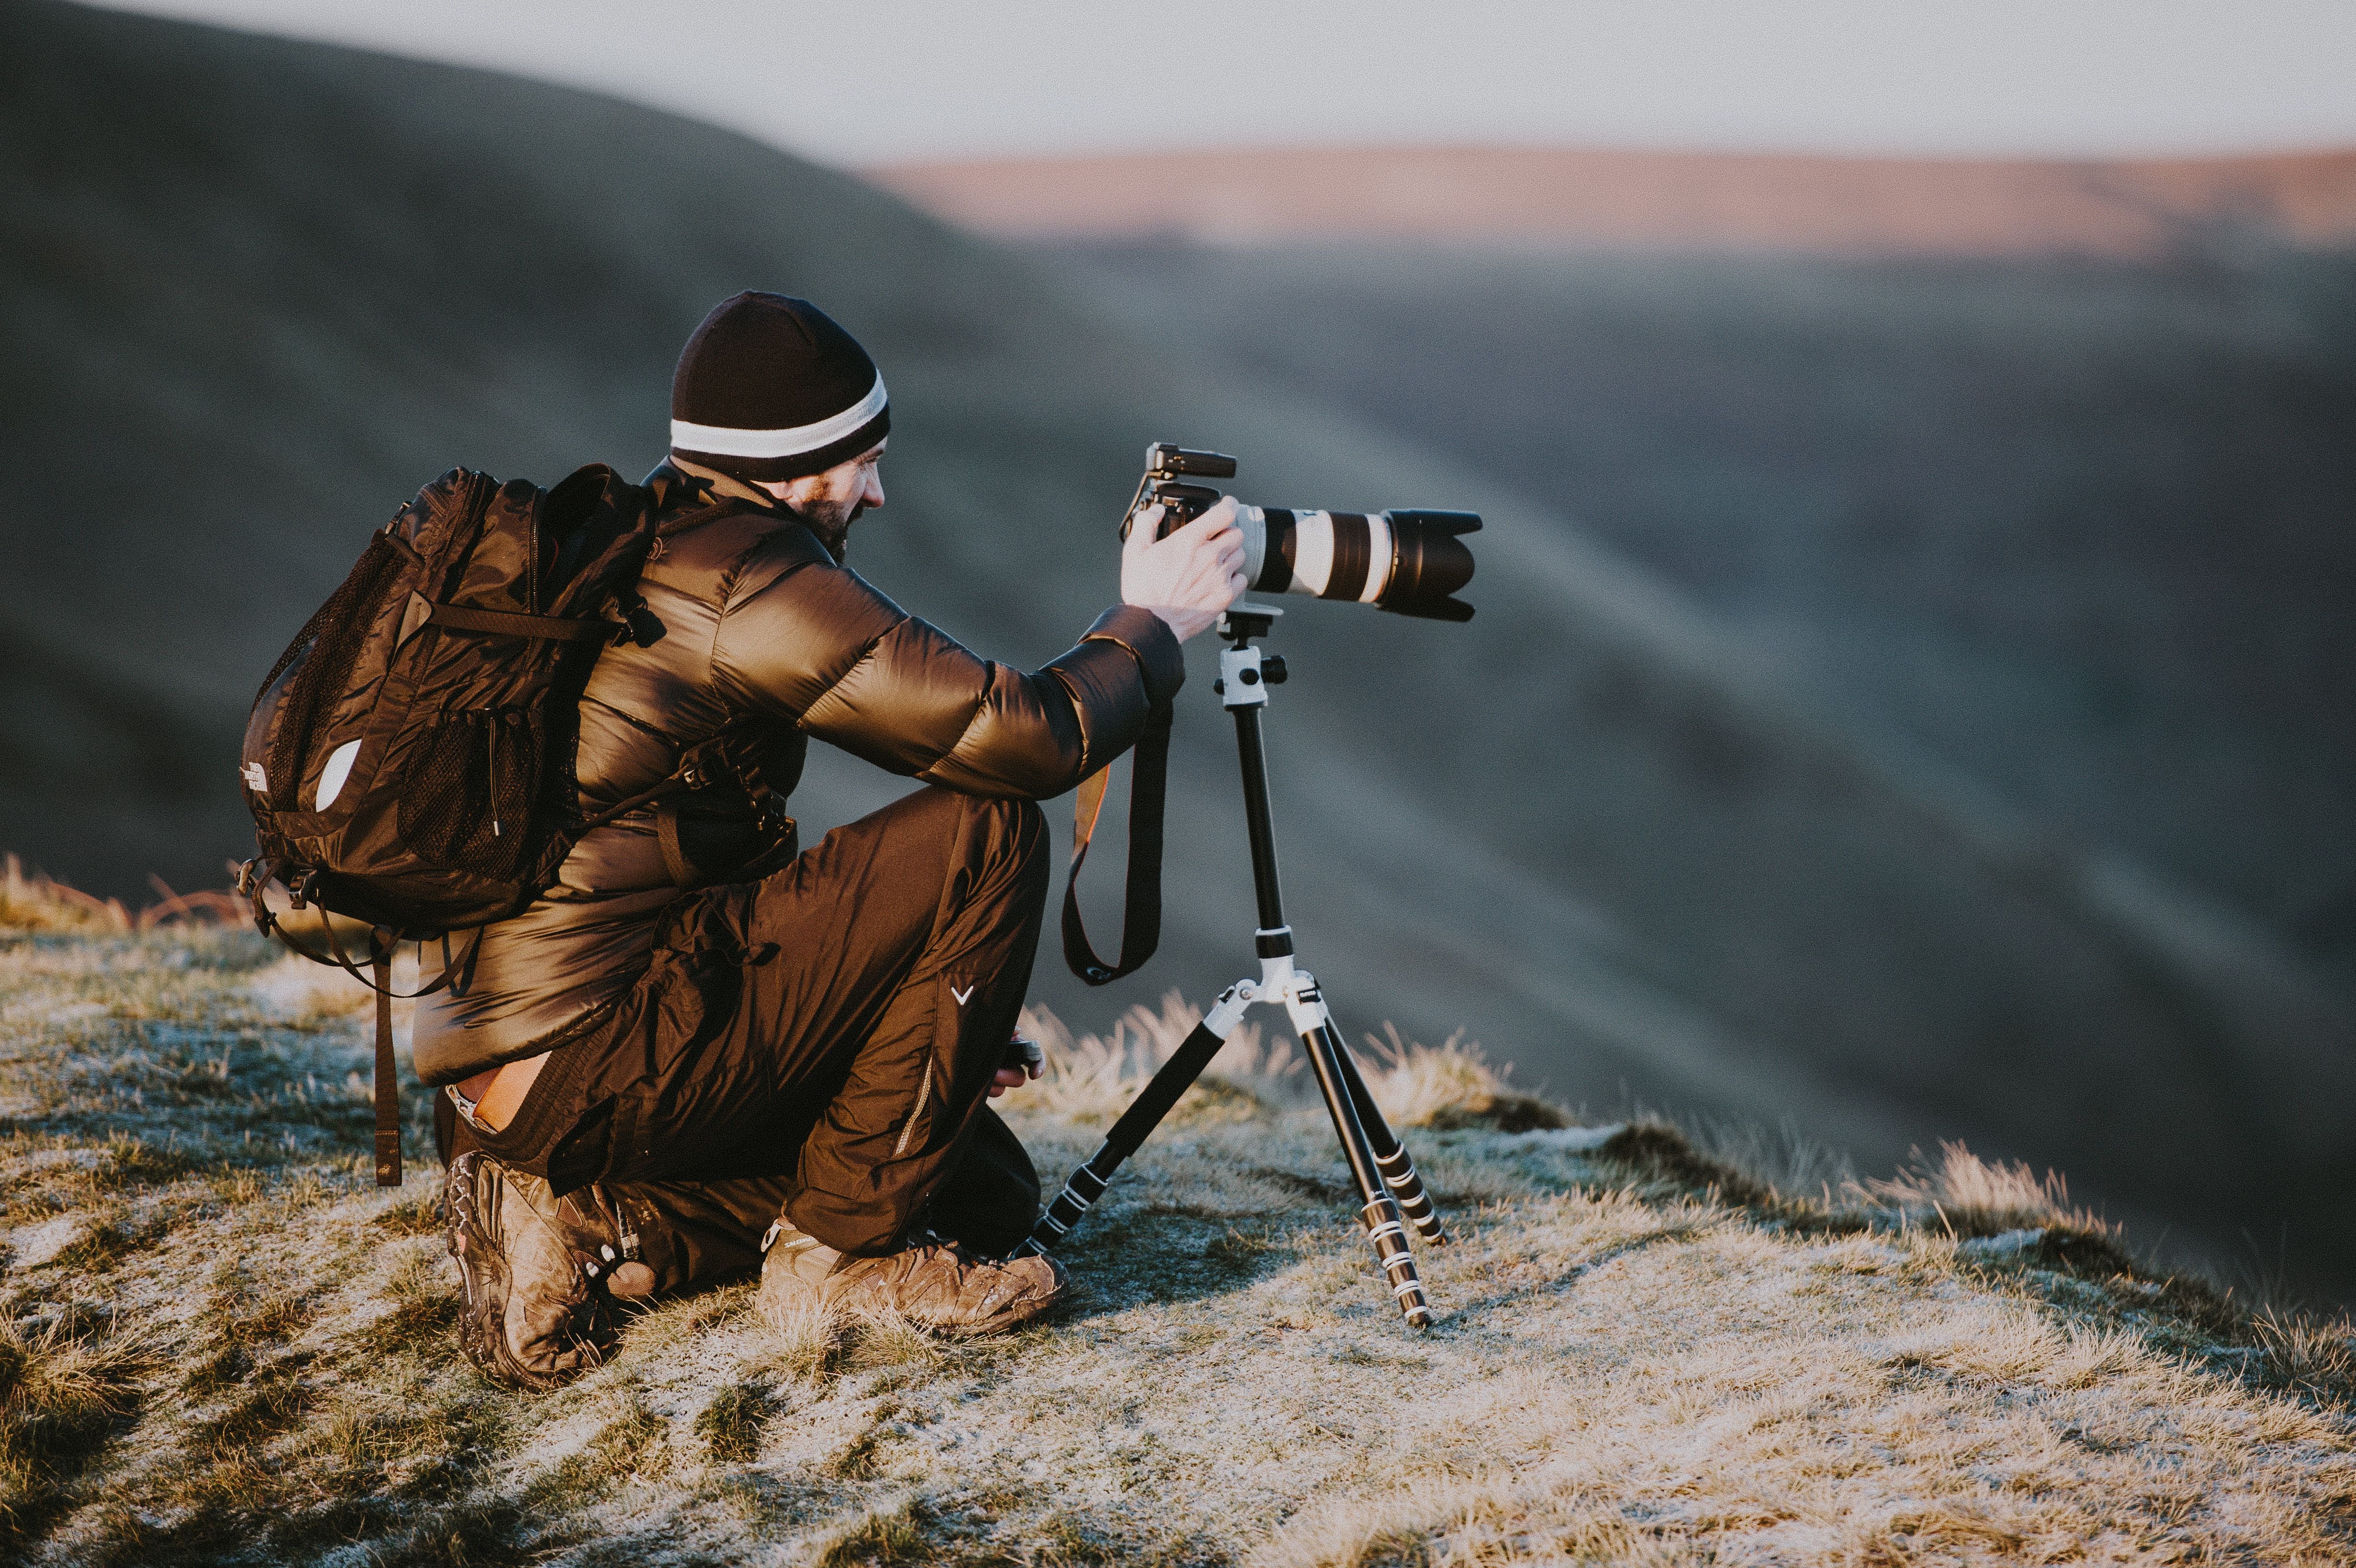
If you plan on taking your tripod on longer-distance trips, the last thing you want is to slog something heavy around. For longer days, and ones involving activities like hiking, you will feel the load after a couple of hours and wish you’d left it at home.
Choosing a tripod that isn’t too heavy is vital; if you pick something you don’t want to carry around, you won’t use it as much as you’d like to. Similarly, you want something that easily fits in your camera bag and doesn’t require purchasing additional luggage space.
5. The Tripod Head
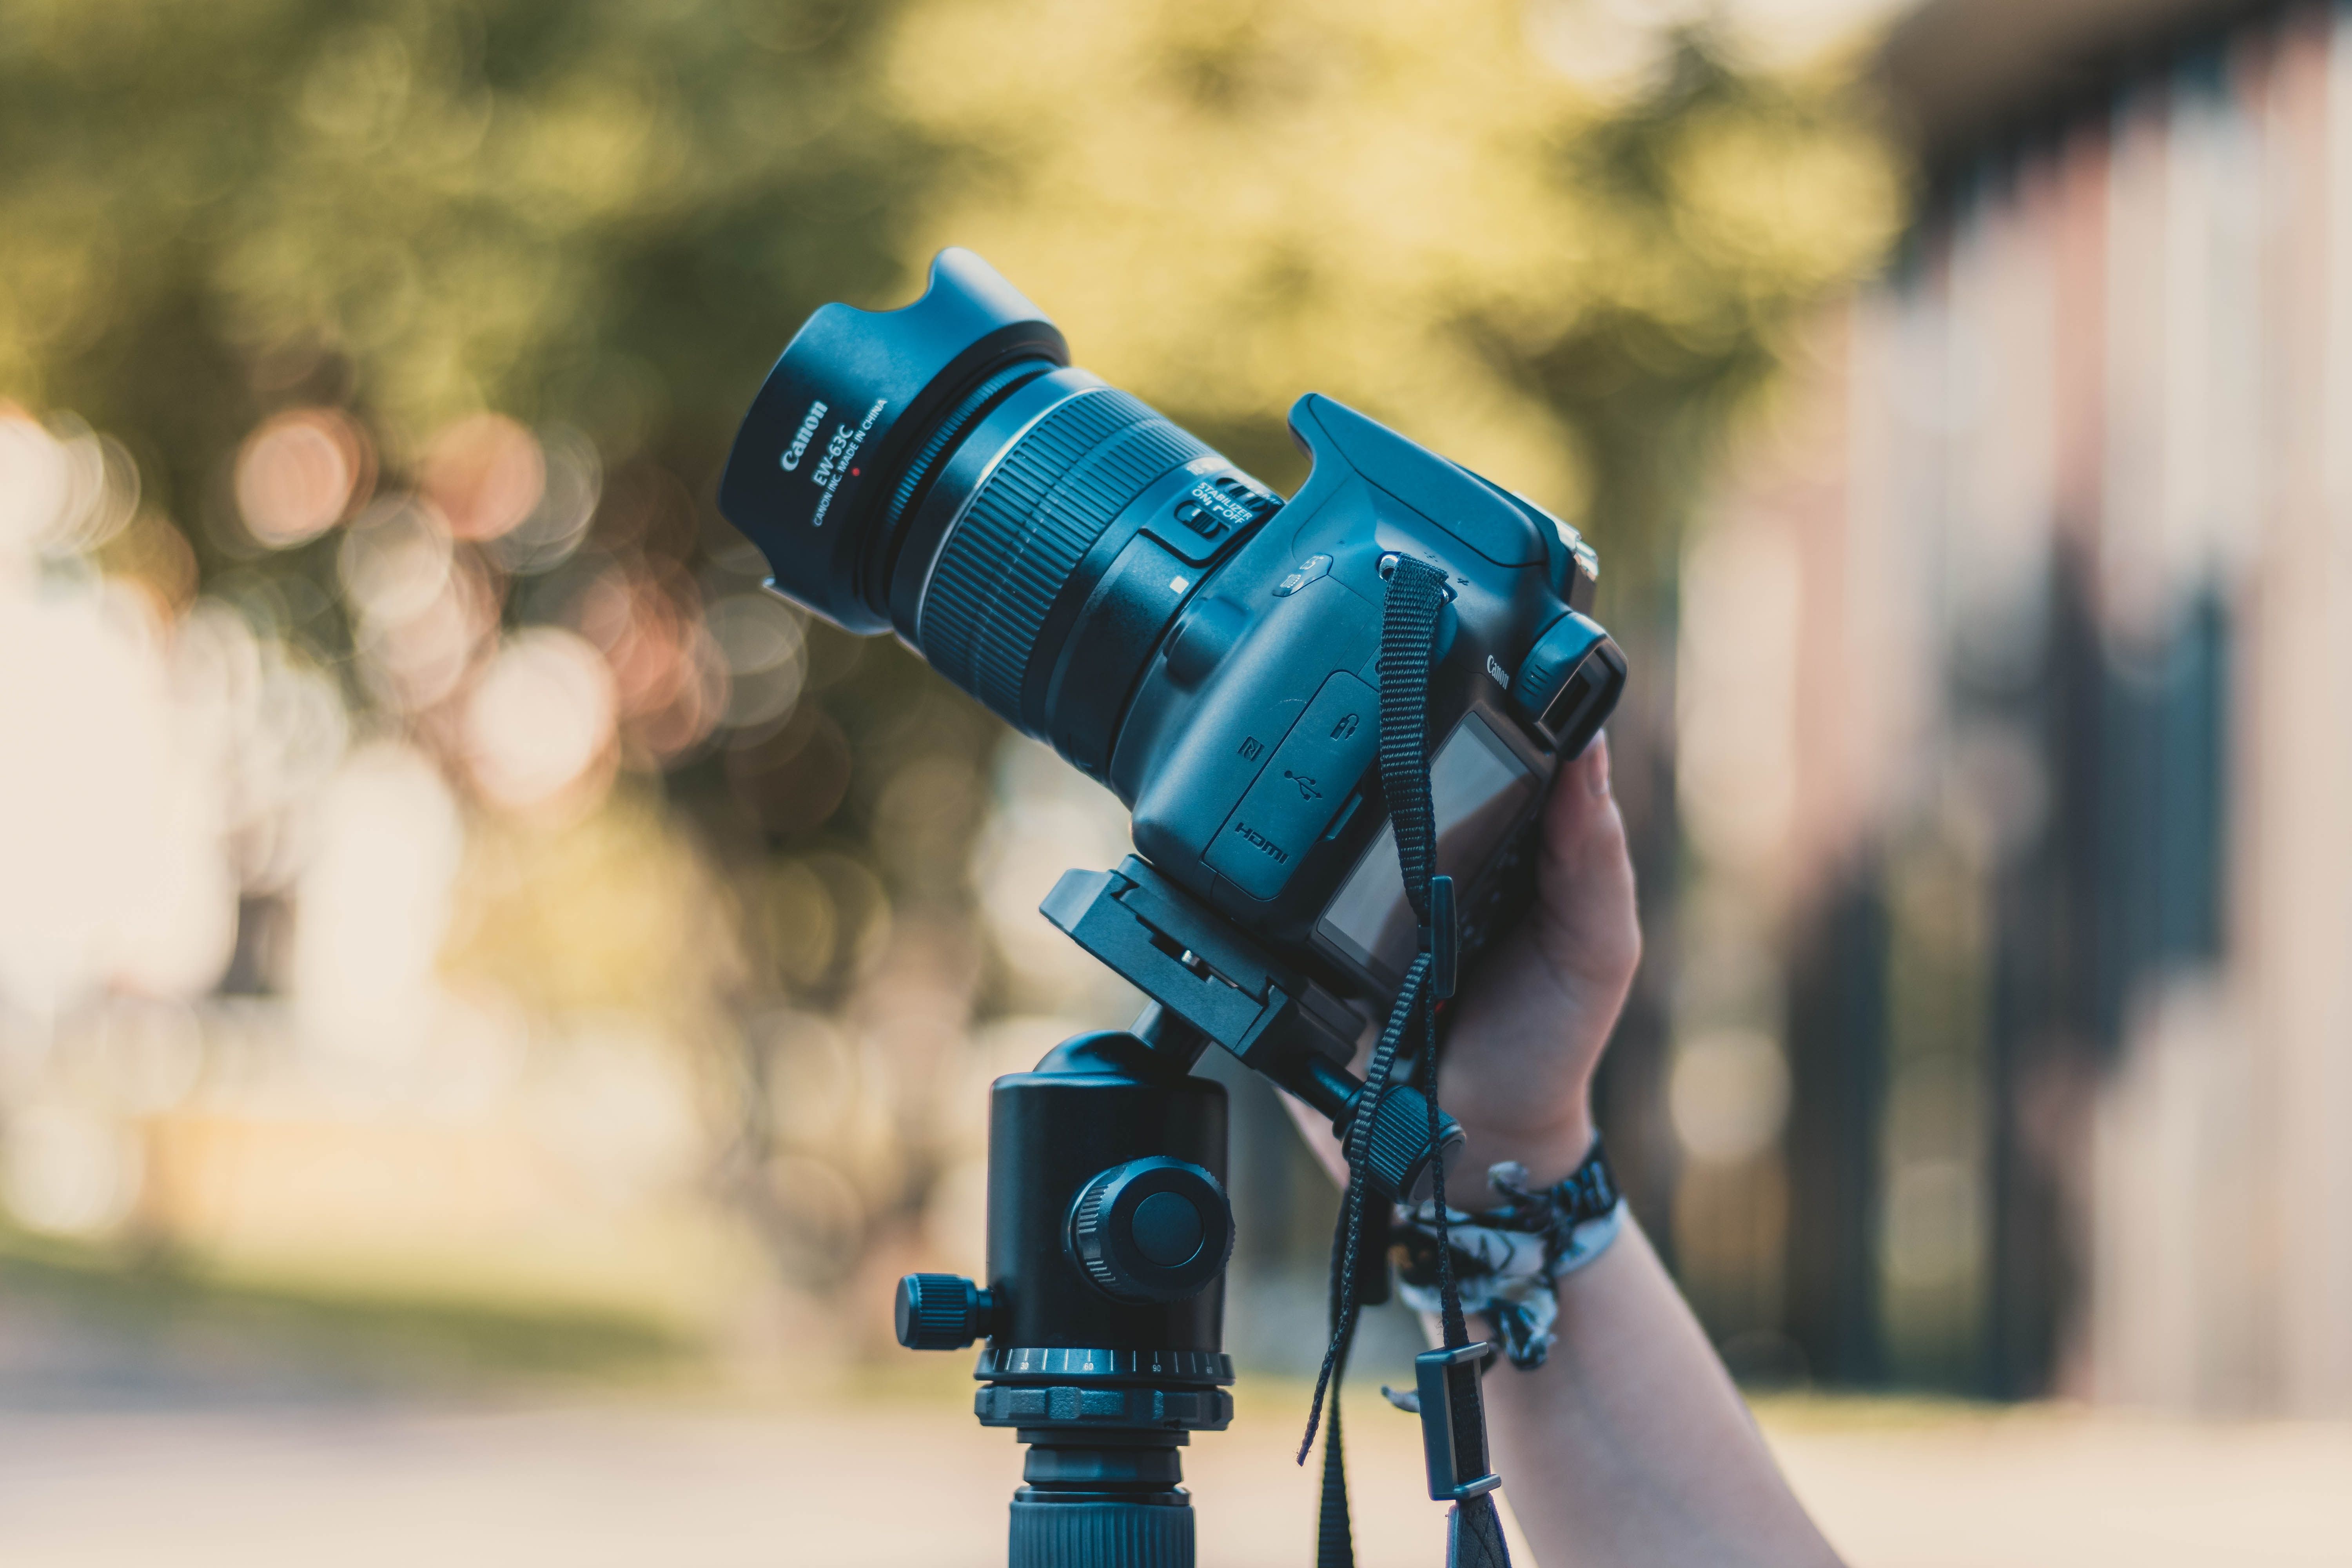
Apart from the awful tripod that came free with your camera, tripod legs and heads are separate components. You can buy them individually or in a kit. Different tripod heads serve different purposes. We’re not going to go into the more specialized kinds here, so there are two main heads you’ll encounter: ball heads and pan/tilt heads.
Ball heads use a ball and socket joint to give you total control over where you point your camera. They’re quick and easy to use, and they’re great for photographers—but not so good for videographers.
Pan/tilt heads are the opposite of ball heads. They have separate locks for the pan and tilt axes. This means you can lock down one and move your camera freely in the other. They’re great for panoramas and video work but slower for photography.
As well as the two above, you can also get gimbal heads, video heads, motorized heads, panoramic heads, and a few others.
Tripod Tips
Like all things to do with photography, there are some tricks to maximizing your tripod’s use. Just popping it up, plonking your camera on top, and snapping away isn’t going to get you very far.
In the sections below, you’ll discover a few extra tips to help you get the most out of your tripod after buying it.
1. Don’t Extend the Legs Fully Unless You Have To
Tripods are at their least stable when fully extended. The closer they are to the ground, the better their center of gravity and the more solid their base. Unless you need more height to get the framing you want, don’t over-extend your tripod.
2. Don’t Extend the Center Column Unless You Have To
Most tripods come with an extendable middle column. Don’t extend this unless you really need the extra height. It pulls the tripod’s center of gravity up without spreading its base. Using it dramatically destabilizes things.
3. Add Weight When You’re Outside
The center of gravity is everything when it comes to stability. The lower it is, the more stable the tripod is. One of the best ways to lower it is to hang your camera bag on a hook beneath the tripod. The extra few pounds will pull the center of gravity down.
4. Clear the Base
If you’re using a tripod on rough ground, clear a stable spot for each foot. Just kick the rubble or sand or snow flat so that the legs will have a better base to stand on.
5. Keep the Head Centered
Keeping the head of the tripod over the center of gravity is more important than keeping the tripod’s legs equal. Adjust the legs to whatever length is needed to keep the tripod head leveled.
Choosing the Right Tripod Is Crucial
Having read this guide, you should now have a better idea of what to look for when picking a tripod. Choosing the right equipment will aid you massively on your photography journey, and you should spend a significant amount of time researching before making a purchase.
Price is important, but you don’t want to skimp on quality. Consider the conditions you’re most likely to shoot in and ensure the material is durable enough. You should also ensure that the height is good enough for your preferred photography style and make sure it’s not difficult to carry around.

