Ubuntu is a rock solid operating system, which can be installed on just about any PC and "just work." There are many great derivatives of Ubuntu, each with a different desktop environment built on top of the same great core found in the flagship Ubuntu Desktop, but they all come preloaded with oodles of software you may never use.
Like, for instance, that DVD burning application installed on your laptop with no DVD burner; or the default video player you never use because you also have VLC installed. Maybe you are ready to learn a little bit more of some of the pieces that make up your Linux box.
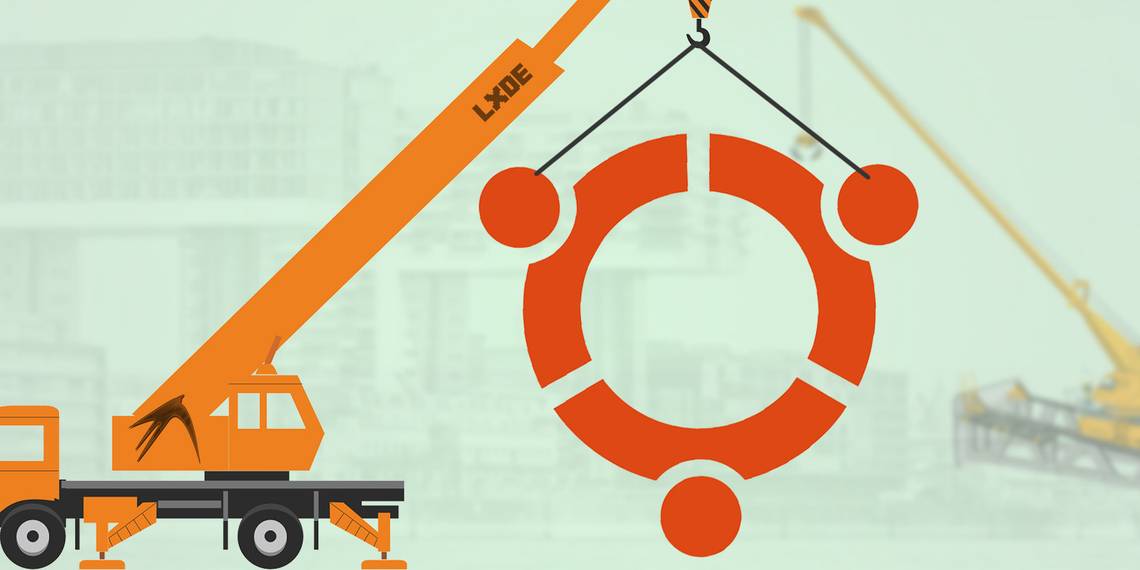
What if I told you, with a few basic commands, you can build your own custom Ubuntu installation, with only the software you want on it? Follow along to build your own Ubuntu distro using the Ubuntu Server installation image.

Installing Ubuntu Server
I am not going to go into great detail on the installation process, as aside from saying the Ubuntu Server GUI is a more "old school" looking interface than Ubuntu Desktop, the steps are basically the same as through the Live DVD, and new users might be better off installing the desktop image. A couple of tips:
- The arrow keys on your keyboard allow you to highlight the various options in the menus.
- The Tab key will move between the menu and the confirmation options (back, continue).
- The Space key will select a menu option.
- The Enter key will automatically select the continue option unless you manually select the back option.
If you are a little uneasy about the installation process, fire up a virtual machine and run through an installation to understand what goes into it. It is not difficult, especially if you have some experience with Linux already. As you download Ubuntu Server and install, I am going to go grab a cup of coffee.
When you get to the package selection screen (at the end of the installation process), just press enter. The base system and settings will be selected -- and you want those -- but you do not need to install a LAMP server or DNS server from this screen.
Remember, this base installation will not have a fancy GUI or web browser for you to continue following along. I suggest having this article open on a mobile device or printing it out before you start the process, as you will need to enter the commands shown exactly how they appear.
You may also want to read this primer on command line-fu if you feel uncomfortable in a terminal, then read my rundown on package management systems, as you will be using Apt to install your desktop environment.
Update Ubuntu

After installation is complete and have logged into the terminal, the very first thing you want to do on any brand new Linux installation is update and upgrade your system to ensure your software is up-to-date and secure. The following command will do so. This command not only upgrades your system, but it also updates the software sources on your system. When we actually install a desktop environment, we want to make sure we don't install outdated software. This ensures our system remains stable and secure.
sudo apt update && sudo apt upgrade
Now you are all updated and looking at a wall of text. Type the following to clear the screen:
clear
Install a Desktop Environment
Excellent. Now you are going to install the desktop environment. Ubuntu has a bunch of pre-configured desktop packages, which all install a plethora of software you might not need. Instead, we want to install a graphical server, Xorg, which will allow us to run our login manager, LXDM, and our lightweight, but fully featured, desktop environment, LXDE.
We also want to install a terminal emulator, LXTerminal, so we can continue issuing commands from our desktop environment. Finally, we want to tell Ubuntu not to install any of the other applications that are not required to run our desktop environment, so we add a flag to our command.
sudo apt install xorg lxterminal lxdm lxde --no-install-recommends
Note: These will be installed by default if you install the full LXDE package, but we're learning, so it's a good idea to type out the commands so you understand which software packages are actually being installed on your computer to make it work.
A wall of text will appear, listing our desktop environment and dependencies, which will be installed to your system, and how much space it will all require. Go ahead and tell Ubuntu to continue and grab yourself a snack. A small snack like a candy bar, though, because this should only take a few minutes.
After major installations, I always recommend rebooting your system. This allows Linux to clear out any background processes or software running in memory. Give Ubuntu the following command:
sudo reboot
Setting Up LXDE & Using Synaptic

After rebooting, you will be presented with the login screen, LXDM. Enter your credentials and you will see your desktop environment, LXDE.
If you click the menu icon on the lower left corner of the taskbar, it will be surprisingly empty… let's change that. Open LXTerminal from the System Tools submenu. Now you are presented with a command line prompt, which you are becoming a pro at using.

I want you to be able to search for packages in a graphical way. Synaptic package manager is a great program that will allow you to not only search for software, but also install and remove software to and from your system. Install this with the following command:
sudo apt install synaptic

Synaptic can now be found in the Preferences submenu. Open it up.
On the left, you can see all the different package groups, which will sort available software by group. On the top right, there is a button labeled "Search." Click it and type "LXDE" into the search bar.
This will show you all the software available with the tag, "LXDE," and will denote installed software with a filled in check box. If you click on the name of the software, the name and description of the package will load in the description box.

Now, search for Firefox. Scroll down in the package listing until you see Firefox. Click the box next to it, and select "Mark for installation." Now click the apply button in the ribbon above the package list. After installation, Firefox can be found in the Internet submenu of the start menu.

I also want to give you a few links to keep you going and help you out if you run into any trouble.
- The LXDE website gives a great overview on LXDE.
- The LXDE wiki gives detailed descriptions of what each piece of software in LXDE does.
- If you need support, the LXDE forum is a great place to ask questions.
- Because your system is built on Ubuntu, the Ubuntu forum is another great resource for you to ask questions and find answers.
Enjoy Your Custom Ubuntu System
You've just installed a base Linux system, a bare-bones desktop environment, a web browser, and a graphical package manager. It wasn't as difficult as you might have thought, and it wasn't a bad way to spend an hour or two, right?
I hope you learned a little more about what goes into a working Linux operating system, and I hope you continue learning as you install software from the command line and Synaptic to make your Ubuntu installation your own.
I want to know how you like the system. Did you try installing a different desktop environment and login manager? What applications do you plan on installing to make this distro your own? Let me know in the comments below!