At MakeUseOf, we're always on the look out for innovative text editors that can make our life as writers just a little bit easier. We've taken a look at a variety of distraction-free writing editors, like Quabel and WriteApp. The latest service to throw its hat into the ring is Gingko. The relatively new service is unique and may just be the key you need to change the way you approach your writing. It could make you more productive too while making your workflow just that little bit easier.
Rather than adhere to the traditional blank page format -- a Gingko document is divided into three columns. In these three columns, you can create individual cards -- or what they call roots. We'll first take a look at the basic features Gingko offers, before diving in and looking at how to put these features to good use.
The Basics
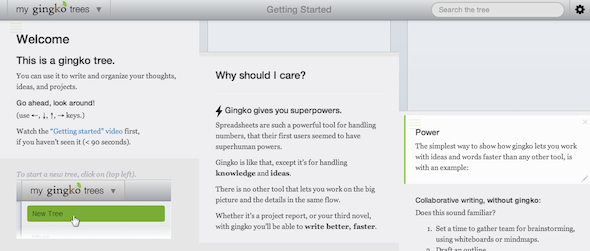
When you first log in to your account, you'll be presented with an example of a 'Tree' (a Gingko tree) that's already been populated. It's probably a good idea to play around with this existing tree to get a sense of how the service works.
The page is divided into three columns, and each column can be divided into as many 'roots' as you like. You can navigate from one section of your Gingko tree to the other using either your mouse, or simply using the arrows on your keyboard.
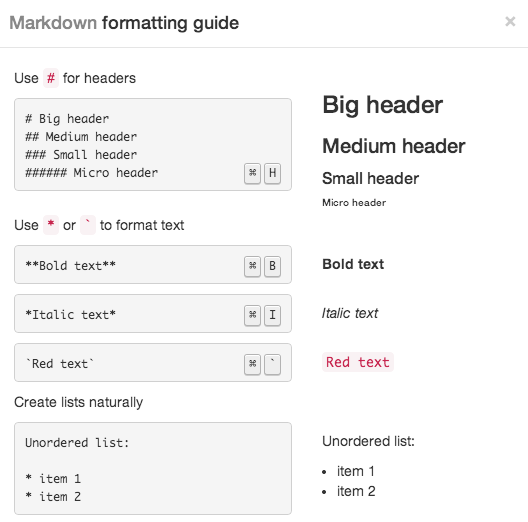
The word processor gives you access to basic formatting features but, unfortunately, there's no simple formatting menu to use. Instead, Gingko uses markdown, but you'll find a complete guide on how to use it in the app's settings. Learning how to use the Markdown syntax takes just a few minutes.
Another key feature that Gingko brings to the table is collaboration. You can invite other users to edit your documents, making it a great way for teams to brainstorm and work together on one page, online, all accessible from one link. You can also add images to make your organized writing visually appealing too.
As a free user, you're limited to just 3 documents (or trees) and for $9 a month, you can get unlimited trees. While you can save your 'trees' as text files -- this also means that they're saved with the markdown formatting. If you plan to use it somewhere that doesn't support markdown, you'll have to reformat the text once you've got it out of the app. For those of you using a Dropbox powered-blog, this could be a great way to create your draft posts. For those of you who aren't, you can always use an app that supports Markdown like FountainPen, or better yet, simply render the text in Gmail with Chrome extension, Markdown Here.
Create a New Document
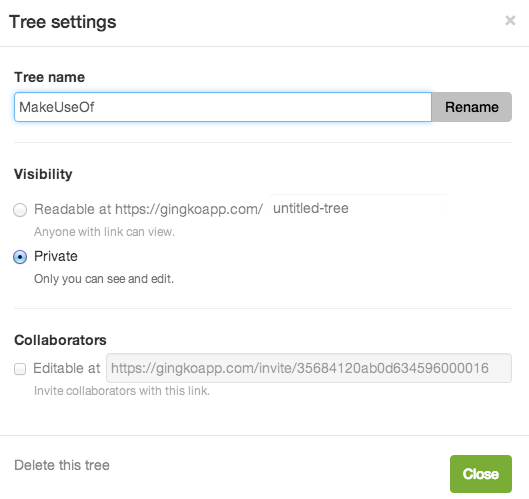
Now that we've got the basics of Gingko out of the way, it's time to find out how to create a new document, and how to really supercharge the app to get the most out of it. As you create a new tree, there are a few settings you can choose -- you can select a title; make it private or public; or make it simply shareable only to people with the link.
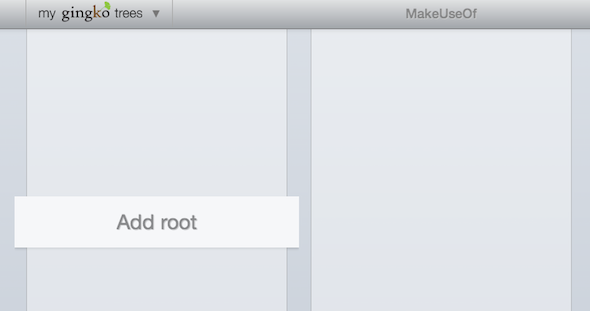
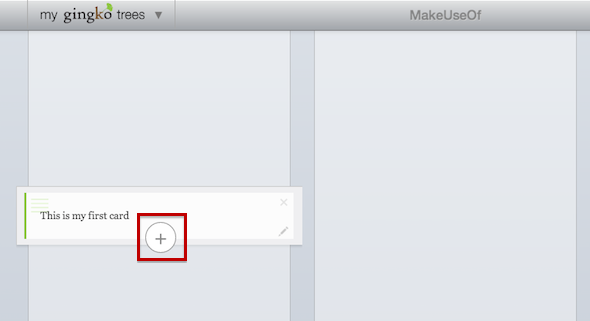
Once the tree is created, you can add a 'Root' -- basically a small card in the first column. Here you can begin to jot down notes, an outline, a plan, or pretty much anything you want to.
Once that's in place, you can add more cards to the same column simply by hovering over its top or bottom edge and a '+' button will appear allowing you to create a new card. You can also create a new card by hitting Command/Control and then the Down arrow.
With Gingko, you can create cards that stem from top to bottom (as shown above) or from left to right. So for example, if I wanted to start a new thought in the next column, I would hit Control/Command and the right arrow -- and a new card would be created in connection with the original card that was open.
That means you can create multiple cards that are either stacked in one column, one after the other, or you can have one principle card that leads to multiple thoughts horizontally -- much like mindmapping. You can also easily drag and drop these individual cards from one spot to another, making it easy to reorganize your thoughts if need be.
To find out more about how Gingko works, check out the handy introductory video below:
httsp://www.youtube.com/watch?v=egCKZHsICm8
Get Creative With Gingko
Now that you know the basics of how to create individual cards within one Gingko document or 'tree,' all that remains is deciding how you want to use it. Gingko's developers have a long list of suggested things you can use the app for: writing a novel, screenplay or thesis; organizing a project, todos, ideas or study notes; and working collaboratively on all of the above.
If you're writing a story, you can use the left column for plot outlines, the second column for character outlines, and the third column for the actual storytelling. Alternatively, you could use it as a means to organize your chapters. If you want to use it as a study tool, Gingko can be used in much the same way study cards are used -- jotting down notes on specific topics on one card each.
Want to see Gingko in action? If you were to use Gingko to study Romeo and Juliet for example - this is what it would look like. If 2001: Space Odyssey was planned out using Gingko, this is is what it would have looked like.
Gingko changes the way you approach writing by changing your workflow. All of the content you want to write is there on one page, but you can focus on just one part, and access the rest only when you need it. There's really no limit to how creative you can get with your Gingko writing. As this videos shows you...
Gingko also has a Chrome extension.
What do you think of Gingko? Will it change the way you write?


