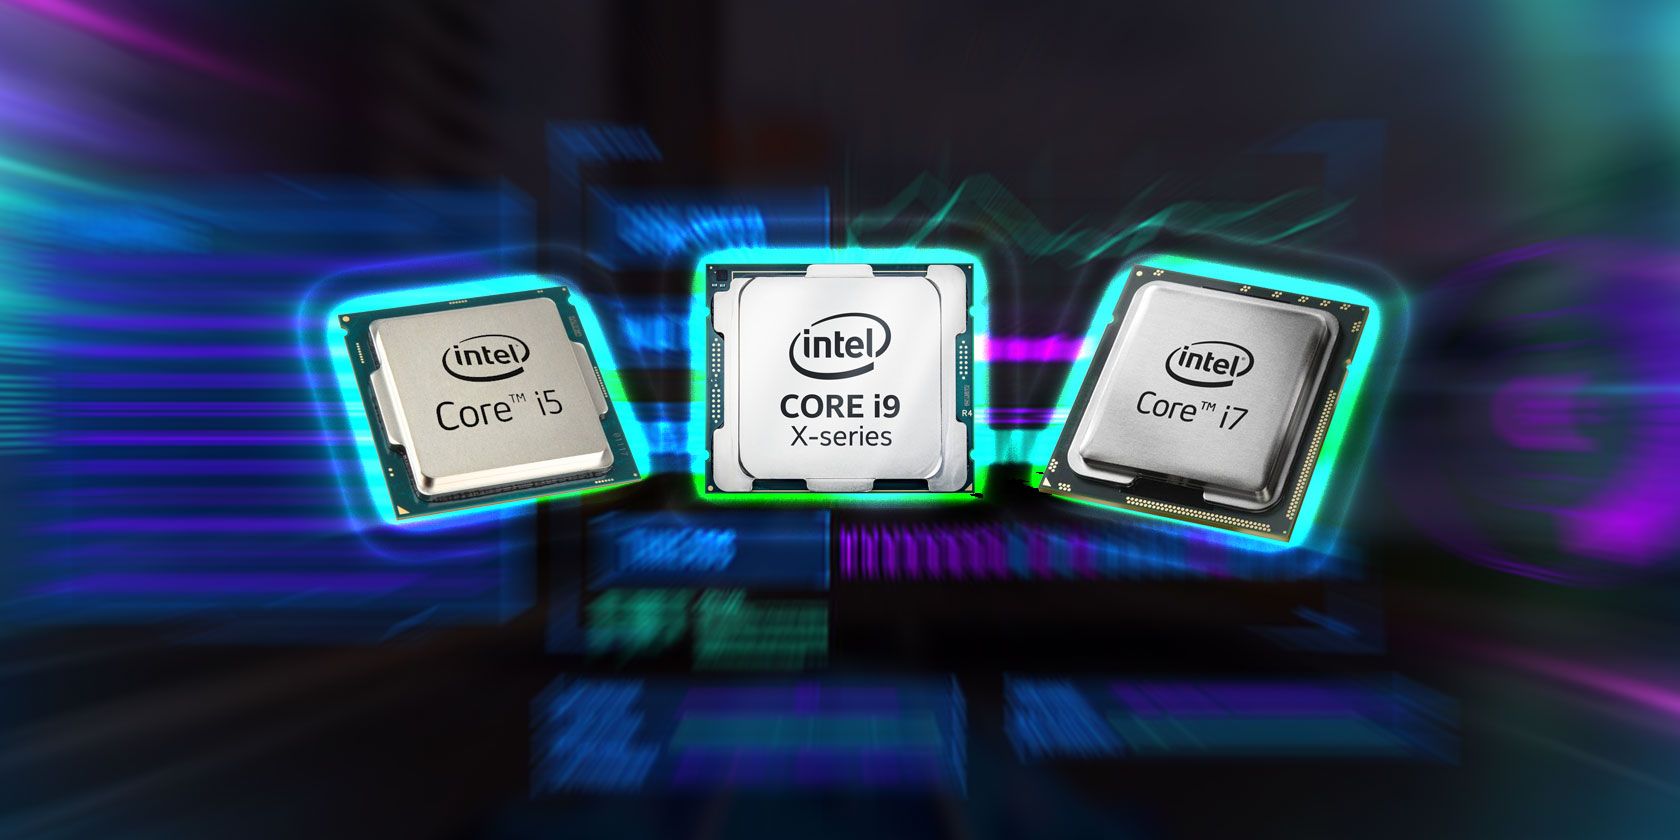
Finding out what generation Intel processor is in your Windows machine is as easy as a matter of a few clicks. We'll walk you through how to find that information, and explain why it might come in handy.
How to Find Your Intel Processor Generation
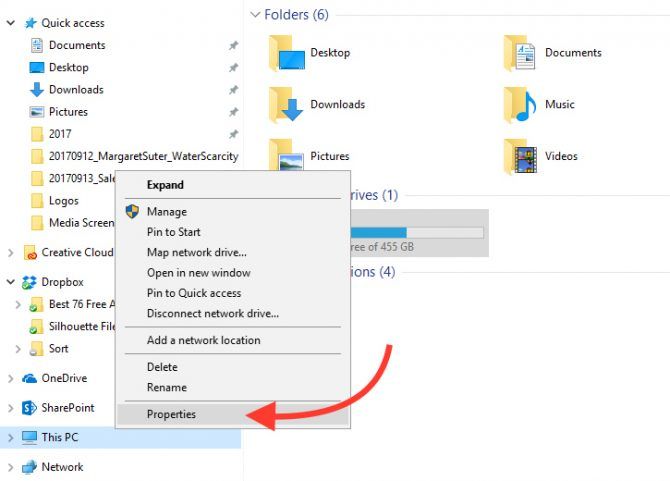
Open Windows Explorer and right-click on This PC or Computer (depending on which version of Windows you're running) to open the context menu. Click on Properties.
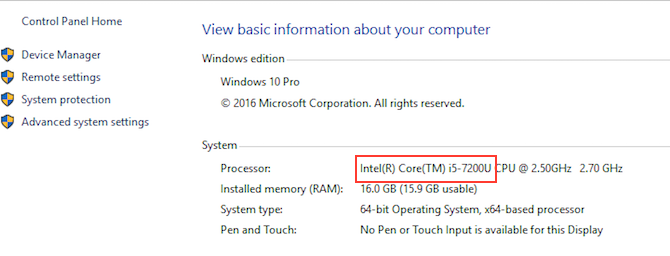
Under View basic information about your computer you should see a section called System, under which you'll see a string of numbers and letters for your processor.
So what do all those numbers mean?
Intel provides a handy breakdown of each of these numbers or letters:
As the screenshot above explains, the first number in the four-digit string after the brand modifier reveals the generation of your Intel processor. The remaining three digits are the SKU numbers. Depending on your system, the number could be from 3 to 8.
In my case, I have a 7th-generation Intel processor.
You can see the process in an older version of Windows in the video below:
Why Does It Matter?
Figuring out the generation of your processor is useful for a number of reasons.
It can help you understand which version of Windows you can use on a machine. If you've been holding out on making the switch to Windows 10, you should know that current and new Intel generations won't work with Windows 7.
When testing out computers in a showroom before your purchase, you can also easily look up this information to get a better understanding of the computer's performance. Or if you're purchasing a used computer, this is how you can make sure that you're getting the specs that are advertised.
Do you have any tips or tricks for understanding your computer's specs? Let us know in the comments.


