Everybody knows that keeping backups of your data is one of the Ten Commandments of the digital world. The story of the photographer who lost thousands of his photos from the last five years should convince even the most anti-backup person of the importance of backups.
Still, there are people who don't do backups - especially of their online data. The reason may be because the process requires a little bit more than just a simple effort. People want everything to be automated, including backups. Web automation is exactly what you will get from Backupify.
What Is Backupify?
Backupify is an online service that will help you backup your online account data automatically. It offers 2GB of online backup storage in the free personal plan which you can use to link to five social media accounts. The free plan will back up your social accounts on a weekly basis and it supports social networks such as Facebook, Twitter, Google Docs, Blogger and Wordpress.
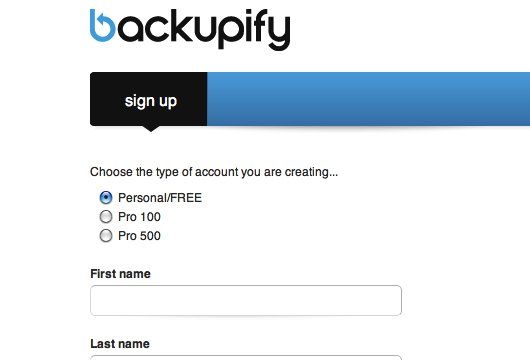
2GB of backup storage might sound small, but it should be more than enough for personal use. If you'd like to try out the service, sign up and choose the Personal/FREE option.
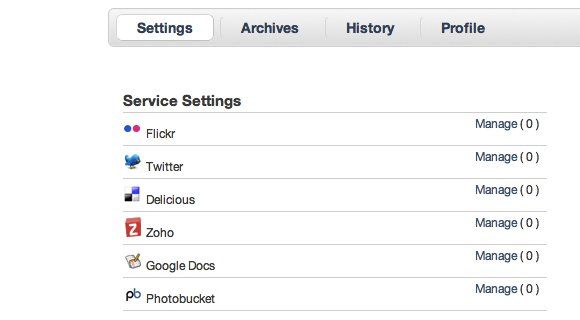
After logging in, long time Backupify users should see the old platform with the list of service settings and services in beta.
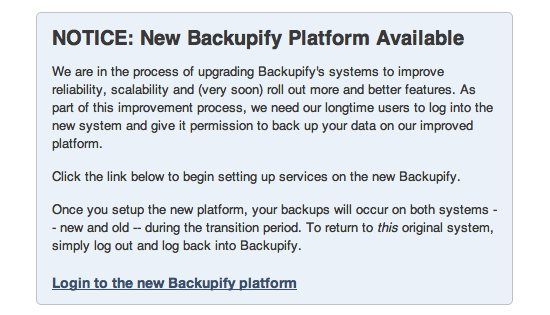
There's a notice on the right side of the window asking long time users to switch to the new platform.
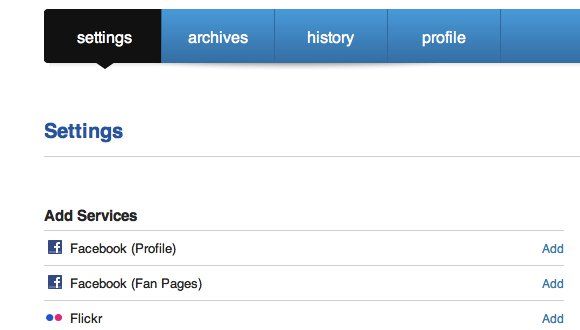
The new platform looks different with only one group of services. However, I found that some of the services from the old platform like Wordpress, Basecamp, and Hotmail are not available in the new platform. So if you need to back up your data from those services, you can go back to the old platform by going to this address: "https://secure.backupify.com/settings". The new platform address is: "https://app.backupify.com/settings". The difference between the old and the new is that the old uses "secure" while the new one uses "app" in their URL.
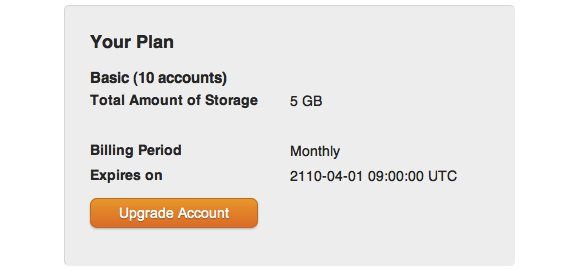
Other differences between new and long time users that I spotted are the limit of backup storage and the maximum number of supported accounts. Even though both are taking the free plan, long time users get 10 accounts and 5GB storage.
While the new users only get 5 accounts and 2GB storage.
Building The Backup List
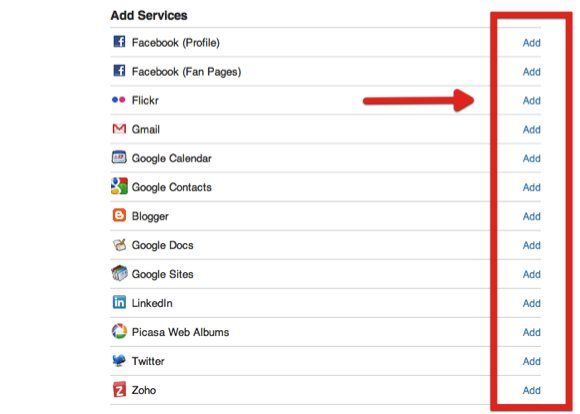
To add a service to the backup list, click the "Add" link next to it.
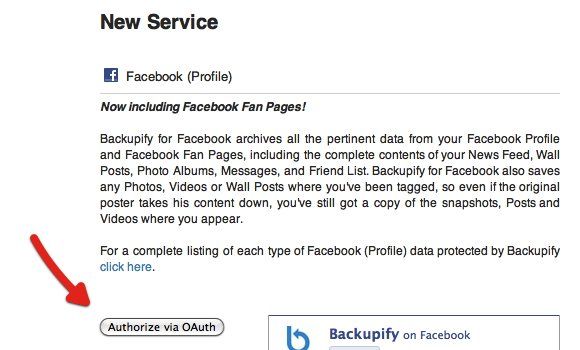
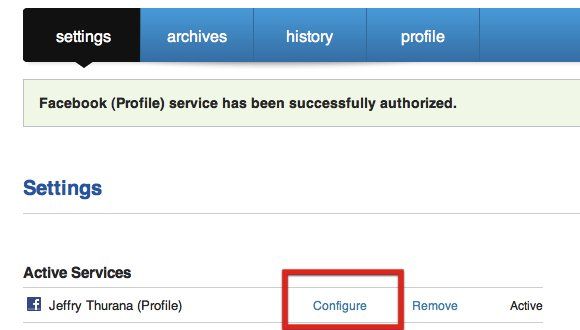
The next step is to authorize Backupify to access the service. In this example, I tried to add my Facebook account to be backed up. If you are a heavy Facebook user who uploads lots of photos and videos, backing up your account might be a good idea.
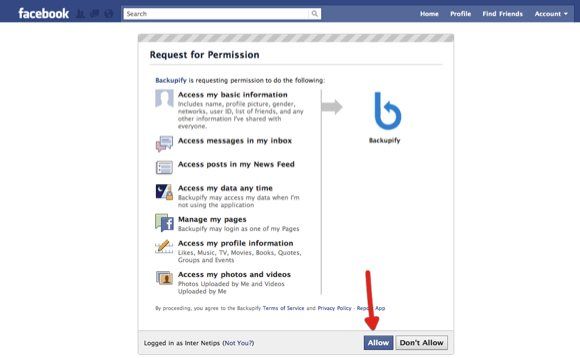
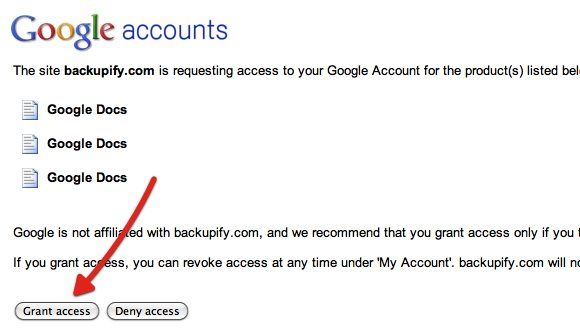
Then you should allow Backupify to access your Facebook account so that it can perform the backup.
After the service is added, you can configure it the way you want.
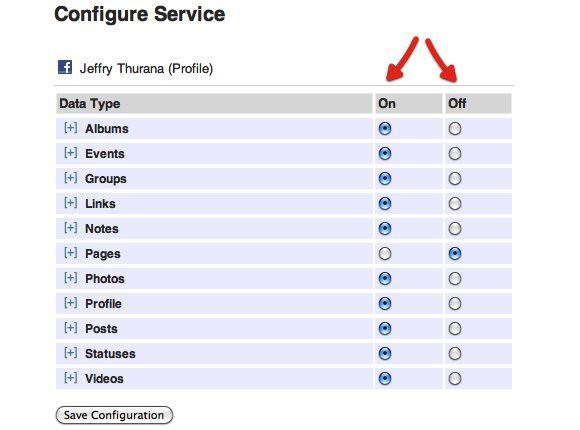
In the case of Facebook, you can configure which type of data you want to back up. Click the "On" radio button next to the items that you choose. Don't forget to save the configuration.
Repeat the process to add other services. One service that I personally think should be on your backup list is Google Docs.
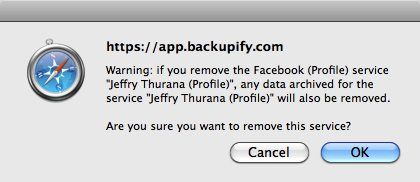
If you want to, you can delete a service from the list by clicking the "Remove" link next to the service name. You will get a confirmation window before the service is really deleted.
Backing Up A Wordpress Blog
If you are a longtime user and want to add your self-hosted Wordpress blog to the backup list, you have to go back to Backupify's old platform, locate Wordpress in the "Services in beta", and click "Manage". You will get the link to download the Wordpress plugin.
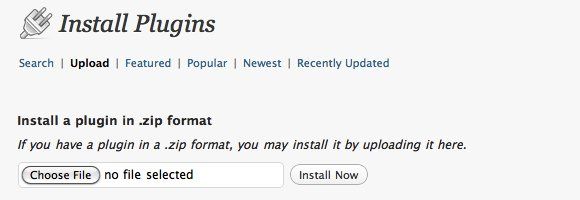
Download the plugin and install it from the plugin section of your Wordpress blog. Go to the "Upload" area of "Install Plugin", choose the zip file, then upload and install the plugin.
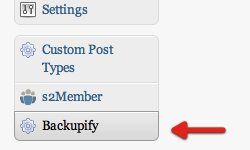
The Backupify settings will appear in the sidebar menu.
Inside it is the "Initialize Plugin" button. Clicking on it will bring you to the Backupify website and your blog will be added to the list.
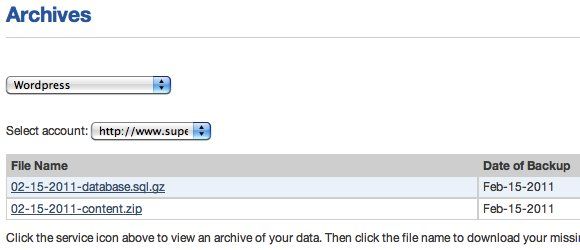
The backup will be accessible from the "Archives".
There's a problem about adding services from the old platform if you are using the new platform: both platforms are not integrated (yet). So, you have to go back and forth between the two platforms to access the backups. I also don't know whether the trick will work on the new users.
What I like about Backupify is its ability to back up data from various social medias. Since everything is done automatically, all that the users has to do is set up the services once then forget all about it.
Have you tried Backupify? What do you think about it? Do you know and use other alternatives? Please share using the comments below.


