Dremel 3D Idea Builder
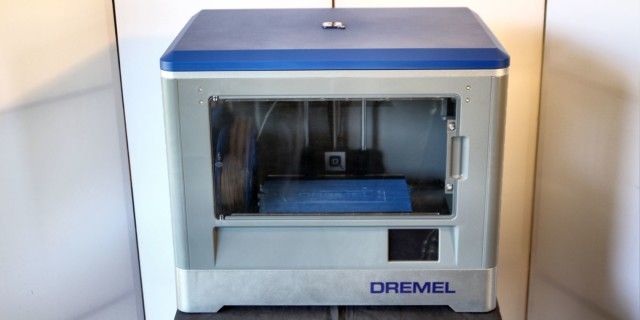
Is 3D printing ready for consumers? Dremel, a brand synonymous with rotary tools, makes a great case for it with their $999 3D Idea Builder. The 3D Idea Builder targets DIY consumers and creative types with its easy 3D build process, simplified setup, and easy-to-use software. It also offers Linux, Mac, and Windows compatibility. But is it worth $1,000?
I've Never Used a 3D Printer Before
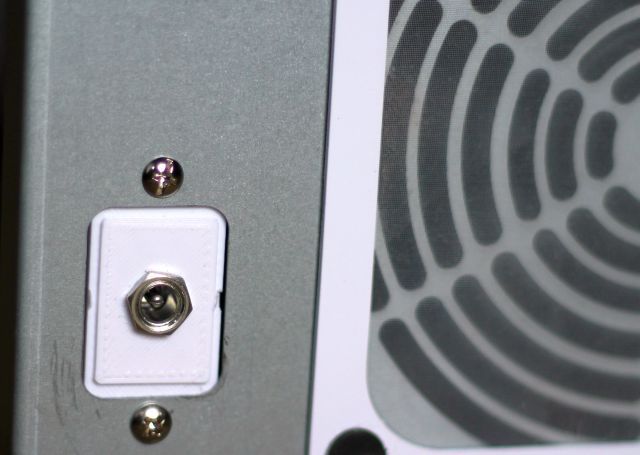
Dremel's printer caters to first-timers, like myself. But someone should have warned me about the dangers of 3D printing. It's drug-like in its addictiveness, particularly if you're always brewing up a DIY project. I spent days looking for STL files (printable 3D models) from websites like Yeggi and Shapeways, and found amazingly useful 3D models. There are parts that aren't even being manufactured that you can only print on a 3D printer. For example, I found a DC jack plug that fit into a custom PC of mine. The 3D model wasn't designed for my computer, but by chance it fit almost perfectly.
It's not limited to fixing up old computers, either. 3D printing offers real value. If you could print out replacement parts instead of buying new products, within a few years you can recoup part of the printer's cost (check out 9 cool things you can 3D print). And if you're just fabricating home products, you might even sell them. There's also the convenience factor: If users can replicate hard-to-find parts, they can avoid a trip to the store.
Specifications and Design
- One spool prints out around 5 large models, 16 medium sized models, and 36-45 small prints.
- SD Card supports up to 32GB (which means it's FAT32)
- 4GB internal memory (external SD card included)
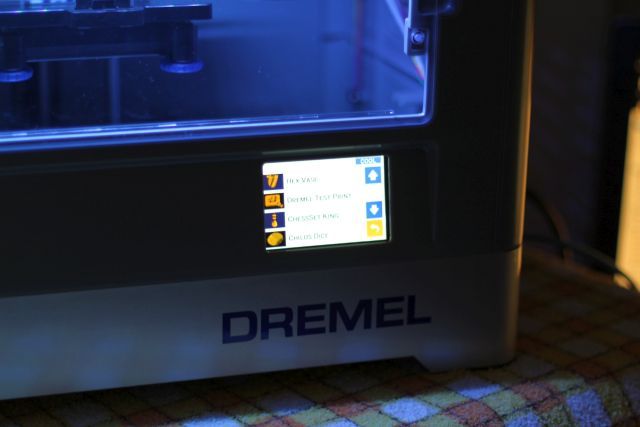
- Resistive touchscreen
- Single extruder
- Two active cooling fans
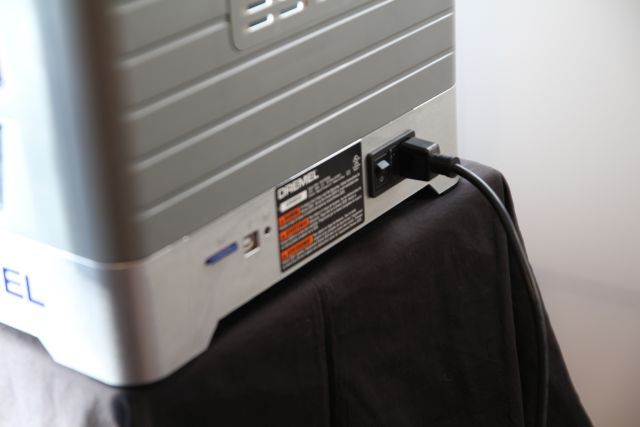
- Ports: USB 2.0 port, USB B port
- System: Cortex M4 Processor
- Layer thickness: 100 microns (0.004 inches)
- Dimensions: 400mm x 485mm x 335mm
- Build resolution (minimum layer thickness): 100 microns
- Build tray dimensions: 230mm x 150mm x 140mm
- Weight: 8.945kg
The Dremel uses the tried and tested Fused Deposition Modelling (FDM) method of 3D printing. Unlike the newer 3D printing methods, FDM costs much less and requires less labor on the part of the user. This makes it an ideal product for first-timers and for the field of education.
The Dremel 3D Idea Builder comes with a spool of its proprietary PLA plastic. There's very little assembly required and there's a minimum number of loose parts. Inside the box there are a USB 2.0 cable, a power plug, a wedge, and two covers for its build tray. The build tray requires removal, in order to install the PLA spool. After that, you apply tape to the build platform. I found that the build platform tape supplied tenaciously adhered to extruded PLA plastic. I tried painter's tape and found it was much easier to dislodge from freshly printed models.
Setup and Configuration
Setting it all up takes around 15 minutes, depending on how much time it takes to watch Dremel's video. Before getting started, I recommend watching the video. There are a few things that a first-time user might get hung-up on.
The setup and configuration process is as follows:
- Remove the build platform;
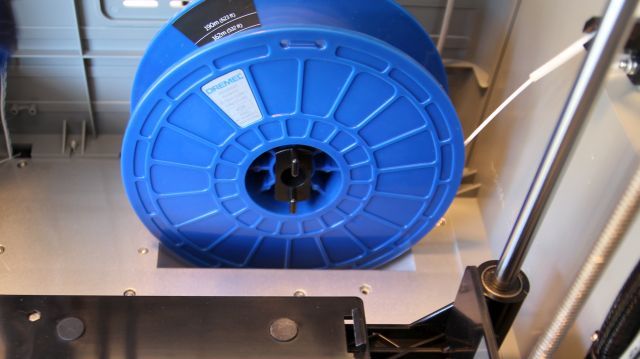
- Place the filament spool onto the spool holder and lock in place;
- Thread filament through the filament guide tube and into the extruder;
- Place build tape over build platform;
- Reinsert build try;
- Plug in 3D Idea Builder;
- Optionally (and highly recommended), install Dremel's software;
What makes the Idea Builder stand out from its competition is its ability to store 3D printable models within its internal memory (4GB SD card), so users needn't to connect via USB to begin printing.
Printing 3D Models
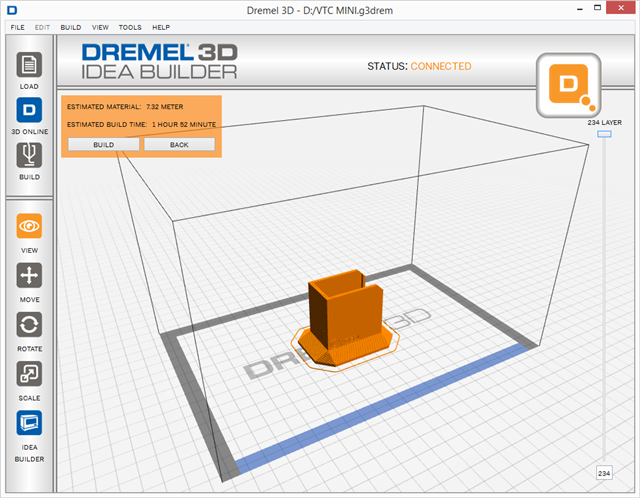
Dremel's software lies at the Idea Builder's heart. The 3D software can load most 3D model files, including STL and a few other formats. But it converts it into Dremel's proprietary file format before beginning a print. Users can choose between printing designs stored on the included 4GB SD card, or they can download models online.
Unfortunately, the printer itself only reads Dremel's proprietary format, so unless the printer connects to a computer with Dremel's software installed, you can't print downloaded models directly from the device. This is a somewhat limiting factor, as it requires that users either install the software or convert every STL (or other) file format into Dremel's proprietary format.
Proprietary Filament
The Idea Builder works best with Dremel's proprietary PLA filament, though will not print ABS due to lack of a heated printer bed. The Dremel PLA comes in a rainbow of colors, ranging from silver to translucent. It costs around $30 – compared to other filaments, this is about $6-8 more expensive. While this isn't a tremendous difference, it's worth mentioning. I don't consider the use of proprietary filament to be a deal-breaker as it's been reported online that Dremel only recommends its use (we assume it results in better print jobs). There's been many online accounts of non-proprietary filament working without issue.
Updating Firmware and Software
Dremel also includes upgradeable firmware. The update process is unbelievably simple:
In short, installing Dremel's 3D printing software and connecting it to the printer automatically updates the firmware.
Using the Dremel 3D Printer
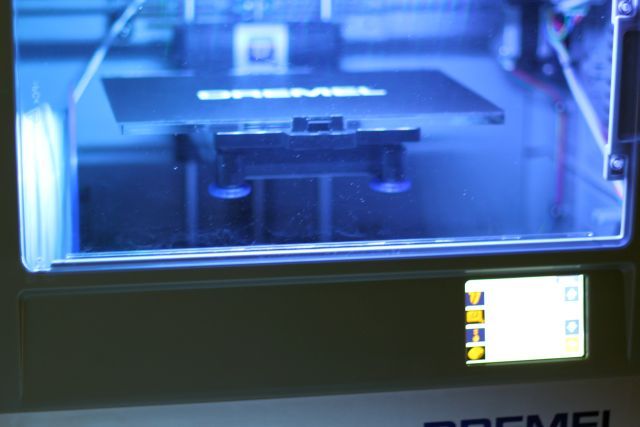
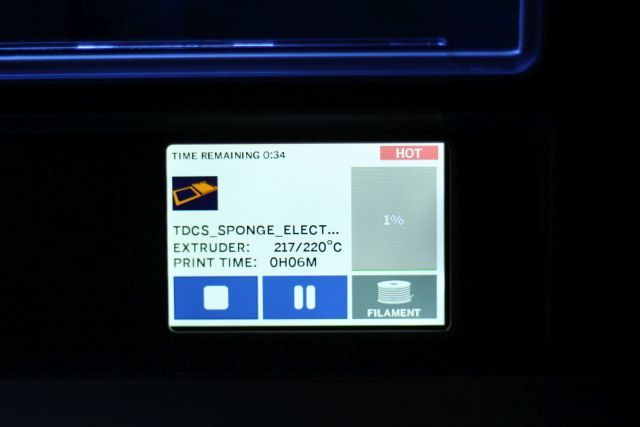
The Dremel user interface includes two basic options: Build and Tools. Under the Tools option, users can choose between Filament, Level, Home, Job Mode, Setting, Preheat, and About. Thankfully, most users won't need any of these options, which makes printing much easier for novices. The most relevant of the configuration settings is Preheat, which reduces the amount of time spent waiting for a 3D print to begin. But even preheating is an unnecessary step.
Out of the two printing options available (print from internal memory or via USB cable), I elected to install Dremel's 3D printing software and print via a USB cable. Because connecting through a USB cable automatically updates the firmware on the 3D printer, I highly recommend a direct connection between the printer and a PC.
After installing Dremel's software, users simply open a 3D model and Dremel's software should automatically launch. From there, users just select the build button to get started printing. If users haven't initiated the pre-heating cycle, it takes less than 5 minutes to begin printing.
What I Didn't Like About the Dremel 3D Printer
The biggest issue with the Dremel 3D printer: It doesn't read STL files, which is the industry standard for 3D models. Instead, it reads its own proprietary G3DREM files. It's possible to convert G3DREM files to STL, but it's an extra step that absorbs a needless amount of time. However, Simplify 3D – which is the leading third party commercial printing software – does support the Idea Builder.
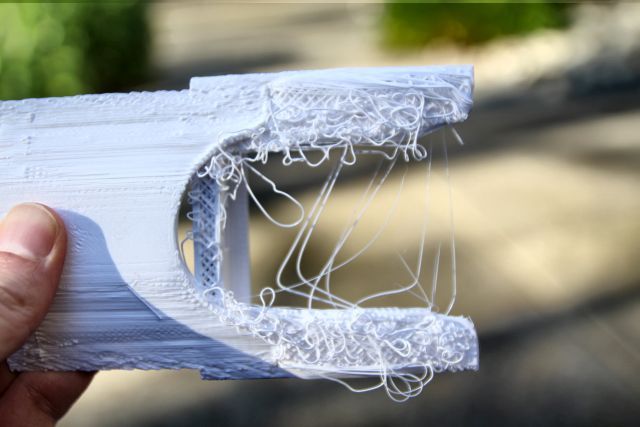
The second biggest issue is that the Idea Builder software doesn't appear to automatically generate supports for printing bridges and models with an overhang. We've reached out to Dremel's customer support for confirmation and are waiting on a response.
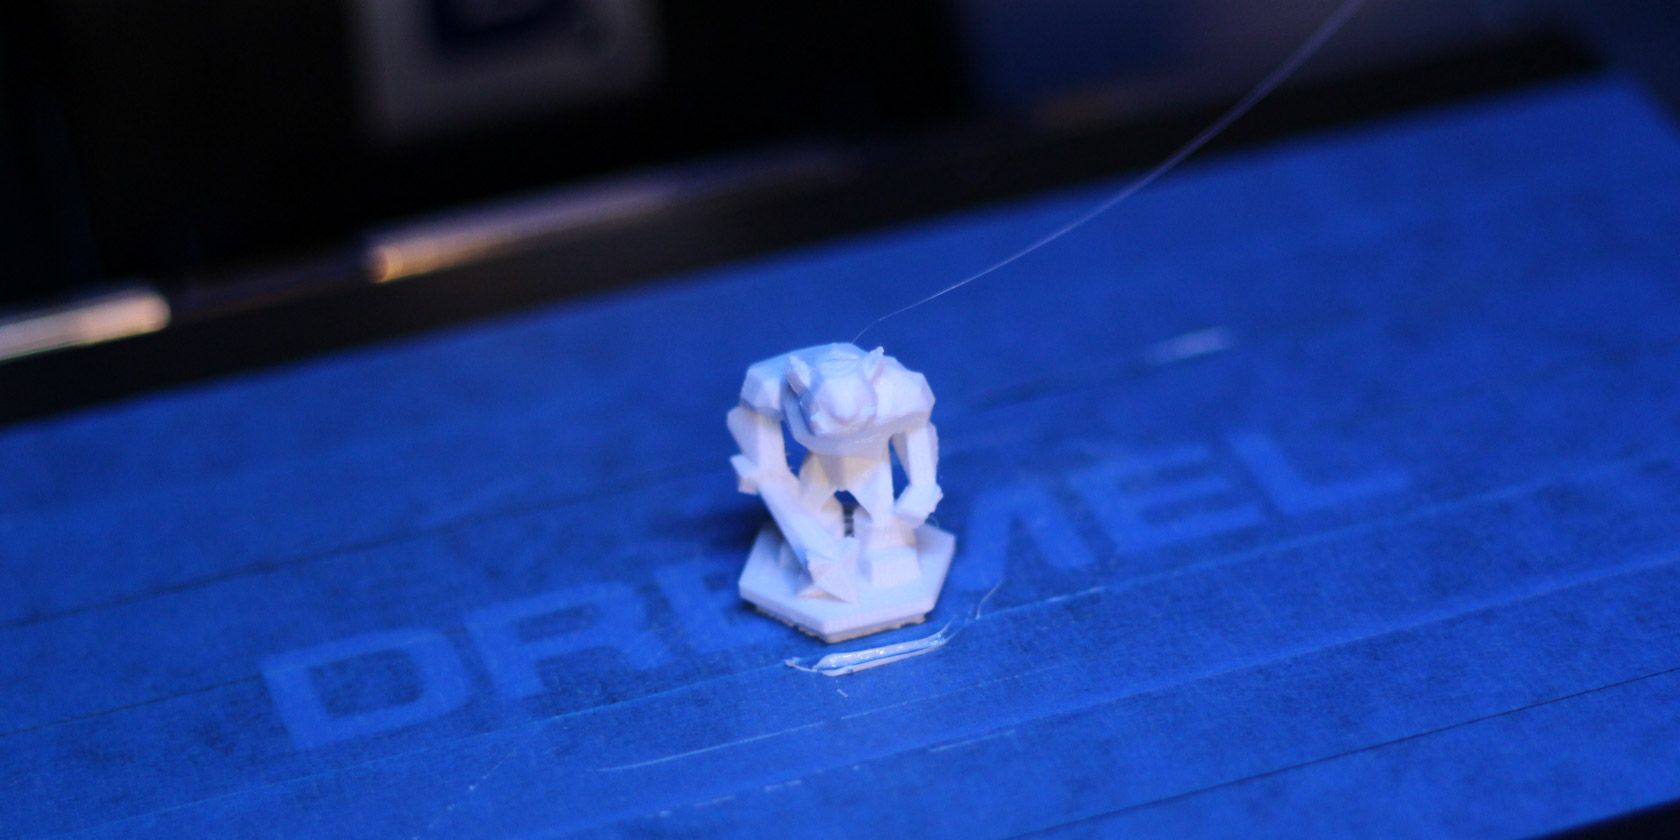
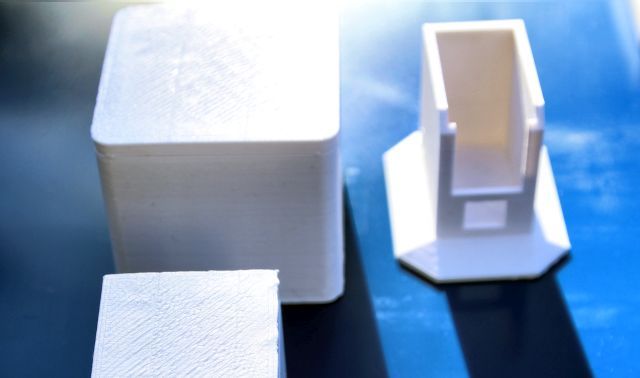
This isn't really the printer's fault as it is mine. The model in question probably wouldn't print out on any $1,000 printer. As far as bridging goes, the Dremel seems quite good. For example (in the image below), on the right there's a really well-done bridge:
There are few useful pre-built designs: If Dremel wants to really engage users in the home improvement and DIY market segment, they need to include ready-made models for practical, useful things. I'm talking about spacers, screws, washers, and other components that might require a trip to the hardware store. It's worth noting that Dremel provides a large library of really useful 3D designs -- it's just that the models included on the 4GB SD card aren't really useful. If Dremel included jaw-dropping 3D models, I'd be more likely to choose their printer over competing products.
Software bug: Dremel's software also suffers from bugs. For example, using Dremel's 3D desktop client following a print causes the USB to disconnect from my desktop. I couldn't determine what caused the issue – but it requires powering down the printer and repowering it on. I'm pretty sure that Dremel will issue a software update in short order.
Resistive touchscreen: The choice of a resistive touchscreen in the Idea Builder is concerning and confusing. It's concerning because resistive screens rely on pressure to register touches, rather than conduction. Unlike a smartphone capacitive touchscreen, a resistive panel breaks down slowly over time. The more the touchscreen gets used, the faster it breaks down. While a resistive panel may last through years of heavy use, when it breaks down, it loses touch sensitivity in the areas that users touch most. The choice of a resistive screen may be simply a cost-cutting solution.
Should You Buy a Dremel 3D Idea Builder?
My gut impression is that the 3D Idea Builder should be about $100 to $200 less expensive. While it offers a seamless plug-and-play configuration process, solid software, and good all-round specifications, it's not perfect. For $400 more, you can get a dual extruder CEL Robox which prints at 20-micron layer height with any filaments (ABS, PLA, and more). If your target price is less than $1000, the Idea Builder competes against the very similar Craftbot and FlashForge Creator. In the $1,000 category, the Dremel 3D Builder comes out ahead in terms of its expandable internal memory and ease of configuration -- although it doesn't offer dual extruders or a heated build platform. And if you're printing smaller models, you might want to check out the M3D Micro, which retails for $350.
[recommend]Buy it if you're a 3D printing novice and don't mind spending $1,000 on a 3D printer.[/recommend]
Send your products to be reviewed. Contact James Bruce for further details.

