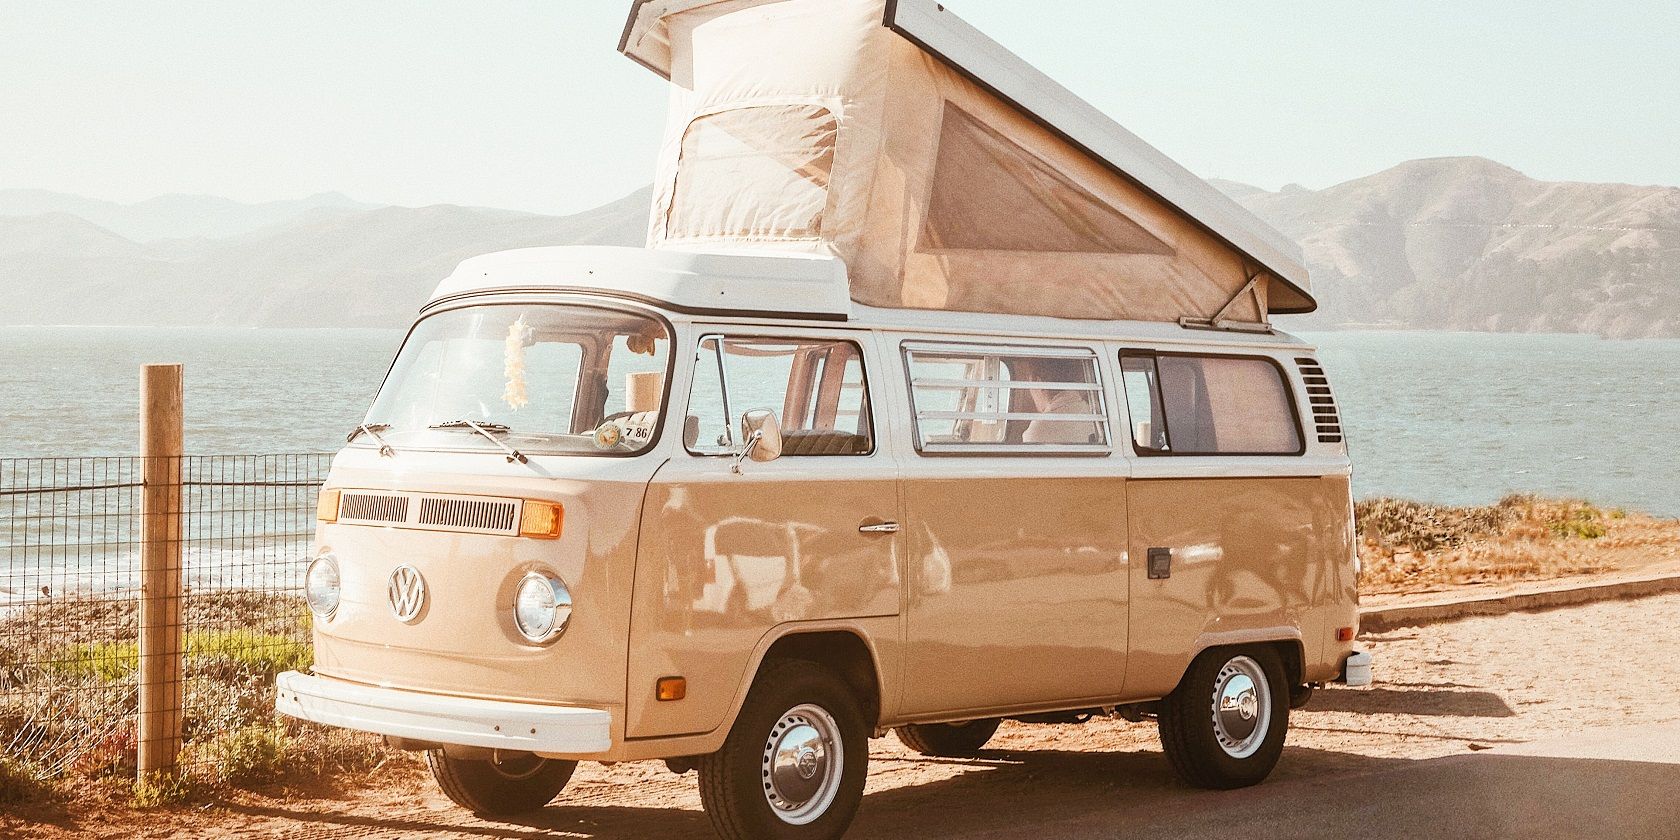
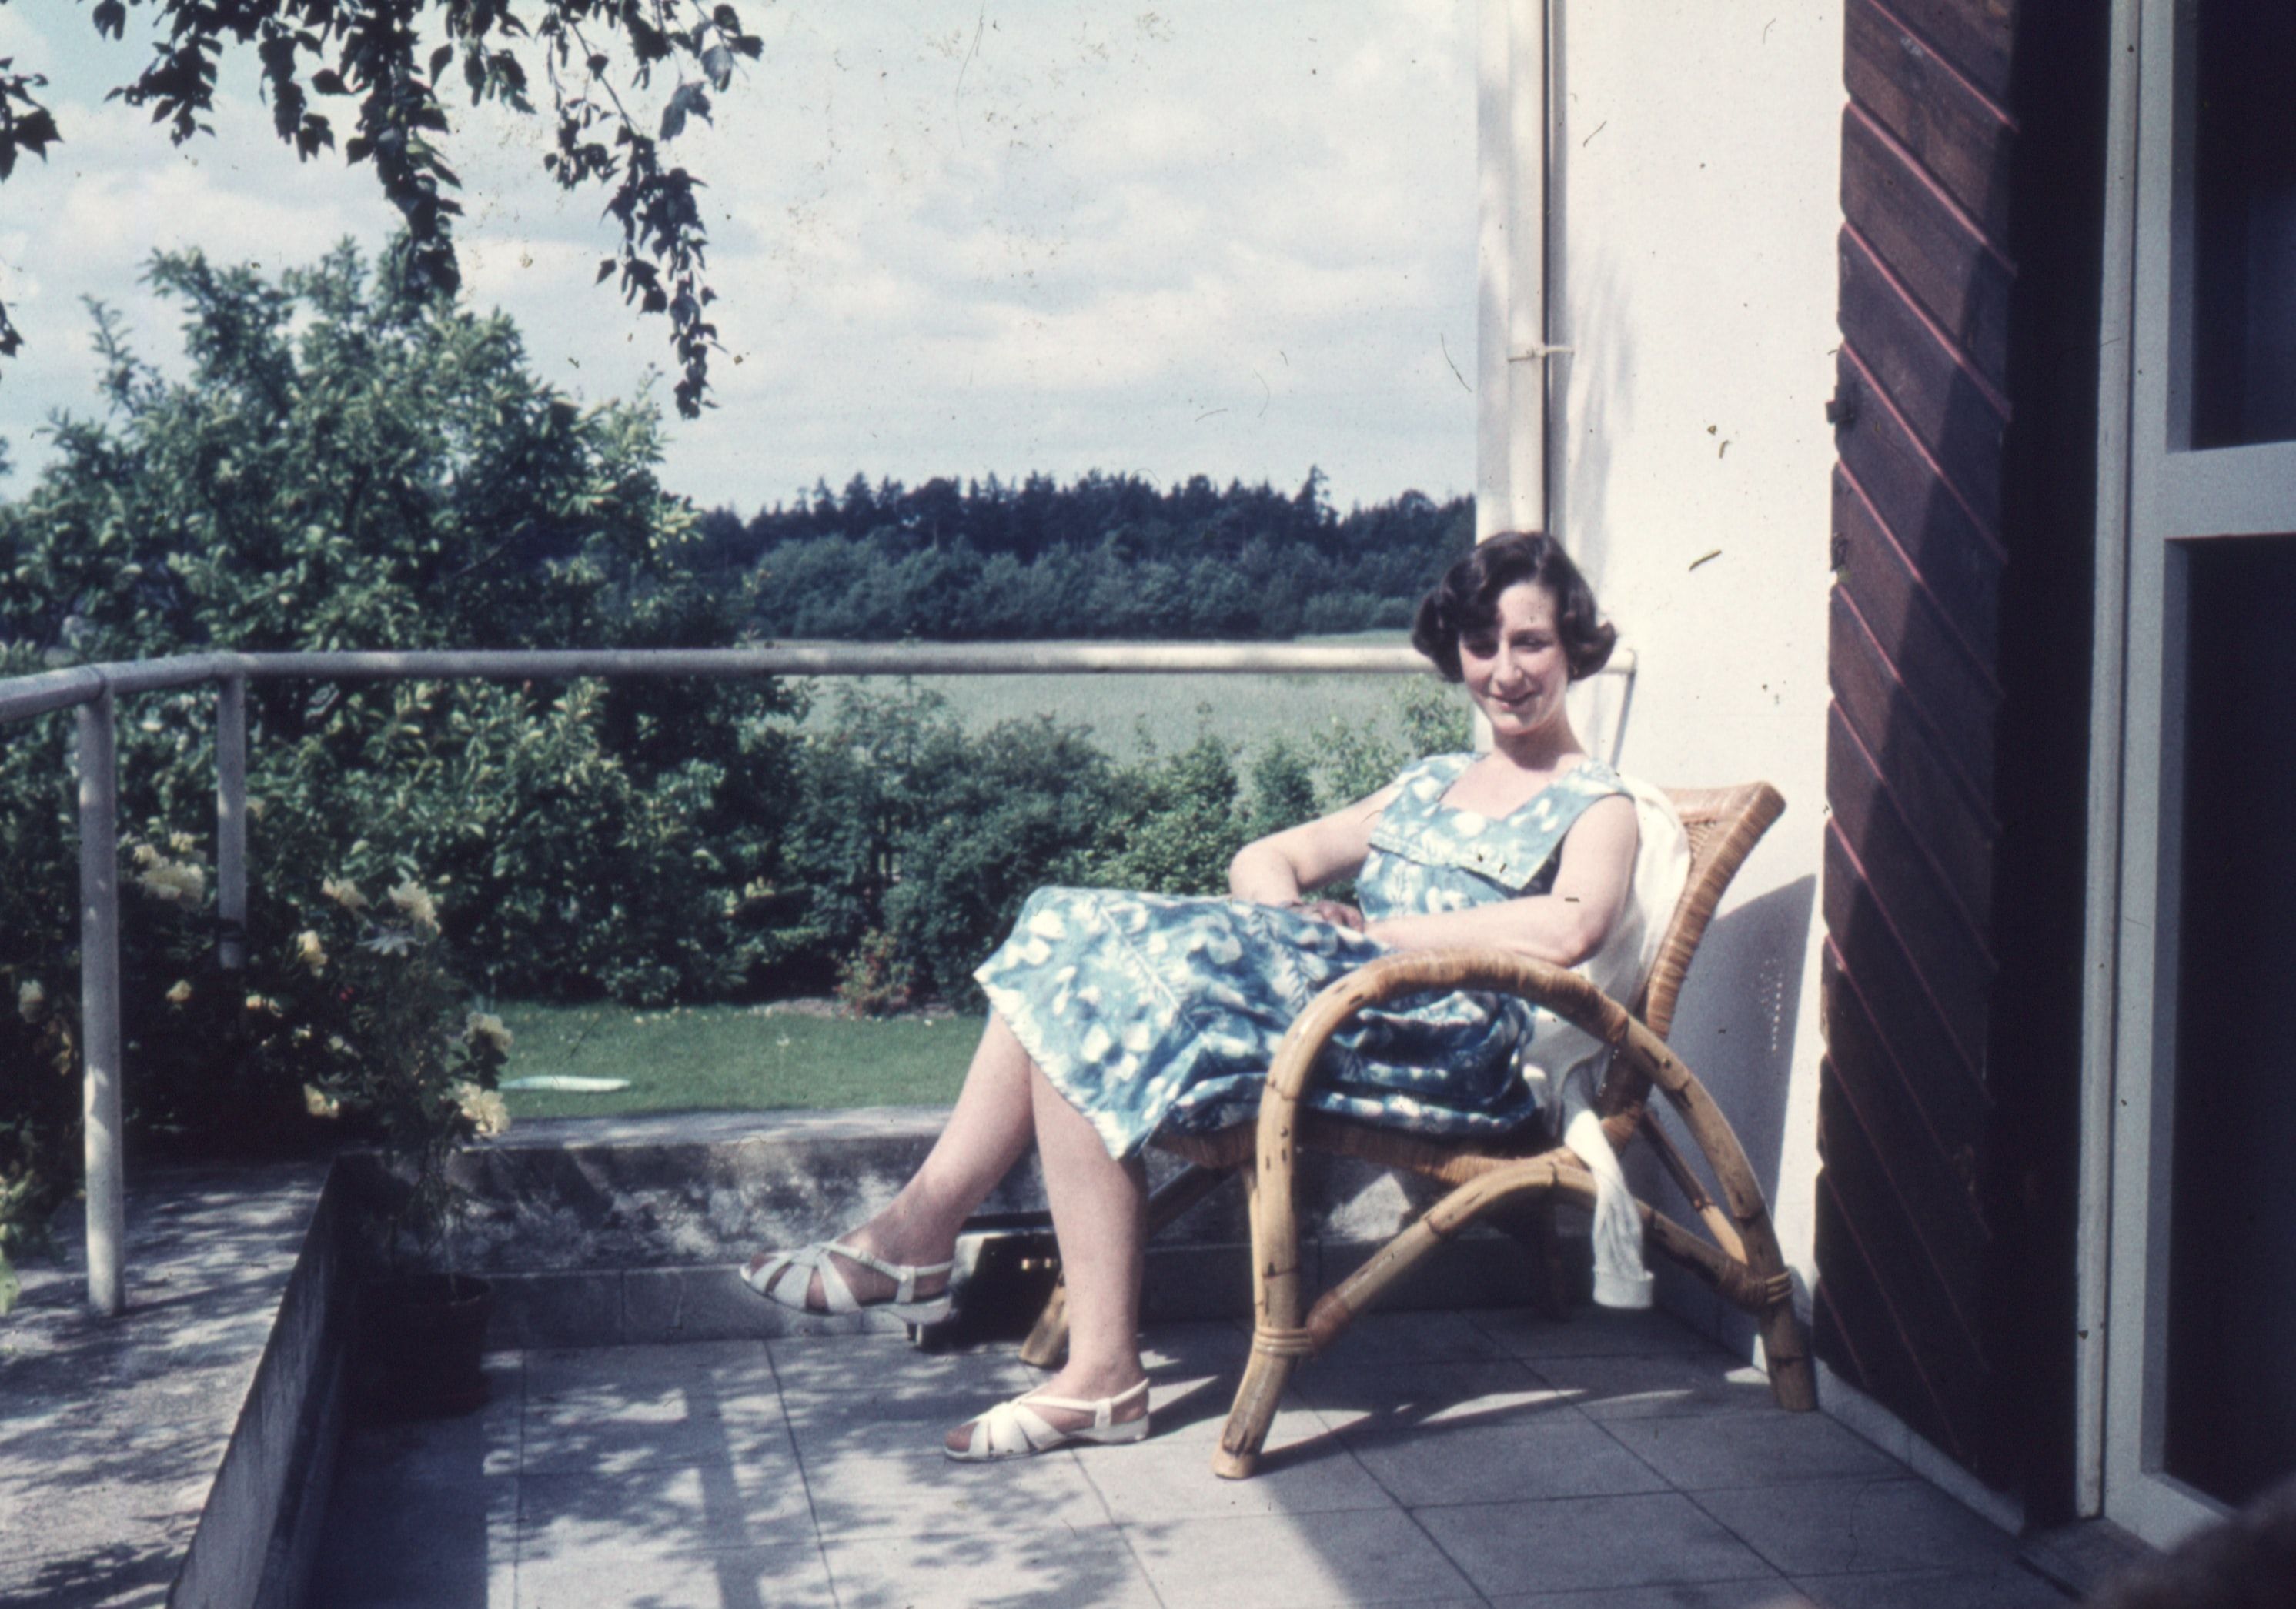
There's something about the retro and the vintage that seems ironically timeless.
As digital access to music exploded, vinyl sales surged. As futuristic glass tower blocks were erected around cities, 19th-century gentrified warehouses became the hippest hangouts. And as everyone became avid smartphone photographers, vintage photo manipulation apps became ever popular.
Making your photos look more like retro film photos in Adobe Lightroom is easier than you think. You can make these changes as subtle as you like. In this article, I'll show you exactly how to do this—but first, a little about why faux-vintage photography has become so popular.
The Appeal of Faux-Vintage Photos
This appeal of the retro, or faux-vintage, is separate from the vegetable-tanned leather bag hipster culture that's become so ubiquitous. That being said, there are overlaps in the held values of creativity and authenticity, but these can be expressed more subtly than through an Instagram filter.
Nathan Jurgenson argued similarly in his breakdown of the rise of the faux-vintage photo. In the digital age, anything made with bits and bytes is abundant. Anything with physicality is becoming increasingly rare, and therefore valuable. But those physical things (like film photographs) that do survive have often done so for a reason. Because of the stories behind them, their quality, or feelings they evoke.
These are emotions that are pretty difficult for an amateur photographer using a smartphone camera to achieve.
This abundance of mediocre photos often fails to evoke any meaningful reaction. But a well-created vintage effect, that mimics the physicality of film, can evoke a nostalgia that harks to a story well told or a memory worth keeping—much like how vignettes and radial filters can evoke awe and eeriness in black and white photography.
Producing this kind of nostalgic effect in an app like Instagram is incredibly limited. Though with a few tips, you can create amazing photos on Instagram. If you have access to Adobe Lightroom, however, you can achieve a lot more, while keeping your photos at full resolution.
How to Create Retro Photos in Lightroom
One of the main differences between an aged film photo and a digital photo can be seen in the black areas of your image. In digital photos, true blacks are strong. In old film photos, they are much softer with a matte effect.
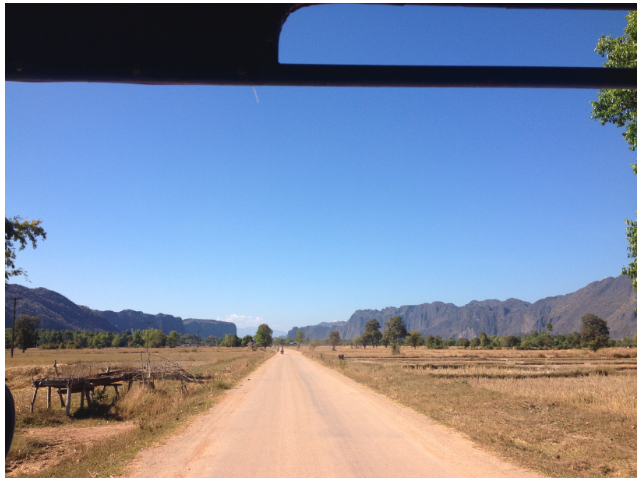
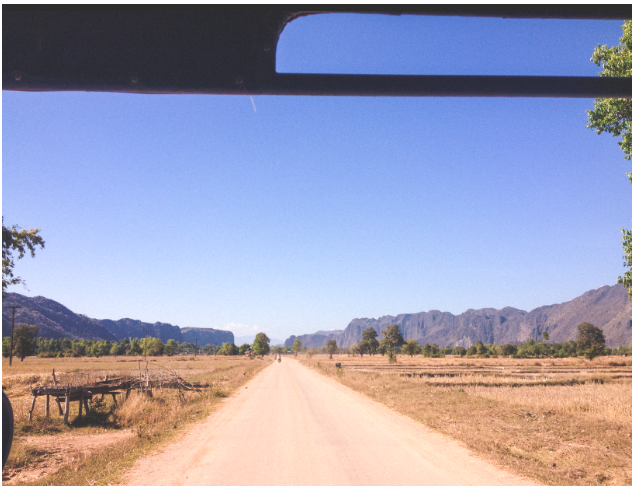
We'll show you how this looks using a photo taken on an iPhone. Here's the original. Note how strong the black area at the top of the image is.
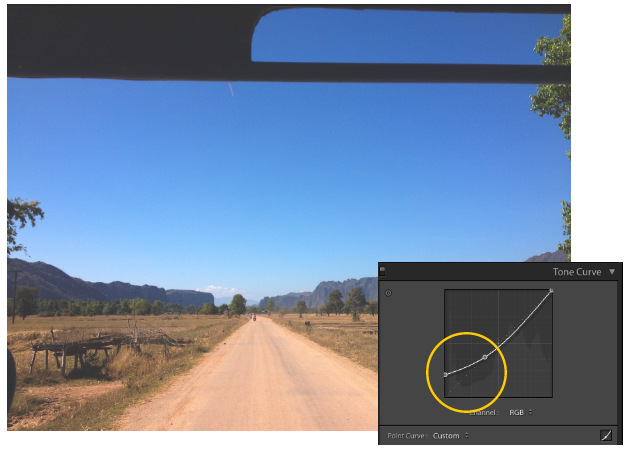
To quickly soften these areas of black, open up your photo in the Develop module of Lightroom. Go to the Tone Curve widget.
Spend a while playing around with the left side of the tone curve to see the effects you can get. As you're doing this, you can quickly flick between your photo before and after edits by hitting the Backslash (\). To undo any changes, press Ctrl + V on Windows or Cmd + V on Mac.
To create the matte look, we click on the tone curve just below the center point. This creates a pivot point, which means the shadows of the image can be manipulated without really touching the highlights. Then, drag the bottom of the curve upward until you achieve the effect you want.
As you can see, the blues have retained their vibrance, but the black areas are now much softer. For some people, this subtle change is all they need to add a slightly more film-like look to their images.
Additional Lightroom Settings for the Vintage Look
If you can't quite get the effect you're after using only the tone curve, you'll also want to play around with a few other settings. The one you'll use most often will be in the Basic widget. With these settings, you can make your photo look more like this (and hopefully better).
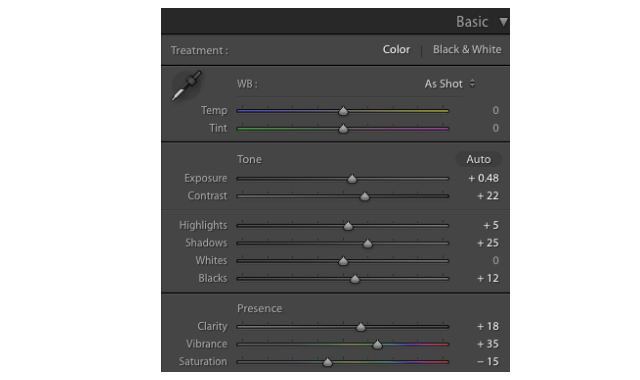
Below are the exact settings we used to achieve this effect (this might not be your style, but from these settings, it should be easy to tweak the numbers to find what you like). These settings are on top of Tone Curve shown earlier.
The main settings here are Exposure, Contrast, Highlights, Shadows, and Vibrance.
Exposure affects the mid-tones in your photo. That's the central area of the tone curve. If your photo is underexposed, you'll want to brighten it up with a higher exposure. If it's overexposed, you'll want to tone down those mid-tones by pulling that exposure back a little.
Contrast is the setting that helps to make the dark and light areas of your photo more pronounced. As you increase contrast, more detail will come through, and the different elements within the image will stand out more.
Highlights and shadows go hand in hand. If you want to squeeze more detail out of your highlights (the bright points in your image), you'll need to pull the Highlights slider to the left. If you want to pull more detail out of the shadows (the dark areas of your image), you'll want to pull the Shadows slider to the right. Alternatively, if you want to achieve a silhouette effect (less detail in the dark areas), pull the Shadows slider to the left.
While you're trying to achieve this retro effect, the colors in your image will sometimes start to look a little washed out. If this is what you want, great. If not, the Vibrance slider can help to bring those colors back, while still retaining the overall style of the photo.
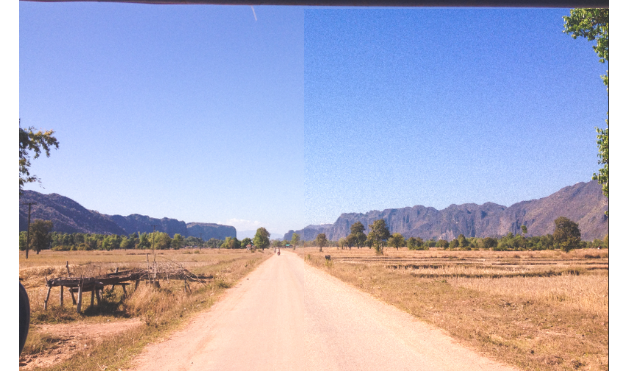
A final setting you might want to change is the amount of grain your image has. This setting can be found in the Effects widget in Lightroom. You can see how this changes the image above (using a grain setting of 74). The left is the image without extra grain, the right is with extra grain.
Saving and Reusing Your Settings
Once you've tweaked these sliders enough to find an effect you love, you'll probably want to save these settings, so you can easily apply them to other photos in the future. You can save your settings by creating a preset.
To do this, click the + button on the Presets widget. When the presets window opens, select all the settings you want to be saved to this preset, and give it a descriptive name.
Once saved, an option for this preset will appear within the user presets section of the Presets window. Whenever you want to apply all of these settings to another photo, simply open the photo in the Develop module, and click on the preset name.
The Last Resort for a Retro Photo Effect
If you still can't achieve the vintage or retro effect you're looking for, you may want to buy a Lightroom preset. These are presets someone else has made, which you can then apply to your own photos.
Browse a few sites, like Lightroom Presets (pretty expensive) or GraphicRiver (very affordable), to find the style of photo you want to mimic.
If you've managed to create a preset that you're happy with, read our guide on how to sell your Lightroom presets.
Evoke Nostalgia With Vintage-Style Photos
As you can see, it's pretty easy to create that faux-vintage look, and with all these settings, you should be able to find a style you love in no time.
It goes without saying, though, that a nice preset is only one step in creating amazing photos. Learning how to use depth of field, studying composition, and doing anything else you can to improve your photography will all serve to achieve the style you want without needing filters and presets.

