There are two main stages involved in the website design process. The first is designing the look of the pages and the second is translating the design into the actual product - the webpages. The first stage requires design skill while the second stage needs coding expertise. The problem is, finding an individual who has both skills is difficult.
For those who have better eyes for design (and no interest in coding), there's Muse from Adobe. The company claims that this multi-platform AIR application can help anybody to design and publish HTML websites without having to write any code whatsoever.
Start Planning Your Personal Landing Page
One question before we begin. Why would anyone use a web building tool like Muse when you can use Wordpress and its themes instead? The answer is "customization". Even though there are literally thousands of Wordpress themes out there, customizing the theme to really fit our needs is difficult. Another reason is that using a Wordpress advanced database system for a simple and linear site would be overkill.
You can download Muse from the website. It's available for free until the v.1.0 release in early 2012. The application works under Windows and Mac, but it requires that your system has AIR installed.
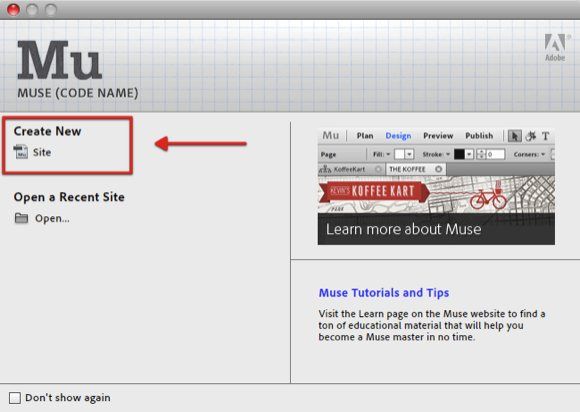
To better understand how Muse works, let's try to use it to create a simple personal landing page, something along the lines of Flavors.me or About.me. Start by choosing "Create New Site" from the startup window or from the File menu.
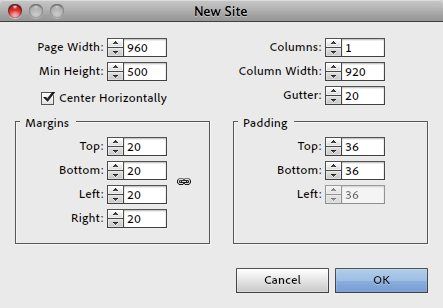
- Then you will be asked to customize your site by choosing the page width, the number of columns, margins, etc.
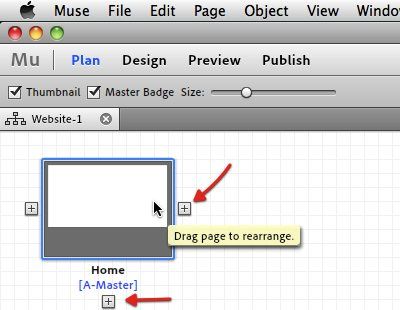
- The first step in building a website is deciding how many pages it will have and what the relation is between the pages. You can easily add, delete, and rearrange pages in the "Plan" window.
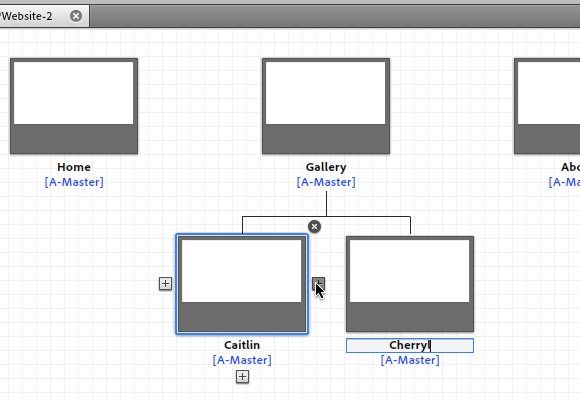
- Click the "+ (plus)" button to add, and the "X" button to close. Click on the page name to rename, then drag and drop to rearrange.
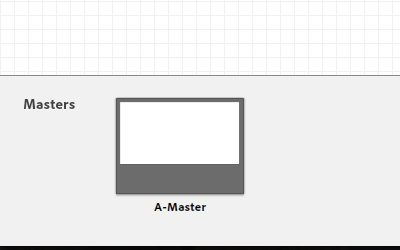
- At the bottom of the page, you can see the A-Master page. This is the template that will be used throughout your site. So if there are elements you want to keep on all your pages, it would be so much easier if you define the elements at A-Master instead of repeating them over and over.
Start Building
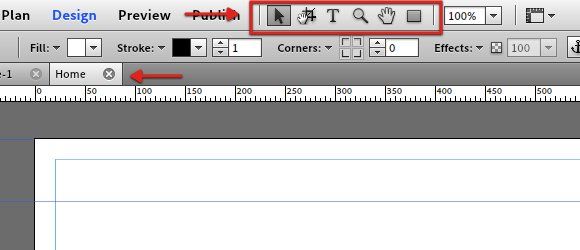
- If you double click one of the pages, it will be opened in a new tab. You can start building and designing the pages using the tools at the top toolbar.
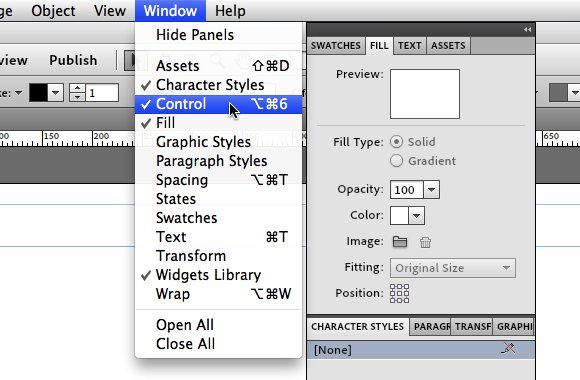
- Other tools that will help you along in the design process are the "Panels" on the right. You can show or hide these panels via the Window menu.
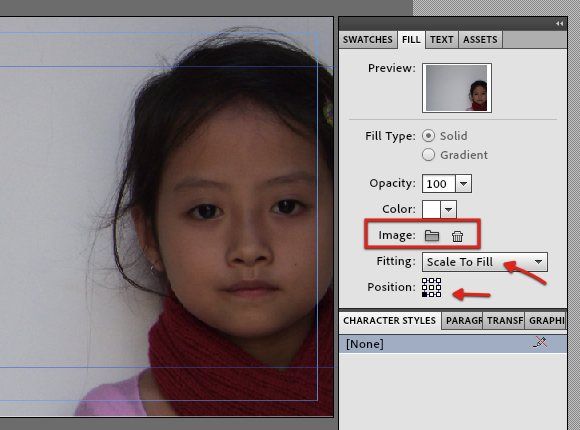
- To build our personal landing page, let's change the background by inserting an image. You can customize the image by changing the scale and position.
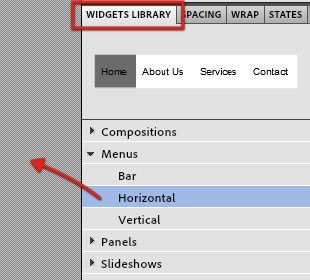
- Next, let's add a navigation menu by choosing it from the Widget panel, then dragging and dropping it into the webpage.
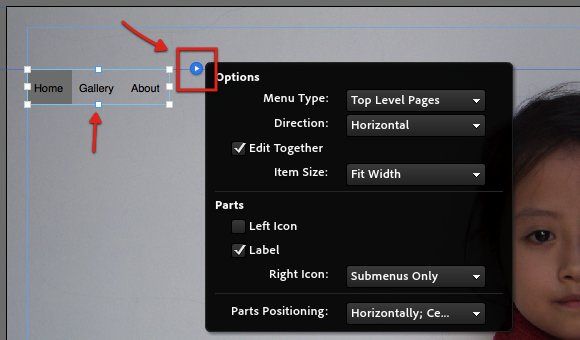
- You can customize the navigation menu using the "Options". Click the small blue arrow to summon the Options window.
- You can also change the text appearance (type, color, size) using the "Text" tab in the right panels.
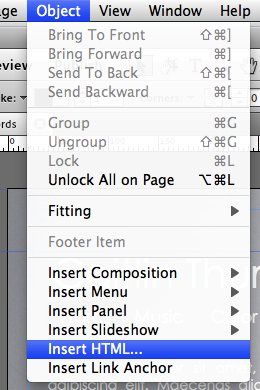
- Then you can add Texts and Rectangles using the tools on the toolbar. Drag these elements to the position that you want, and customize them via the right panels. To add external links (or other HTML elements), use the "Insert HTML" menu under "Object".
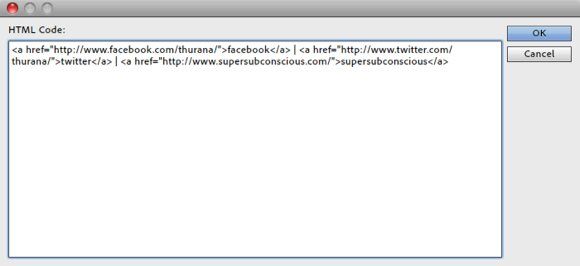
- Write down the HTML code of the links in the pop-up window and click OK to add it to the site.
- Similar to the other elements, the inserted HTML code is highly customizable. Unfortunately, we still can't change the link color. Hopefully this feature will appear in a future version of the app.
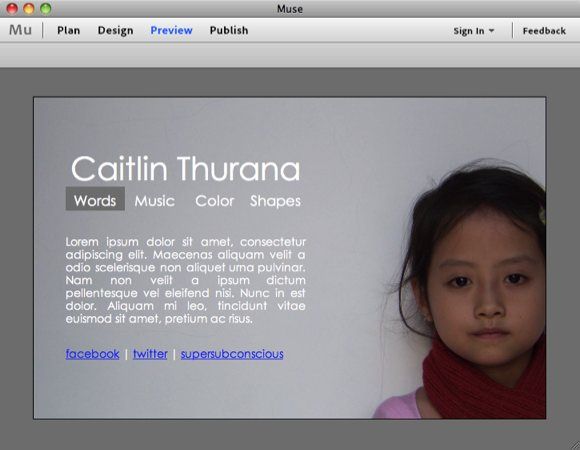
- After everything is set, you can see the result by clicking on the "Preview" link.
The Last Step
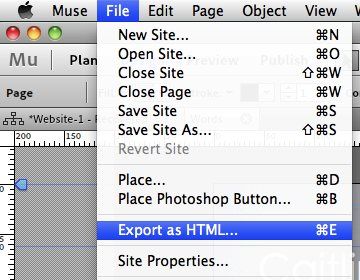
- After everything is set, you are ready to put your site out on the web. To do that, use the "export as HTML" menu under "File".
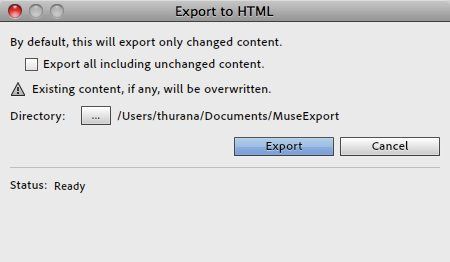
- Decide on the location to save the project, and click "Export" .
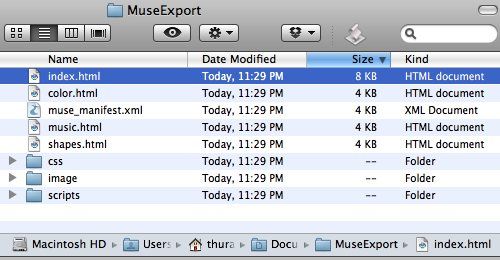
- If you want to attach your personal landing page to a URL you already own, use any decent FTP client to upload everything inside the folder to your web hosting account. Since different hosting providers use different settings, please consult your hosting provider about this.
This short experiment has shown us that creating a personal landing page using Muse is as simple as adding and customizing elements. But Muse is also capable of creating more complicated sites with multiple pages. There are many examples of websites showing what Muse can do on their "Showcase" page. To learn more about Muse, you can visit their "Learn" page.
What do you think about Muse? Will you try this tool to help you build your website? Share your thoughts in the comments below.

