<firstimage="https://www.makeuseof.com/wp-content/uploads/2010/07/00-Registration-Form.jpg" />
If you manage one or more blogs, I'm sure you realize the importance of interaction. Aside from the comments area, the best way for visitors to contact and interact with the blog owner is via a contact form. In Wordpress, if you want to create a registration form, it's as easy as installing and activating a plugin, and one of the most well known contact form plugins is cformsII.
But cformsII is no ordinary form creator. You can customize it and create anything from a simple contact form to multi-page forms to a tell-a-friend form. So when one of my colleagues asked me to help him create an online registration form for a regional competition his company is holding, cformsII automatically popped into my mind. (This plugin might also be one of the alternative answers to this question)
This registration form would be where people could submit their personal information and copy of payment receipt to register for the competition. Here's how cformsII features helped us to complete the task.
Downloading And Installing
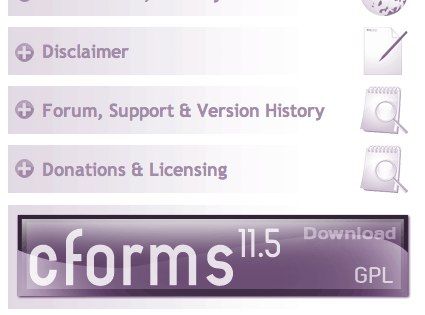
Let's start with the installation process. You can't use the Wordpress built-in plugin search to find cformsII. You have to go to their site to download the plugin.
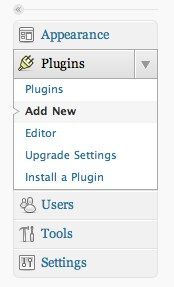
Then go to your Wordpress blog and click "Add New" sub menu under "Plugins".
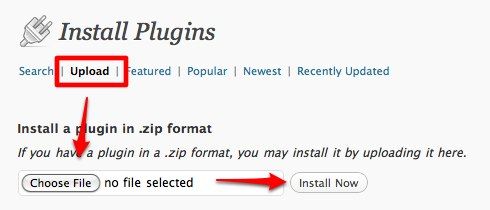
In the "Install Plugins" page, click the "Upload" link, click "Choose File" and browse for the downloaded plugin, and finally click "Install Now".
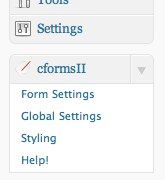
You'll got new new menu on the site.
Building New Forms
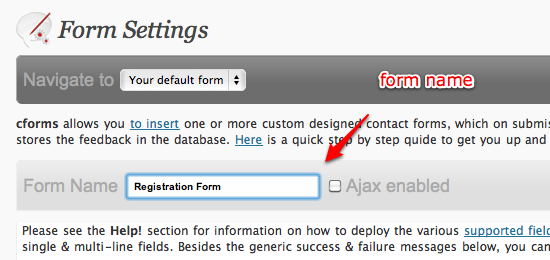
This plugin comes with one basic form which can be adjusted easily to fit users' need. To begin, you can easily change the name of the form.
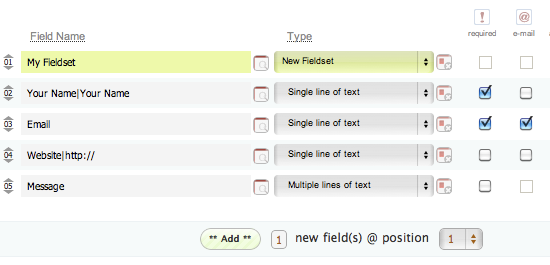
Then you can edit the name and type of each field of the form. Adding new lines is also as simple as telling cformsII how many and where to put the new fields. Just make sure that you've already planned about how many fields that you need in your form and the function of each one.
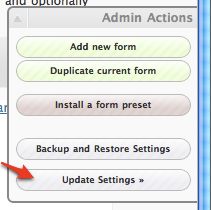
There's the "Admin Actions" pane on the right side of the screen. You can use it to add new forms or duplicate the current form. But the most important function of this pane is the "Update Settings" button. Don't forget to click this button every time you made changes to your form to save the changes.
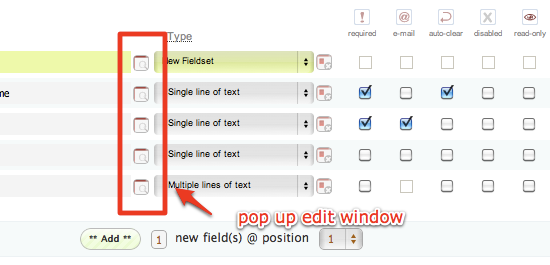
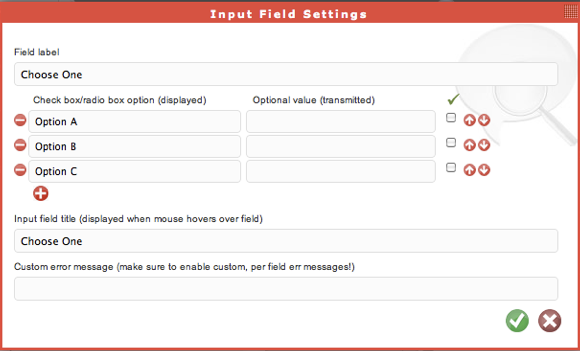
The easiest way to modify each form field is to use the "Input Field Settings". You can open the window by clicking the box in the middle of every field. (While the other boxes after the "Type" options are the delete button)
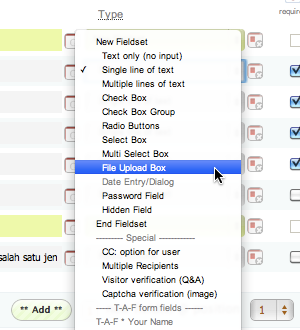
For example, you want to create checkbox with multiple choices, you can choose "Multiple Checkbox" from the drop down "Type" options, click the "Input Field Settings" button, then define each checkbox choices.
By combining text inputs and checkboxes, we can create almost any kind of form. And one of the field types is "File Upload Box" which allows people to upload small file such as copy of payment receipt.
You can also create as many forms as you need using "Add new form" or "Duplicate current form" actions.
Other Settings
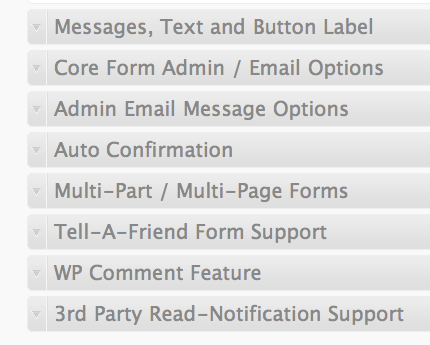
Aside for the form creation, there are other settings that you can adjust within the "Form Settings" menu. If you are only creating a simple form - like Submission Form - you can just leave everything as it is with the default value. But to make sure, you might want to check the email options to confirm that the email address where the submitted form will be sent is correct.
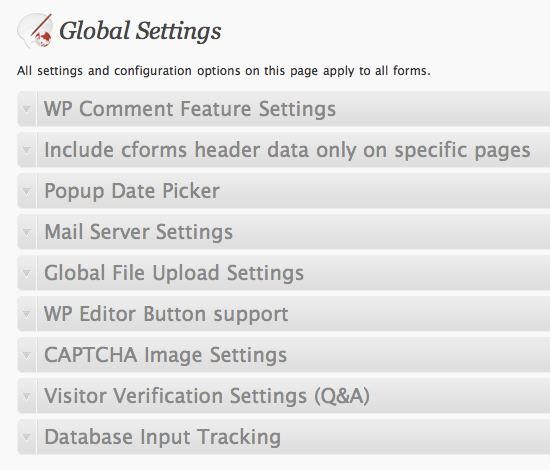
There are two other settings that you might want to adjust: the "Global Settings",
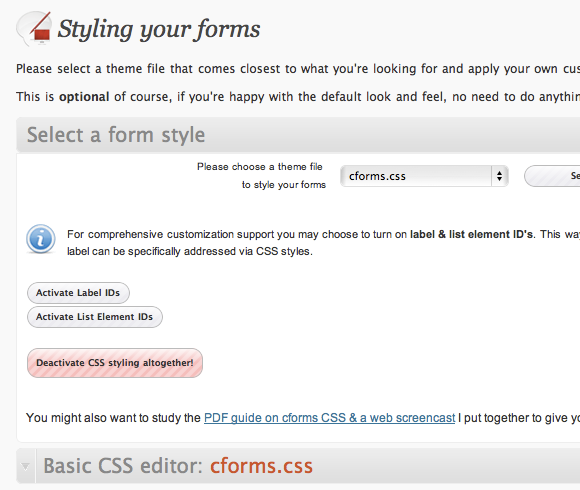
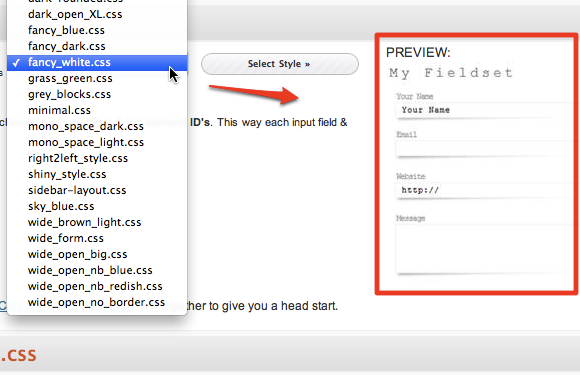
And the "Form Styling" where you can pick the appearance of your form(s) from the pre-made templates, and edit the CSS if you want to.
Choose one of the styles and click the "Select Style" button, and you can see a preview of what your form will look like.
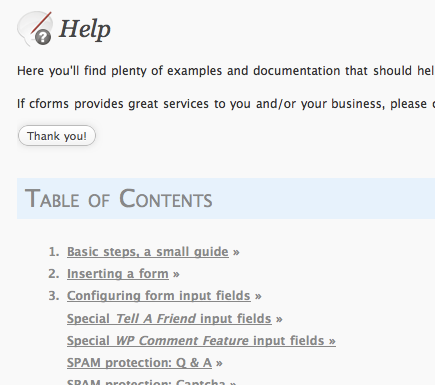
Last but not the least, "Help" is always there to guide you through the difficult times.
Inserting The Form
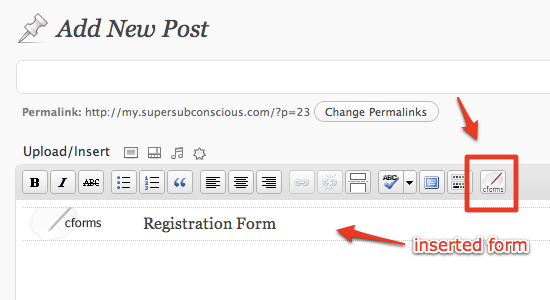
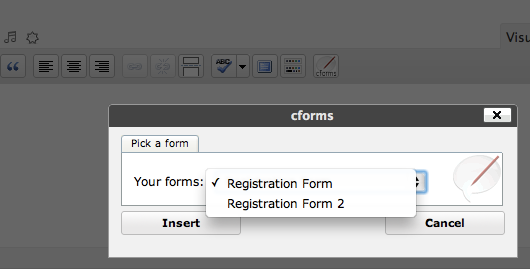
You can insert the form into your blog post, pages and even as a widget. All you have to do is to click the cformsII button;
And pick the form that you want to insert.
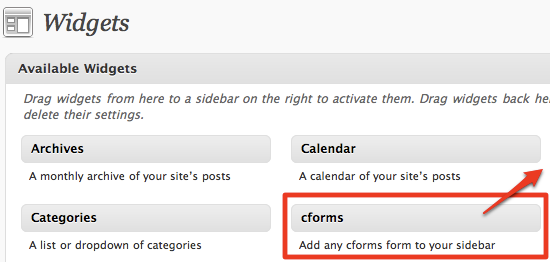
If you want to use the widget, go to the "Appearance - Widgets" menu then drag and drop the cforms widget to the Widgets area.
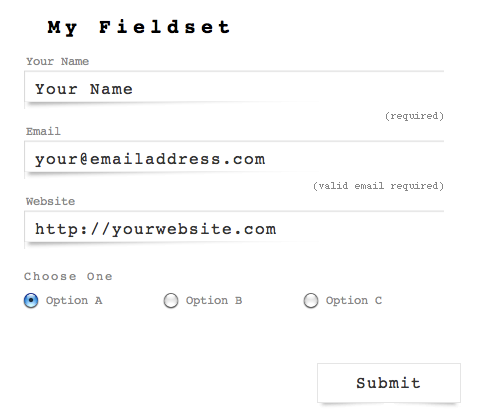
And here's an example of the published form.
What's Going On Behind The Curtain?
What will happen after somebody clicks "Submit"? The content of the filled form will be emailed to the owner of the blog (or to another preferred address). The plugin comes with its own mailing system called PHPMailer.
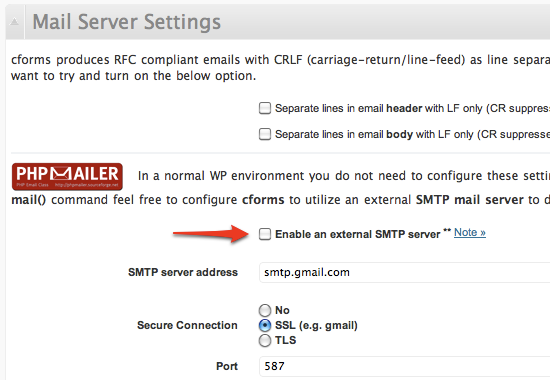
In a normal WP environment, you do not need to configure anything. Just leave it be and it will work. But if your web hosting provider doesn't support the native PHP "mail()" command, you can configure cformsII to utilize external SMTP server such as GMail. You can configure the settings under "Global Settings - Mail Server Settings" menu.
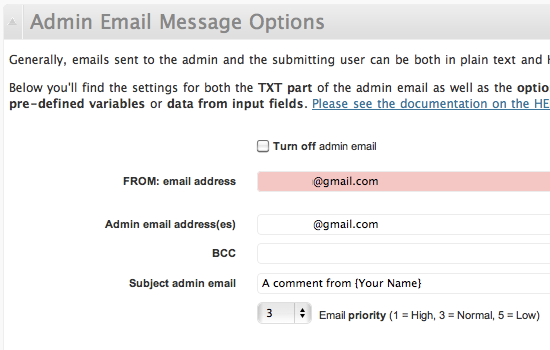
And as for the mail address(es) where cformsII should send the filled forms to, is configurable under "Forms Setting - Admin Email Message Options" menu.
A registration form is just one application of the many possibilities provided by the powerful cformsII. So if you ever need to add forms to your Wordpress blog, you can try cformsII and modify it to your needs.
Do you use forms in your blog? What kind of forms are they? What plugin do you use? Please share your experiences using the comment section below.
Image credit: Cameron Nordholm


