
Rainmeter remains the champion of Windows customization because users continue to find creative ways to use the program.
One recent innovation is the parallax background. Parallax effects are a simple and impressive way to enhance the look of your desktop background. They also incorporate live wallpaper features.
Let's take a look at how you can create your own animated desktop wallpaper using the parallax effect and Rainmeter.
What Is a Parallax Effect?
The Parallax Effect is when an object looks different from two different points of view. This is why a parallax effect gives the impression of depth as the screen is scrolled or hovered by a user.
In general, this effect is implemented to enhance the user experience on different websites. And, Rainmeter makes it quite simple to create a parallax effect on your desktop's background.
It enables you to use your mouse as a camera. So, your photos shift in 3D space as you move your mouse, creating a beautiful animated wallpaper.
Good-looking results are easy to achieve using Rainmeter. That said, it takes a fair amount of creativity to achieve truly spectacular results.
If you'd like to create a detailed, multi-layered effect, some previous experience with graphic design programs like Photoshop is required. Our parallax effect will achieve a simple, yet impressive, four-layer backdrop.
Parts of the Parallax
To use this effect, let's go over the concept of layers briefly. Rainmeter achieves the parallax effect by creating several layers, that simulate one complete background.
There are two essential parts to the Parallax effect; the foreground and the background. The foreground is composed of several PNG image files, ranging from smallest to largest.
Image files must be in transparent PNG format, which removes white backgrounds from your images.
If you're not a geek, we recommend checking out our guide on how to convert images to transparent PNG format. Moreover, the larger images will move more than the smaller images. This simulates the depth of field on your desktop.
Choosing the Parts
For this guide, we'll simulate a falling Bart from The Simpsons using the parallax effect. Three image types are required for the effect: a falling Bart, some clouds particular to the cartoon style of The Simpsons, and a sky background.
Follow these steps to set up some basics for Rainmeter:
- Create a folder on your desktop named parallax source to save your image files. This will make it easier to add your images to Rainmeter.
- Save all the files you've gathered for your desktop's background in that folder.
- Name your background background.png and name the images you are using for your parallax as parallax[x].png. The [x] corresponds to the layer level, starting from 0.
The smallest image should be titled parallax0.png, the second smallest, parallax1.png, and so on. This is what your folder should look like:

Positioning the Parts
Now, position your PNG files according to your desktop resolution. If you don't know about your desktop's resolution, check out our guide for finding out your desktop's resolution.
Further, create a transparent document the size of your monitor resolution with an added 100 pixels to your length and width. Drop your files into this frame and orient the images to your liking.

The way you orient your images here is the way you will see them in your background. Once you've fit all your images into your frame, proceed with setting up your Rainmeter folder layout.
Rainmeter Folder Layout
Here comes the core part of this setup. Follow these steps carefully to avoid any issues while creating the parallax effect:
1. Download the latest version of Rainmeter from Rainmeter.net.
2. In the directory C:\Users\Name\Documents\Rainmeter\Skins, create a new folder named Parallax Effect.

3. In this folder, create three more folders and name them: @Resources, Background, and Parallax.
The @Resources folder will contain images, the Background folder will hold your background.ini file to activate your background, and the Parallax folder is for your Parallax.ini file.

4. Now, open the @Resources folder and create a folder named Images. Add your background.png file to this directory.
5. Add another folder to this directory, and name it after your parallax effect. We've named the folder Bart. Add your parallax[x].png images to this folder. Your images folder should now look like this.

That's it for image files. Now, you can begin achieving the parallax effect.
6. In the root Parallax Effect directory C:\Users\Name\Documents\Rainmeter\Skins\Parallax Effect, you've to create a new text file. Input the following code into these new documents:
        [Variables]
ThemeDisplayWidth=1440
ThemeDisplayHeight=900
7. Remember to name this file ParallaxSettings.inc and keep the .inc extension. This file will define the resolution of your parallax. Replace 1440 and 900 with your own resolution and save.
Setting Up the Required Plugin
We need a simple plugin that will track your mouse cursor's movements to move your parallax images. You can download the plugin from this Rainmeter community post.

Once done, follow the below-given steps to adjust some settings for your setup:
1. Open your Background folder. Right-click within the folder and select New > Text Document. Double-click this document to edit, and paste the following script into the file.
2. Save this file as Background.ini, ensuring that you have added the .ini extension. Next, open your Parallax folder. Create a text document, and paste the following into this file.
Note: You must change the P variable under your [Variables] parameter to the title of your parallax images folder. Our P variable is #@#Images/Bart/parallax, for example. Only change the middle title, and keep the rest the same.

Finalizing the Parallax effect
Now, the last step is to finalize everything and apply the effect using Rainmeter. Here are the steps to do the same:
- Open your Manage Rainmeter window by opening your taskbar icon drawer and clicking the Rainmeter icon.
-
Click on the Refresh all button and locate your Parallax Effect folder.
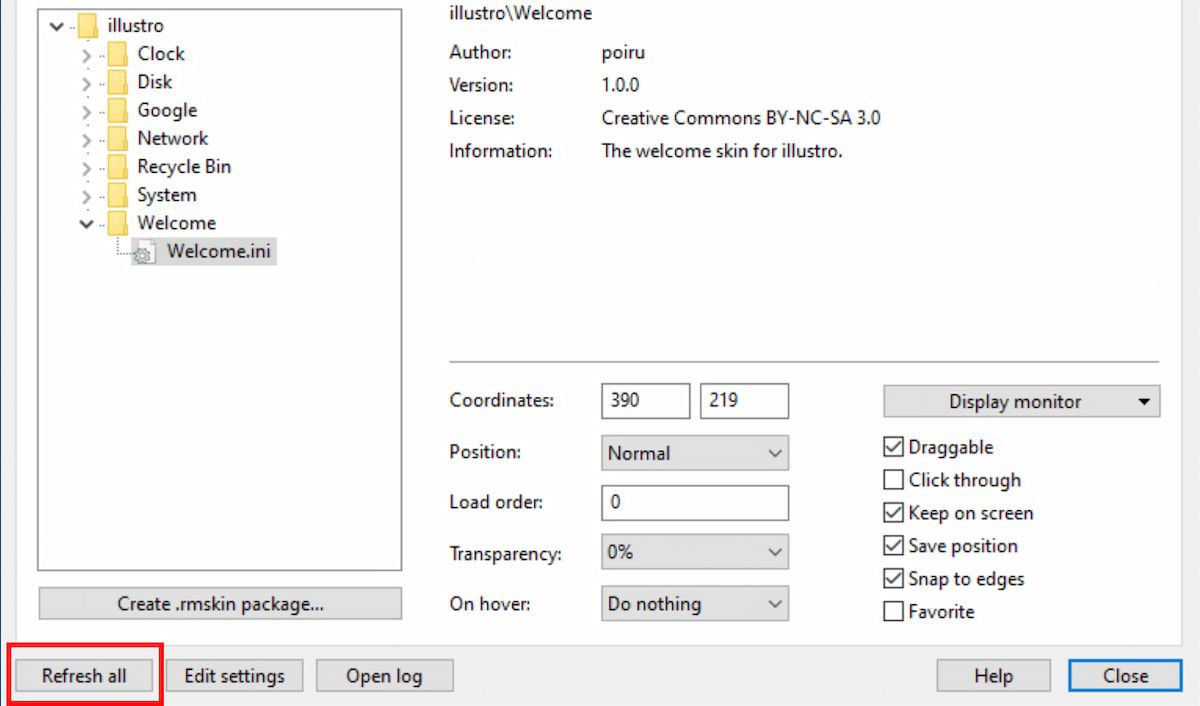
- Open your newly created Background and Parallax folders and Load your .ini files by double-clicking them.
- Finally, check to Click through in the Manage Rainmeter window for both .ini files and your parallax effect should be complete.

The above script allows for a subtle effect. If you'd like to make the effect more dramatic, lower the number of parameters present in the Parallax.ini file by 10 or 20 (do not repeat numbers or include numbers below 0).

Remember to save your .ini file and refresh your skin to enact the effect. If you'd like to install our Bart parallax background, you can download the .rmskin from this Deviantart post.
While Rainmeter is an amazing tool for Windows users if you're on a Mac, here's how you can change your desktop wallpaper on a Mac.
Don't Stick With Static Backgrounds
Sticking to static, non-moving wallpapers is fine for some. For others, Rainmeter is a blessing. The program appears to be limitless. Sleek Rainmeter skins are created daily to suit whatever desktop style you desire.
The Rainmeter parallax effect is just one of the most recent innovations in Rainmeter skins, and its use is only confined to your imagination.