What makes re-installing Windows painful is the waiting around for a few keystrokes and post-installation chores. Windows 8 installs in mere minutes, but you still have to accept the EULA, manually enter your 25 digit serial number, and apply Windows updates once the installation itself is completed. If you're eager to optimize this process, here is a way to customize your Windows 8 installation.
Preparation
Before we start, you need a couple of ingredients to make this work:
- Running installation of Windows 8 or 8.1
- Option 1: Windows 8 or 8.1 ISO file (Unfortunately, the Windows 8.1 ISO file available from Microsoft does not seem to work.)
- Option 2: Copy the files from a Windows 8 or 8.1 installation disc to your computer.
- 7zip (install)
- ImageX and Oscdimg (remember where the WAIK toolbox saves to)
- Resource Hacker (install)
- SetACL (remember where it saves to)
- WinReducer 8 or 8.1 (install)
The main tool you'll be using is WinReducer, but it's of no use until you prepared and installed all the other items. Note that WinReducer itself comes with ReadMe and HowTo PDF files, which cover WinReducer's features and can be helpful when you get stuck.
Setting Up WinReducer 8.1
When you first launch WinReducer, it will most likely display an error message and point you to its configuration.
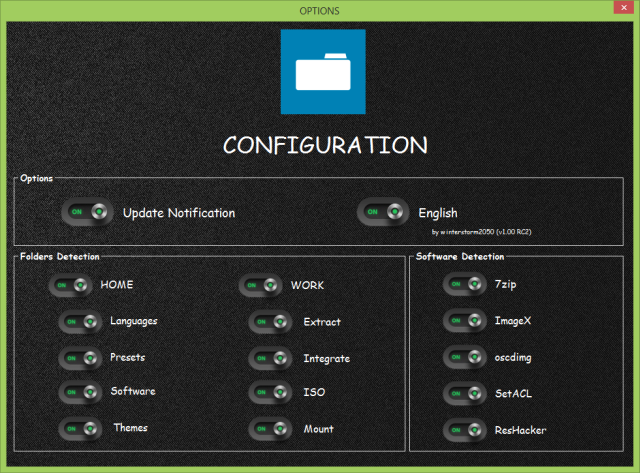
In the Configuration window, make sure all the software needed by WinReducer is detected. Click on the software name and point the tool towards the file's location. Note that you need to point it to two different files in the case of 7zip; both are located in the program folder. When all is done, the Configuration should look like the screenshot below.
WinReducer Overview
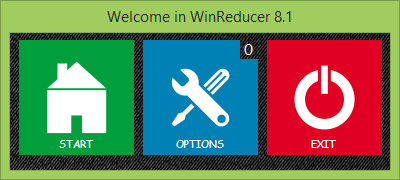
When you launch WinReducer after a successful configuration, you will be greeted by the proper Welcome screen.
Under Options, you can check for software updates, return to the Configuration window, and set your Windows theme.
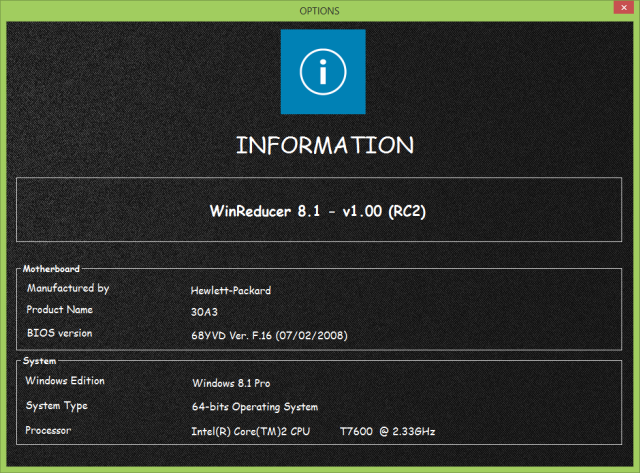
The HowTo PDF reveals that an Easter egg is hidden in the Info page (available via Options) that apparently grants you access to a Lifetime VIP Edition. If you find the Easter egg, please share in the comments!
Under Start, you can open Windows 8.1 using an already extracted folder, extract an ISO file, and via Tools you can download Windows updates, create an ISO file or a bootable USB, and launch the Preset Editor.
Creating Your Custom Windows 8.1 ISO
Go to > Start > Tools > Updates, select the x86 (32-bit) or x64 (64-bit) Windows update package, depending on your version of Windows 8.1, click Update, and select the updates you would like to download.
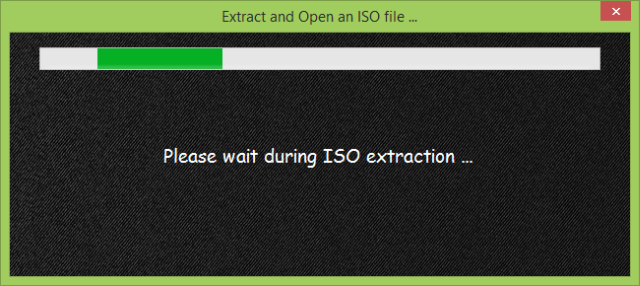
Option 1: When this is done, close the window and go to > Start > ISO and select your Windows 8.1 ISO file to extract it, so it can be customized by WinReducer. This can take a moment.
If you get an error message, like "You are trying to use an unsupported Windows 8.x Upgrade DVD", you won't be able to proceed. Try again, try another ISO file, or try another method.
Once your ISO file was extracted, the Preset Editor should open automatically.
Option 2: Alternatively, you can copy Windows installation files from the original installation DVD to your computer, then to go > Start > Folder, select the folder that contains the extracted files, then click Mount. This will copy the files into the Extract folder and should launch you into the Preset Editor.
You can also open the Preset Editor manually. Go to > Start > Tools > Preset Editor and click Launch. Here you can customize Windows 8.1 to your heart's desire. You can remove features and services, change the appearance, or set up your unattended installation.
As the name suggests, WinReducer's main objective is to make the installer and the resulting installation smaller. If you are going to create a DVD, don't bother. You are more likely to regret removing a certain feature, than to appreciate the time you saved during the installation or the drive space you preserved. Rather focus on customizing your installation.
First, however, integrate the updates you downloaded earlier. Go to > System > Integration and point the tool to the respective download folder. You can do the same for drivers and .NET Framework.
To include and automate the installation of third party software, you could prepare an OEM folder and have WinReducer add it to your custom ISO. The option is available under > System > WinReducer Post Installation. The details of how to set this up, however, are beyond the scope of this article.
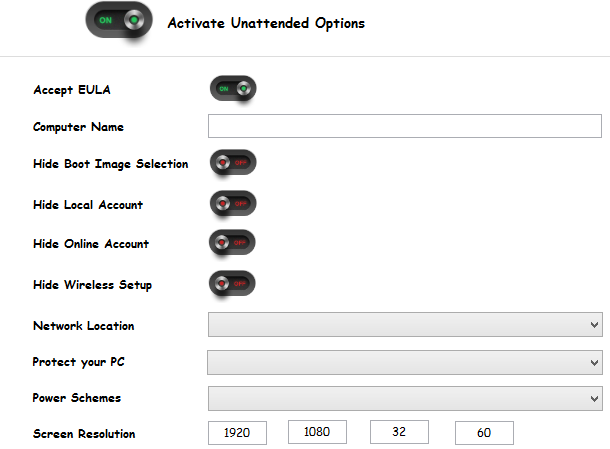
Don't forget to set up the Unattended installation. Remember that if you add the serial number, the resulting ISO file will be set to your computer. Trying to use your custom Windows 8.1 installation disc on another computer would be a violation of the Windows license agreement and you would run into issues activating Windows.
When you are done, you can save this preset for future use on another ISO file. Go to Start and click Save. Here you can also Load a previously saved preset.
To apply a (preset) customization to your Windows installation ISO file, go to Finish and click Apply.
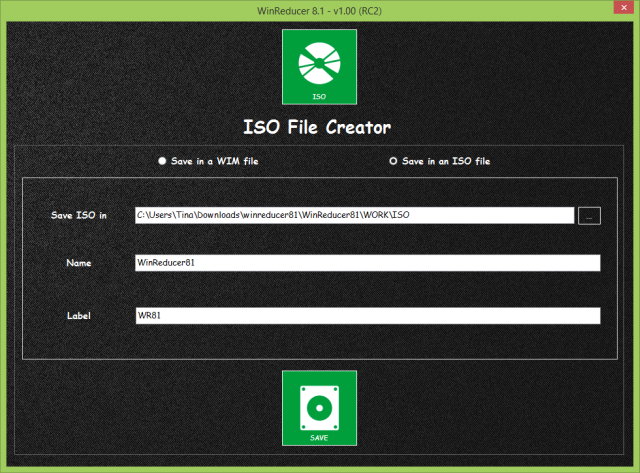
WinReducer will direct you to the ISO File Creator, where you can save your custom Windows installation media as WIM or ISO file.
Click Save and when the tool is done, you can pick up your ISO file in the respective folder.
Create A Bootable DVD
To turn your custom ISO file into installation media, you need to create a bootable DVD. Use a DVD burner tool like ImgBurn to write your ISO file to a blank DVD. To avoid errors, be sure to burn the DVD at a very low write speed, like 2x. Check the verify option, so ImgBurn will double-check for burning errors. Finally, test your custom Windows 8.1 installation DVD.
Custom Installation To A Point & Alternative Solutions
WinReducer is great to create a custom Windows 8 installation. Unfortunately, you still need to download and install all your third party apps, as this process can not be embedded in WinReducer.
If a complete setup including third party applications is important and if we're only talking about a single computer, you should prepare a perfect Windows installation and then create a system drive image (aka copy or clone), which you can flash back when it's time to re-install Windows. Alternatively, you could look into third party software that offers an unattended installation of the applications you need, for example Ninite. Or you could automate tasks with AutoIt.
For deployment of Windows 8.1 to multiple computers, turn to Microsoft TechNet for instructions.
What do you think? Is a custom installation file with all the junk removed worth the trouble?

