Sculptris is a 3D design tool by Pixologic, makers of the $699 professional 3D tool ZBrush. It comes from a good home, but unlike its sister app, Sculptris is entirely free. We’ve covered Sculptris in the MakeUseOf directory in 2012, but today I’d like to take you a bit deeper into the app and show you how it works.
One thing you should know is that to download Sculptris, you must provide Pixologic with an email address – but nothing is stopping you from using a disposable address if you so wish.
Getting Started
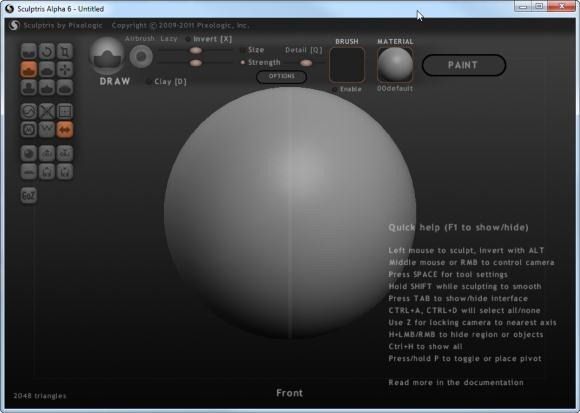
Unlike other applications (such as the free and open-source Blender), Sculptris does not start you off with a blank page. Instead, you get a ball of material divided down the middle with a symmetry stripe. The default brush you use is called “draw”, but there are eight other brushes you can use:
I have also included a part of the top toolbar in the screenshot above, so you can see the control you get over each brush. You can easily control each brush’s size and strength using the sliders, but also using shortcuts: Holding down Shift lets you change the brush size using the scroll wheel, while holding down Ctrl lets you modify the strength. Once you set the brush to properties that seem right to you, just start dragging it over the ball of material and watch it instantly morph:
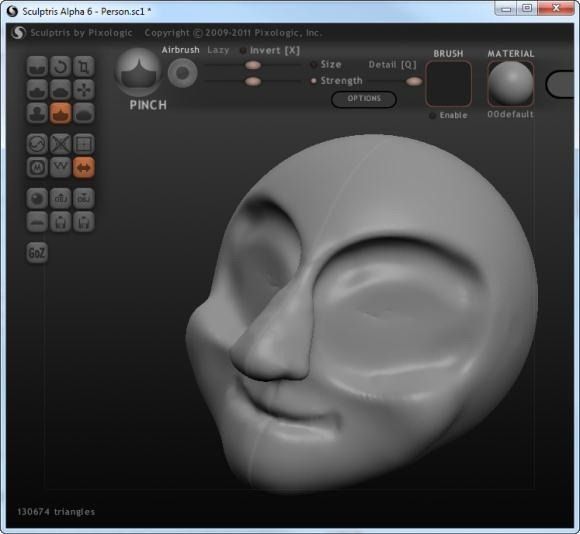
This really does feel like sculpting, especially if you have a trackball. Creating this vaguely-humanoid head took me less than twenty minutes; I had the basic outline down in about three minutes (nose, eyes, etc.) but then I got into trouble with the nose and eyes.
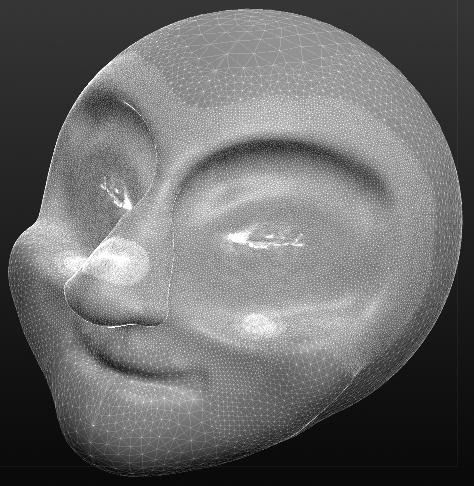
What caused my trouble was a powerful Sculptris feature called dynamic tessellation. This is a fancy word that basically means that as you add detail to your model, Sculptris adds more and more “triangles”, or polygons. This is easy to understand visually:
This is the mesh view of my figure, which shows how the surface is actually made up of numerous polygons. This particular model contains 130,674 polygons – I counted each and every one (or maybe Sculptris has a counter). You can see how some areas contain many more polygons than others. Specifically, the eyes, a part of the nose, and a part of the lower cheekbones. These are practically white and “shiny” because they have so many polygons. What happened was that I used some brushes that were set to a high strength and a small size, for detail work. This caused too many polygons to appear.
Sculptris does have Undo functionality (Ctrl+Z), but you can only undo things so many levels back. I had to spend quite some time manually simplifying my model back. For this, two tools came in very handy:
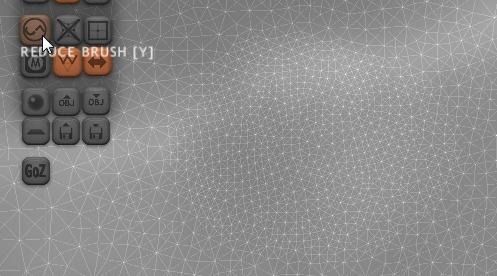
One tool is the Reduce Brush shown above, and the other is Reduce Selected, which reduces polygons across the entire object (I have just one object in my scene right now – only the ball Sculptris started me out with). Note the area on the right of the screenshot above; this is a “before” image, taken before reducing the polygon count. Now watch what happens as I use the Reduce Brush:
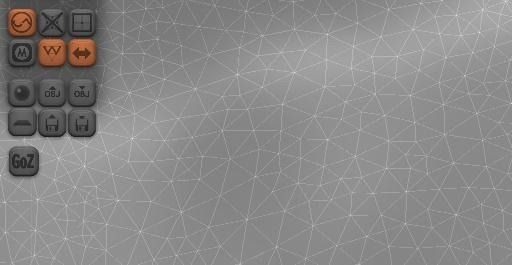
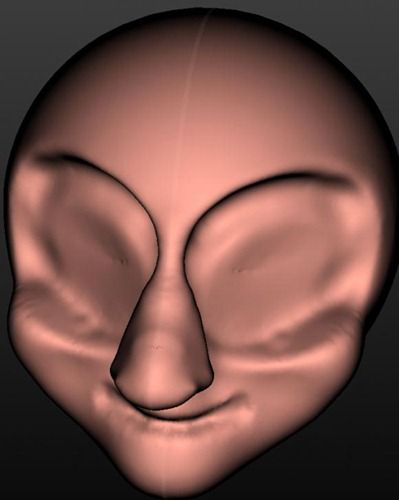
It’s magic! Less polygons, less complexity, and a better model as a result (because the complexity wasn’t needed in this particular area). Here’s the same model after some serious simplification:
You can compare it with the image above to see the difference in polygon count.
Selecting Materials
Sculptris comes with a built-in library of materials you can choose for your objects. Each object can consist of a single material. I have just one object, and I picked “skintone” as my material. Picking a material instantly changes the preview:
Painting Your Object
Once you are done with the modeling stage, it’s time to sketch in some surface detail. Click the Paint button, and Sculptris will pop up this warning:
Make sure you’re feeling fine about your model before you do this, because there’s no going back. I saved a backup copy of my model, just in case. Sculptris will then crunch some numbers. This is a time-consuming process: For some reason Sculptris doesn’t say it’s rendering the model, but judging by how long it takes, that’s what it’s doing. On my system, this process took 20-30 minutes with a 117,946-polygon model, and, amusingly enough, went on beyond the 100% mark:
When it’s done, your model changes its appearance, and you get a different set of tools:
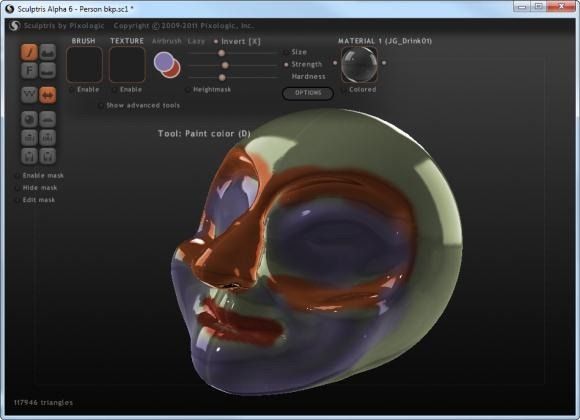
Note the subtle checkerboard pattern on the model – this shows it is now in a coloring state. The top toolbar shows color selection, brush and texture options. You can now fill your model with a color, and paint in details. You can also change materials at this point if you wish:
So painting my model may not be my strong suit, but I hope I managed to show you what a powerful and intuitive tool Sculptris is. It really shines with professional quality; this post was just a little taste of what it can do with just a single object in a scene, and a few minutes of inexperienced fiddling.
If you use Sculptris to create something beautiful, be sure to link to it in the comments!



![sculptris[19]](https://static1.makeuseofimages.com/wordpress/wp-content/uploads/2012/02/sculptris19.jpg)
![sculptris[21]](https://static1.makeuseofimages.com/wordpress/wp-content/uploads/2012/02/sculptris21.jpg)
![sculptris[25]](https://static1.makeuseofimages.com/wordpress/wp-content/uploads/2012/02/sculptris25.jpg)
![sculptris[29]](https://static1.makeuseofimages.com/wordpress/wp-content/uploads/2012/02/sculptris29.jpg)
![sculptris[31]](https://static1.makeuseofimages.com/wordpress/wp-content/uploads/2012/02/sculptris31.jpg)
