There is always a beginning. Every journey starts with a single step. Every photography career starts with a single shutter press. Every Photoshop expert opens the program for the very first time.
Congratulations, if you're reading this you're just starting -- or at least thinking about starting -- to learn how to use Adobe Creative Cloud. Maybe you've opened the app and are overwhelmed by all the options so you've taken to Google to find out what to do, or maybe you're a regular MakeUseOf reader who's always wanted to learn and is just doing some research.
Whatever your reasons for being here are, rest assured that you're in good hands. Today I'm going to take a look at the absolute basics of Photoshop CC. I'm going to assume you know absolutely nothing. By the end of this article, you'll have Photoshop installed and you'll be well on your way to mastering some basic techniques.
So without further ado, let's dig in.
What Is Photoshop CC?
Adobe Photoshop is an image editor made by Adobe. It's been around for more than 25 years and is used by everyone from photographers to graphic designers. It's the gold standard when it comes to image editing. I've written before about everything you can do with it, so have a read of that if you're not sure what it's capable of. You've definitely picked the right app to learn to use.

For a long time, Photoshop was sold as a separate app but now it's a part of Adobe's Creative Cloud. Don't worry, just because it's called the Creative Cloud, doesn't mean you can only use Photoshop when you're online; it's not a cloud app. The "Creative Cloud" is just Adobe's branding for their subscription app service.
With the Creative Cloud, you sign up for a monthly or yearly subscription. That gives you access to Adobe's apps. You can then download and install them like regular desktop programs. Whenever you're online, your Adobe apps will check in with Adobe's servers to confirm that everything is up to date with your subscription. If you haven't been online in over four months, or your subscription lapses, you won't be able to use the apps anymore.
The best way to get Photoshop is as part of Adobe's Creative Cloud. For $49.99 a month you get access to Photoshop, as well as some other great apps like Lightroom.
MakeUseOf readers get 15% off Creative Cloud by signing up here.
Installing Photoshop
Once you sign up for a Creative Cloud package you'll be prompted to install the Creative Cloud app. Download and install it as you would any other application. Open it, and log in with your Creative Cloud account details. You can now install Photoshop.

Click on the Apps tab and select Photoshop from the list. It will download and install on your system. It's a big application so it may take a while to download.
Once it's done, you can open it from the Start menu or Applications folder.
Opening an Image in Photoshop

When you first open Photoshop, you'll see the Start Workspace. It gives you quick access to all your recent files and a couple of handy presets. If it's your first time opening Photoshop you won't have any recent files.
To open an image you've already saved to your computer in Photoshop, click the Open... button in the Start Workspace. Browse to the file you want to use and press OK. It will now open in Photoshop.
Creating a New Document in Photoshop
Sometimes you don't want to open an existing file but instead start with a blank document. To open a new, empty document you've two options.
Click the New... button in the Start Workspace. You can then enter in any dimensions you want for a new document or select a preset from the Document Type dropdown menu.
Alternatively, click on the Presets tab and choose one of Photoshop's default options.
The Photoshop Working Area
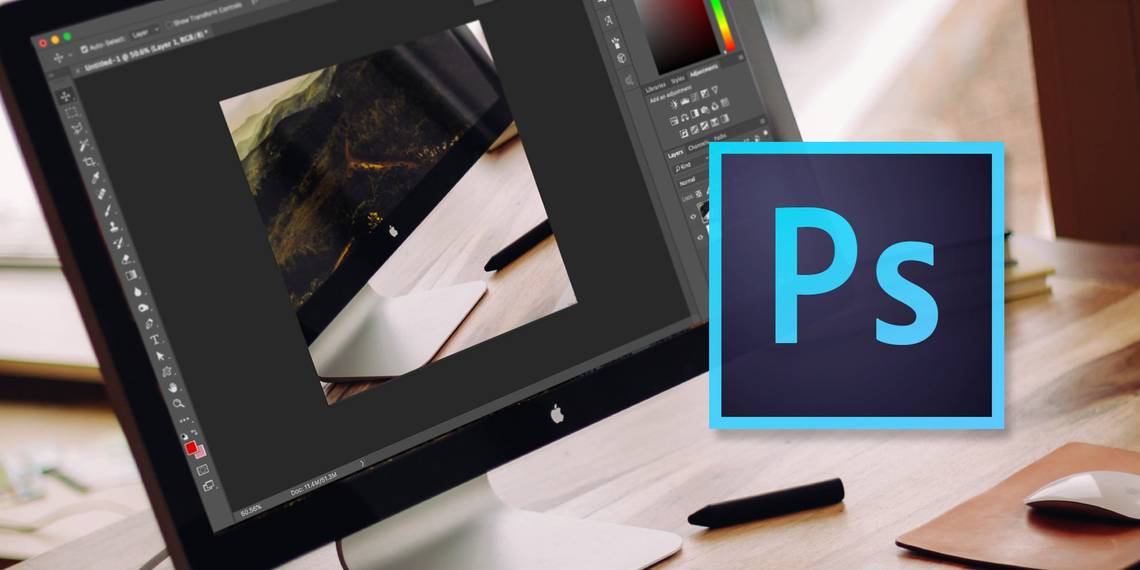
Photoshop has an incredibly customizable working area. It's based around the Document Window; it's where the document you're working on is displayed along with a load of panels, each of which has a specific purpose.
In the image below, you can see the default Essentials Workspace. It's got everything you need to get started with Photoshop.

- The Document Window -- This is where any document you're working on is displayed.
- The Tools Panel -- This contains shortcuts for all Photoshop's tools.
- The Color and Swatches Panels -- These let you pick colors.
- The Adjustments Panel -- This contains all Photoshop's Adjustment Layers.
- The Layers Panel -- Here you can see any layers in the document you're editing.
- The Properties Panel -- This is where you modify any Adjustment Layers you add to an image.
- The Control Panel -- This has all the options for the current tool.
Placing Files in a Document
Whether you're trying to combine multiple images or make a poster, you'll regularly need to add additional images to your Photoshop files.
To add an image to a document you're already working on, go to File > Place Embedded... and select the file you want to add. Resize and position the file using the control handles. When you're happy with where it is, press Enter or Return to add it.
What Are Layers?
When you add a second file to a document it appears as a separate layer in the Layers Panel. Everything, from text to images to adjustments gets added to your document as an individual layer that you can manipulate independently.
It's one of the most fundamental aspects of Photoshop.
Moving Layers Around
If you add a new file or a text layer to a document, you'll often need to move it around or resize it. To do that, you use the Move tool. You can select it from the Tools Panel or with the keyboard shortcut M.
Select the layer you want to move from the Layers Panel and click anywhere in the document. You can then drag it around.
If you want to resize or transform it, press Ctrl + T or Command + T. You can use the control handles to change the size and shape of the layer.
To delete a layer, select it and drag it to the trash can at the bottom of the Layers Panel.
Cropping Images in Photoshop
Cropping images is easy in Photoshop: there's a specific tool for it. To select the Crop tool, click on it in the Tools Panel or use the keyboard shortcut C.
In the Control Panel, you can select one of the preset crops or enter your own ratio.
Resizing Images in Photoshop
Resizing photos down is simple for computers to do well -- you're throwing away data. Resizing up, however, is a lot more complicated -- the computer needs to generate extra information and make it look good. Fortunately, Photoshop is able to do both really well.
To resize an image, go to Image > Image Size... Enter a new size and click OK. Be careful how much you resize an image up. You'll never be able to make a really small photo look good at larger resolutions.
How to Brighten a Photo
It sucks when you take a great photo but it's a little bit too dark. Maybe the sun was really bright or your camera just misjudged the exposure but, for whatever reason, the image looks like it was shot in a cave. Photoshop can fix that easily.
Open the image you want to brighten in Photoshop and then go to Layer > New Adjustment Layer > Brightness/Contrast. Name the layer and click OK. Drag the Brightness slider to the right until the image looks good.
If the image looks too bright, you can also do the opposite: just drag the Brightness slider to the left to darken it.
How to Make a Photo Pop
Visually, people are pleased by simple things. For the most part, everyone thinks that images with a bit of contrast and nice bright colors look best. Low contrast photos without much color just look kind of drab.
With this simple recipe, you'll be able to make any photo pop a bit more. If you're serious about photography, you should put the time in to learn more advanced editing but while you're starting out, this technique is very handy.
Open the image you want to edit in Photoshop. Go to Layer > New Adjustment Layer > Brightness/Contrast and drag the Brightness and Contrast sliders to the right. Be careful not to push things too far; if you go overboard the image will just look silly.
Next, go to Layer > New Adjustment Layer > Hue/Saturation and drag the Saturation slider to the right. Again, don't push things too far.
Finally, select the photo layer and go to Filter > Sharpen > Sharpen. The image should now look way more interesting.
How to Convert an Image to Black and White
While not every image looks better in black and white, quite a few do. If you're shooting at night, or in weird lighting, it can often be easier to just get rid of all the color rather than trying to fix it.
While not every image looks better in black and white, quite a few do. If you're shooting at night, or in weird lighting, it can often be easier to just get rid of all the color rather than trying to fix it.
To convert an image to black and white, open it in Photoshop and then go to Layer > New Adjustment Layer > Black & White... The sliders let you determine how bright or dark a gray each color gets converted into. Play around with them until you've an image you're happy with.
Black and white images tend to have more contrast than color images so go to Layer > New Adjustment Layer > Brightness/Contrast and pull the Contrast slider a little to the right.
How to Add Text to an Image
When you're making a poster or a Christmas card in Photoshop you normally need to add text to an image. Once again, there's a dedicated tool for it.
Press T to select the Text Tool or click on it in the Tool Panel. In the Control Panel you can select the font, text size, text color, and alignment.
Click where you want the text to appear to activate the Text Tool. You can then type whatever message you want to add to your document. When you're done, click the ? in the Control Panel or press Ctrl + Enter (Command + Return if you're using a Mac).
Saving Files and Images
In Photoshop, there are two kinds of files you're going to save: projects your working on and finished images.
Projects your working on can be saved as either TIFF or PSD files. These save all the layers and adjustments you've made to your image so you can go back and edit things. They are, however, large files that can't be uploaded to places like Facebook or Twitter.
To save a working file go to File > Save and navigate to the location you want to save the file. Press OK and it will get save there. It'll now be available in the Start Workspace's Recent Files as well as your regular file system.
With Photoshop you don't actually save a finished image but export one. Go to File > Export > Export As... and the Export As dialogue will pop up.
The important bit, when you're starting out, is the top of the righthand column. You can select the format, quality, and size of the image you want to save.
From the Format dropdown choose either PNG or JPG. If you pick JPG, the Quality value determines the file size and image quality of the final file -- somewhere around 70 percent makes a great compromise.
Under Image Size, you can resize the file for export. Most cameras shoot huge images that are way bigger than you need for social media. I tend to save my images out at about 1200px wide. The images in this article are all 670px and they work great for what I need here.
When you're done, click Export All and navigate to where you want to save the final image. Click Export and you're done. You can now upload them to Facebook, email them to your family, or do whatever else you want.
What You Can Do Now
Each of these techniques is useful but they're at their best when you combine them. Just with the ten or so techniques you've learned already, you can do a lot. Let's look at a few ideas.
Make a New Facebook Profile Picture
- Find one of your favorite photos of yourself and open it in Photoshop.
- Crop it into a square with the crop tool.
- Use the image popping technique.
- Save it out as a JPG and upload it to Facebook.
Create a Poster for an Event
- Open a new blank document and use the preset for the size poster you need.
- Add a background image and resize it so it takes up the whole page.
- Maybe use the technique to make the image pop.
- Add a few text layers on top with the information you need to share.
- Move those text layers around until they look great.
- Save the poster as a high-quality JPG and send it to the printers.
Create a Collage
- Open a new blank document whatever size you want.
- Add a few different images to the document.
- With the Move tool, reposition and transform the images into a cool collage.
- Save the collage out as a JPG and upload it to social media, perhaps as your Facebook cover photo.
Upload an Old Photo to Social Media
- Take a photo of an old film image and open it in Photoshop.
- Use the crop tool to get rid of all the extra information around the edges.
- Either make it pop or, if it's black and white, convert the whole image to black and white.
- Save the photo out as a JPG and upload it to social media. It will look a lot better than if you had just uploaded the photo straight from your phone.
Learning More
So, where to next?
If you've followed along with this article you now know how to open files in Photoshop, perform some important edits, and save them out. You can make your photos look better or make posters for events you're running. It might not seem like much, but you're on your way to mastering Photoshop. All you need to do is keep learning and you'll slowly develop the skills to use all the more advanced tools and techniques. A little over five years ago, I was at the point you're at now.
I found the best way to learn Photoshop was to take courses from sites like Lynda.com. I've actually linked to the courses I used before . If you've got the time to dedicate to learning Photoshop, it's the best way to do it.
You can also take a more project-based approach. Now that you've some idea of where everything is, you should be able to follow along with more advanced tutorials -- like this one on adding ghosts to a graveyard. Yes, everything will be above your current skill level but you'll be able to fumble along, taking each step slowly. If you do this with a few tutorials you like, you'll quickly start to develop your skills.
Whatever way you decide to go, well done. You've taken the first step. You've made it a lot further than many people who want to learn Photoshop. Keep on this road and you'll be an expert before you know it.
Remember, as a MakeUseOf reader, you save 15% on Adobe Creative Cloud by signing up here.
If you've any questions about Photoshop or how to keep learning it, feel free to ask away in the comments below. I'm happy to point you in the right direction.