If you share a Windows computer with someone else, you probably know how fiendishly difficult it can be to share access to applications across multiple user accounts. Microsoft doesn't make it easy, and often the only choice is to install the same application again-and-again for each login.
But there are lots of trivially easy ways to get around this little snag – from ticking a box during setup, to using Dropbox and SD cards. Here's what you need to know.
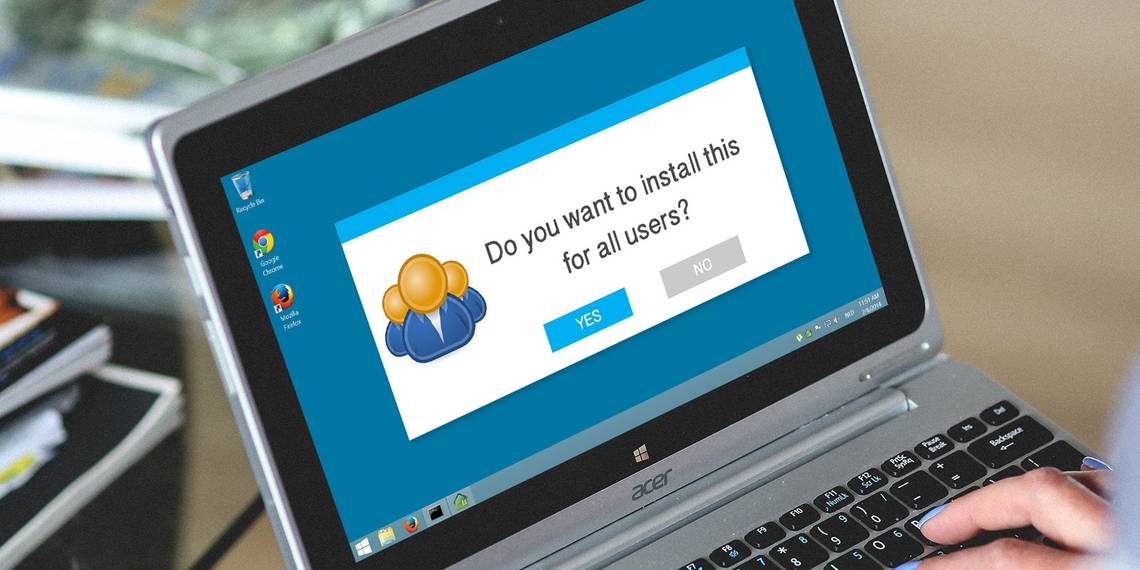
During Installation
So, you've picked an application or a game you want to make available to all users of your computer? Great! Before moving forward, you should try reinstalling it. That's because many installers come with an option that, when selected, will make it available for every user on the system.

In my experience, I've found that to be the exception, and not the rule. While researching this article, I tested three popular Windows freeware applications – Paint.Net, Foxit, and the programming text editor Notepad++ – and found that none of them offered this option.
If you encounter an app like that, don't stress. There's a dead simple solution.
Portable Apps to the Rescue!
Portable applications are really useful. They're essentially applications which have been modified to be self-containing. They can run on any compatible computer, without the need for any modifications to be made to it. You can put them on a USB stick, or pass them across the network, and they'll work just fine.
Portable applications are more numerous than you might think. PortableApps.com, the biggest provider, offers over 300 different ones. It's also possible to create your own portable applications using two common applications – Universal Extractor and WinRAR.

Right now you could be forgiven for scratching your head and wondering what this has to do with Windows accounts?
Well, by using a bit of creativity, and portable apps, you can make a given piece of software work with any Windows account. Here's how.
Put Your SD Card Reader to Use
If you're not much of a photographer, chances are high you've got an SD card slot that's just sitting there, unused. This doesn't necessarily have to be the case though. For just $15, you can put a super-fast SD card in there, which will add additional storage to your computer. More importantly, this would be accessible to anyone who uses that computer, allowing you to share files and portable applications across multiple accounts.
So, what SD card should you get? In my own experiences, I've found SanDisk's cards to be of a pretty solid quality. I'm a big fan of their 10-year warranty, too. With that in mind, I'd suggest you get any SanDisk Ultra card.
But aside from that, make sure any card you get is a Class 10 SD Card. Don't accept anything else. That's because these cards have the fastest read/write speeds, so you won't be slowed down.
Shove It On a Shared Folder
You could also put it in a shared folder. As the name suggests, these are folders that are based on one user profile which have been made available to other users. There are no restrictions as to the types of files you can share through a shared folder, and you can create a shared folder in minutes.
Start off by creating a folder which will contain your portable application. Then, right click it and click Share With, and then Specific People.

Then, from the drop-down, select the users you want to share the file with. I've created a user called "TestUser" for this purpose.

If successful, the user will then be listed below.

Next, you can choose the permissions that the user has on the folder and its contents. If you don't want them to be able to change the contents of the folder, give them Read permissions. Otherwise, give them Read/Write permissions.

Once you're finished, click Share.
Why Not Dropbox?
Another alternative is to shove it on Dropbox – one of the most popular cloud storage providers. Just ensure that the Dropbox client is available on each user account, with each user logged in. Now, from within Dropbox, create a folder and share it with the users you want to give access to a particular application. This can be done through the Dropbox client, or through their website.

Then copy in the portable app you wish to share with other users. This will automatically be distributed to each user.
Perhaps the most important thing to know about this method is that each user will end up downloading a copy of the application. If the application is especially large, and if you're short of storage space, or are subject to a monthly data cap, this method might not be right for you.
For Those with Less Exotic Tastes
Finally, let's touch on Ninite. This is a free service that automates the downloading and installation of Windows applications.
The way it works is simple. You select the applications you want from an extensive list of freeware software packages. Ninite will then create an EXE file for you. Download it, and run it. A few minutes later, the applications you've selected will be installed.

The best part of this approach is that the EXE can be reused multiple times. If you want to install a number of commonly-used Windows applications (think LibreOffice, Paint.Net, Avast, and so on) across multiple users, you need only run the Ninite EXE for each user.
Sharing Is Caring
Next time you install a new application on a shared computer, you'll think twice when you notice the option to make the software available to all users. It may save you and your non-admin users a lot of hassle.
Over to you! Have you found any unique ways to make a Windows application available across multiple user accounts? Leave a comment below and share what you did!