Advertisements targeted to a particular user walking through a metropolitan center are the stuff of dystopian futures, demonstrated notably by the Tom Cruise movie Minority Report. But that isn't a dystopian future: the technology is already here. Although it doesn't rely on rapid identification using your retina, it does use Bluetooth. Developed by Apple, iBeacon was developed to provide location-based information to iOS users, using a device's proximity to trigger a personalized advertisement or track a user's movements. Google also created their own versatile Beacons specification, although support for that is limited at present as developers get to grips with it.
Unsurprisingly, you can use a Raspberry Pi as an iBeacon, by adding a Bluetooth low energy (BLE) USB module. More interestingly, we can co-opt this technology and abandon the futuristic advertising methods in favor of uses around the home.
How iBeacon Works
Building a low energy Bluetooth transmitter that smart devices apps can detect is straightforward, but how does an iBeacon work?
BLE is designed specifically for transmitting over short distances, but with lower power requirements (a single coin cell battery should last three years). Small packets of data, known as "advertisements" (not in the marketing sense), are broadcast by the beacon and used to trigger actions in smartphone apps, perhaps display a commercial message, or prompt the reader to perform an action.
Beyond marketing, iBeacons are typically used to push location states to an app, such as displaying information about an exhibit while you're walking around a museum.
Build Your Own iBeacon with a Raspberry Pi and a Bluetooth Dongle
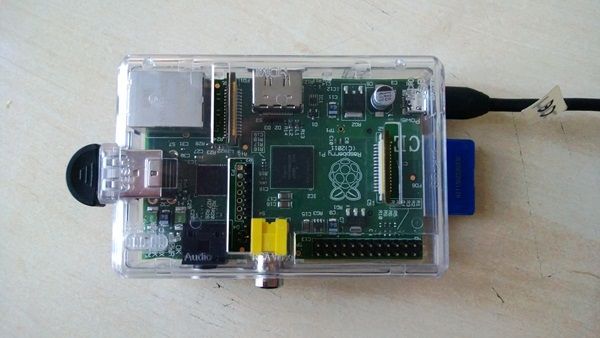
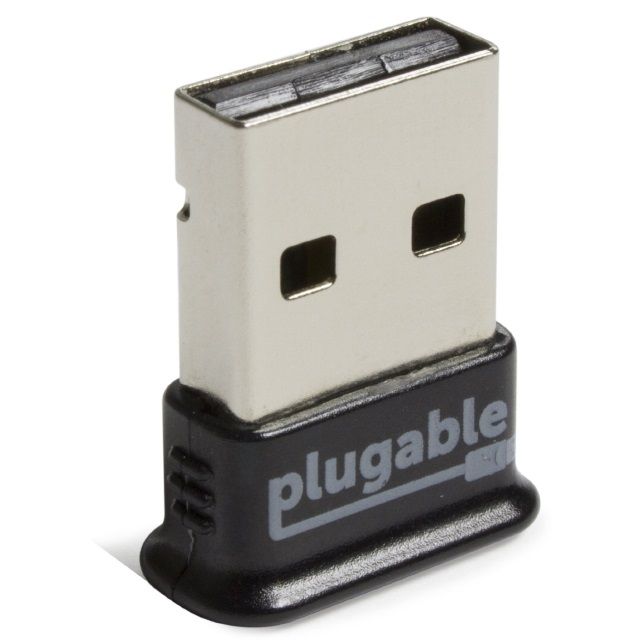
To use your Raspberry Pi as an iBeacon, you'll need a Bluetooth USB adapter. However you can't just attach any old Bluetooth USB device. Instead, you'll need to use a BLE (Bluetooth low-energy) device, which can be purchased relatively cheaply from Amazon or Adafruit. You can run this project on a standard Raspbian installation, either installed the usual way or via NOOBS.
(If you want a shortcut to all of this, the PiBeacon image is your best bet, from RadiusNetworks. Simply download, write to SD card and boot.)
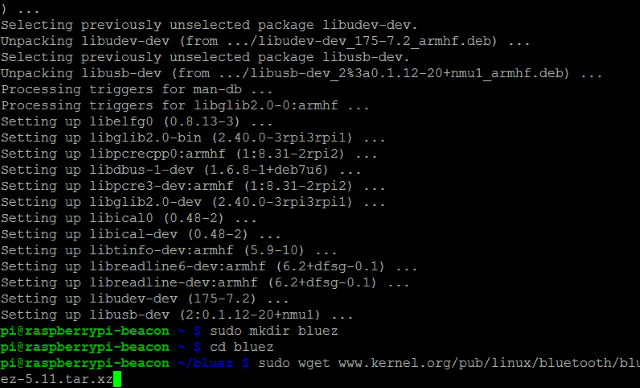
Before attaching the BLE, however, it's time to install some libraries:
sudo apt-get install libusb-dev libdbus-1-dev libglib2.0-dev libudev-dev libical-dev libreadline-dev
Now this is done, you'll need to install Bluez, the Bluetooth stack for Linux.
        sudo mkdir bluez
cd bluez
sudo wget www.kernel.org/pub/linux/bluetooth/bluez-5.11.tar.xz
Once downloaded, Bluez must be built.
        sudo unxz bluez-5.11.tar.xz

sudo tar xvf bluez-5.11.tar

cd bluez-5.11

sudo ./configure --disable-systemd

sudo make
(This step can take some time. Go and make a cup of tea. Or bake a raspberry pie.)
sudo make install
You're almost ready to go. Issue a shutdown command, and then when the Pi is powered down, connect the BLE.
sudo shutdown -h now
Broadcast the PiBeacon
To configure the PiBeacon for broadcasting, check first that the BLE module has been detected
hciconfig
You'll notice that if the module is detected, its status is currently DOWN.
To resolve this, configure the device:
        sudo tools/hciconfig hci0 up

sudo tools/hciconfig hci0 leadv 3

sudo tools/hciconfig hci0 noscanc
(Note that the final line disables Bluetooth scanning, as this can cause issues.)
Repeat the earlier command to run hciconfig:
hciconfig
You'll now see the device status is UP RUNNING.
How Do You Advertise with the PiBeacon?
So you've got a working iBeacon, powered by a Raspberry Pi. But how do you use it to identify itself to nearby Bluetooth devices? As explained by Adafruit, the beacon needs advertising data to be entered. They advise the following string be entered with the hcitool command:
sudo hcitool -i hci0 cmd 0x08 0x0008 1E 02 01 1A 1A FF 4C 00 02 15 E2 0A 39 F4 73 F5 4B C4 A1 2F 17 D1 AD 07 A9 61 00 00 00 00 C8 00
What's in the Data Packet?
Yes, that is a long string of numbers and letters. It's written in hexadecimal, and although we can't see it, the string is split up in to sections. For instance, the mark FF indicates that manufacturer-specific data will follow, in this case the 4C 00 which is Apple's ID. This string can be changed as appropriate.
Let's break it up:
As you can see, the string means little until you can see what each segment of data is for. Note that the ID will always be the same, to identify the packet type, and that the Data Length needs converting to decimal in order to appreciate the actual length of the packet.
With the FF mark we see the 128-bit ID as explained above, followed by the Major data and the Minor data. These identify locations or notes in a hierarchical manner (major first, minor second). Finally, the TX Power helps to estimate distance.
The PiBeacon, like an iBeacon, has three ranges: immediate (localised to a few centimeters), near (a few meters) and far (around 10 meters). Any measured distance is only approximate as the BLE signal is weakened by furniture, and doors and walls.
If you plan on using the iBeacon technology, having a unique ID for your app is important. You might use something like www.uuidgenerator.net or if you use a Mac, the command line uuidgen utility will generate a unique ID.
PiBeacon is Live!
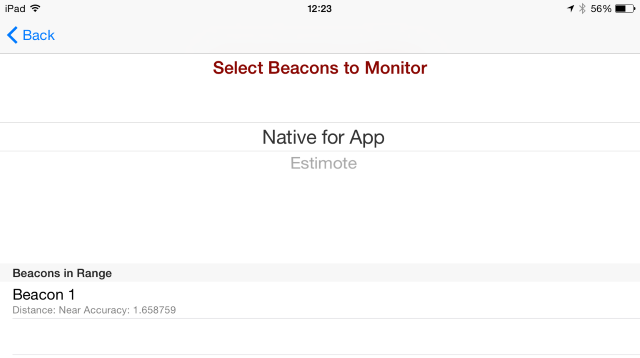
With this entered, the PiBeacon is now advertising. All you need to do now is find a suitable iBeacon app on the iOS store such as Beacon Toolkit [No Longer Available] to detect it, selecting Listen. The string above is provided as a UUID in the Beacon Toolkit app. Other UUIDs can be used, but these will not work with that app: use the slightly more expensive Beacon Toolbox ($4.99), which should be able to identify most all iBeacons within range.
Unhappy about dedicating a Raspberry Pi to this single task? Don't worry – you can build an Arduino iBeacon instead, as long as you have a BLE shield (which may be available in your Arduino starter kit). Here's a demo:
Feeling even more adventurous? $10 worth of electronics and some soldering skills will also net you a DIY iBeacon [Broken URL Removed].
Questions or comments? Leave them below.

